19 (GB)
Projecting
INPUT-A:Selects video signal input from the
INPUT A connector.
INPUT-B: Selects video signal input from the
INPUT B connector.
INPUT-C: Selects to display the Windows CE
window.
VIDEO: Selects video signal input from the
VIDEO (VIDEO IN) jack.
S-VIDEO:Selects video signal input from the S
VIDEO (VIDEO IN) jack.
4 Press the LNES key on the Remote Commander
or LENS CONTROL key on the control panel
repeatedly to display “LENS FOCUS.” Then
press the arrow keys to adjust.
5 Press the LNES key on the Remote Commander
or LENS CONTROL key on the control panel
repeatedly to display “LENS ZOOM.” Then press
the arrow keys to adjust.
6 Press the LNES key on the Remote Commander
or LENS CONTROL key on the control panel
repeatedly to display “LENS FOCUS.” Then
press the arrow keys to adjust again.
7 Press the LNES key on the Remote Commander
or LENS CONTROL key on the control panel
repeatedly to display “LENS SHIFT.” Then press
the arrow keys to adjust.
Note on focus and zoom adjustments
If the optional VPLL-ZM101, VPLL-ZM31 or VPLL-
FM21 lens is installed, perform the focus and zoom
adjustments manually.
Note
Looking into the lens when projecting may cause
injury to your eyes.
Cut off the picture
Press the PIC MUTING key on the Remote
Commander. To restore the picture, press the PIC
MUTING key again.
To get the clearest picture
You can get the suitable picture when a signal from
the computer is input. Press the APA key.
The picture is automatically adjusted to be projected
clearest.
Notes
• Adjust the signal when the still picture is displayed
on the screen.
• Press the APA key when the full image is displayed
on the screen. If there are black edges around the
image, the APA function will not function properly
and the image may extend beyond the screen.
• If you switch the input signal or re-connect a
computer, press the APA key again to get the
suitable picture.
• “ADJUSTING” appears on the screen. To restore the
original screen, press the APA key again during the
adjustment.
• “Complete!” appears on the screen when the picture
is adjusted properly. The picture may not be adjusted
properly depending on the kinds of input signals.
• Adjust the items in the INPUT SETTING menu
when you adjust the picture manually.
For details, see page 23 (GB).
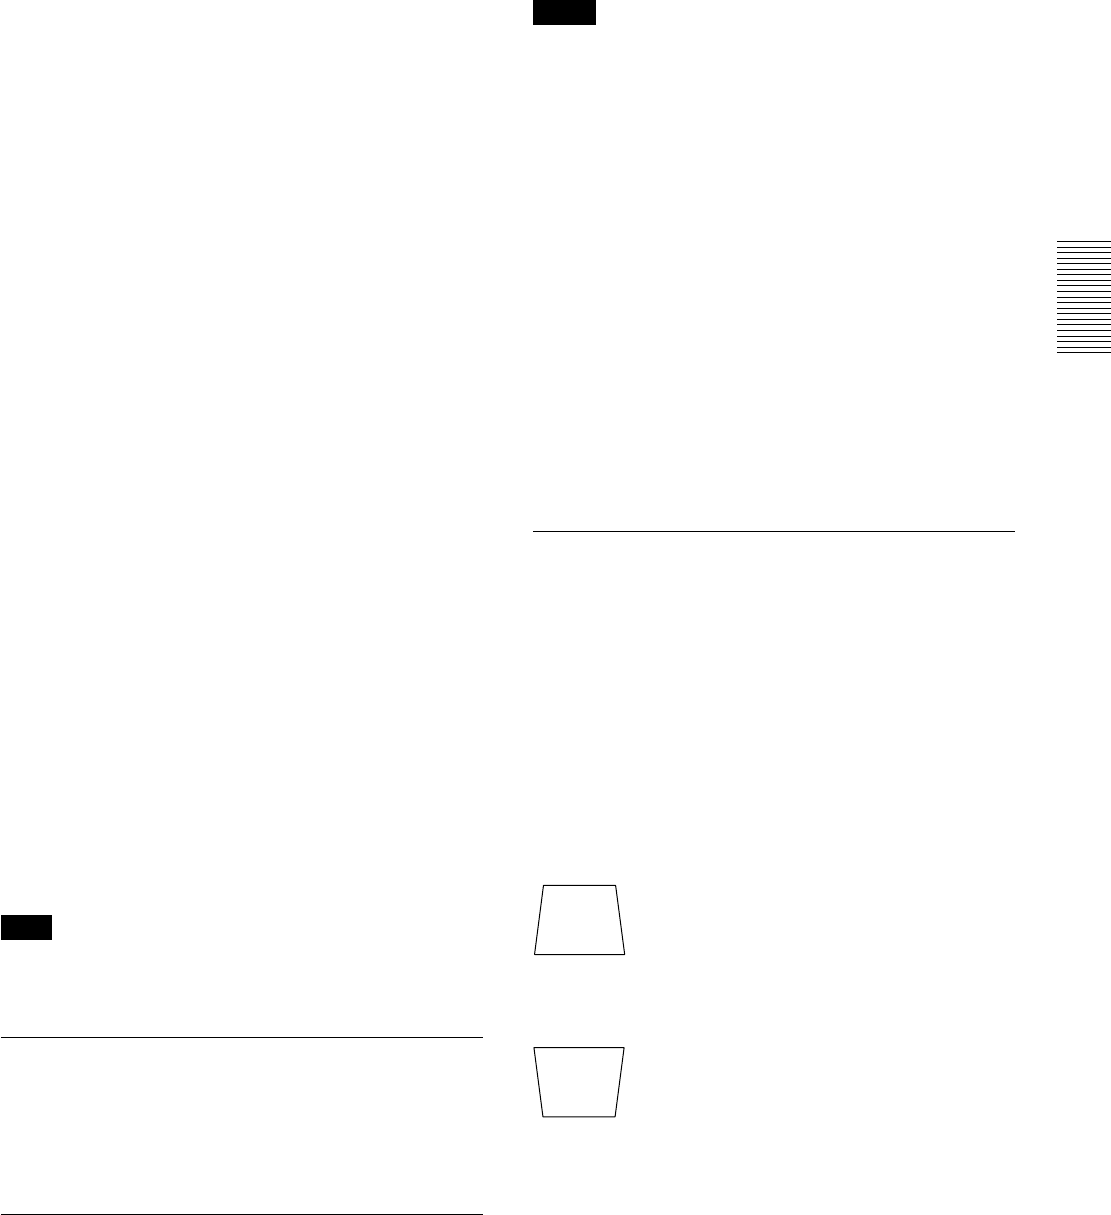
To correct the trapezoid
When the projecting image is a trapezoid, press the
LNES key on the Remote Commander or LENS
CONTROL key on the control panel repeatedly to
display “LENS SHIFT.” Then press the arrow keys to
adjust.
If the image is still a trapezoid, correct it in DIGIT
KEYSTONE in the INSTALL SETTING menu.
When the base edge is longer than the upper
edge as shown in the figure below:
When the upper edge is longer than the base
edge as shown in the figure below:
For details on “DIGIT KEYSTONE,” see page 27 (GB).
Set the value to negative.
Set the value to positive.
