27 (GB)
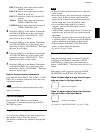
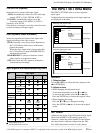
DIGIT KEYSTONE
Corrects the trapezoid caused by the projection angle.
If the base edge is longer, set a negative value; if the
upper edge is longer, set a positive value to square the
image.
INSTALLATION
Sets to reverse the picture horizontally or vertically.
FLOOR-FRONT: The picture is not reversed.
CEILING-FRONT: The picture is reversed
horizontally and vertically.
FLOOR-REAR: The picture is reversed
horizontally.
CEILING-REAR: The picture is reversed
vertically.
Note
In case of using a mirror, be careful of installation
since the picture may be reversed.
LENS CONTROL
When set to OFF, the LENS FOCUS, ZOOM and
SHIFT keys do not function.
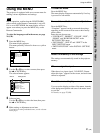
MENU POSITION
Selects the display position of the menu from TOP
LEFT, BOTTOM LEFT, CENTER, TOP RIGHT and
BOTTOM RIGHT.
MENU COLOR
Selects the tone of the menu display from
STANDARD, WARM, COOL, GREEN or GRAY.
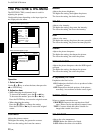
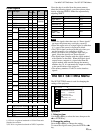
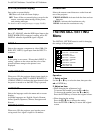
The INSTALL SETTING Menu
MENU BACKGRND
Selects the intensity of the background picture of the
menu display from DARK, STANDARD or LIGHT.
INPUT-C FUNC.
Set to ON when using the Network function.
Note
Be sure to exit every application software that is open
before you switch the setting ON to OFF. Otherwise,
system down may occur and you may not restart the
projector.
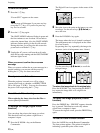
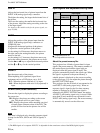
LAMP MODE
Sets the lamp brightness in the projection.
STANDARD: Reduces fan noise and power
consumption.
HIGH: The picture is bright.
If the LAMP MODE is set to STANDARD, the next
time the power is turned on, the lamp will use the
HIGH setting for the first 3 minutes, and then go to
STANDARD.
Compared with the STANDARD setting, the
brightness of an image projecting under the HIGH
setting will be high.
DIRECT PWR ON
Selects the power condition of the unit when the
power is supplied.
ON: When the power is supplied, the unit is turned
on.
OFF: When the power is supplied, the unit is set to
standby mode.
LAMP TIMER
Indicates how long the lamp has been turned on.
Note
This only displays the time. You cannot alter the
display.


