30 The PICTURE SETTING Menu
4 Make the setting or adjustment on an
item.
• When changing the adjustment level:
To increase the number, press the
M or
, key.
To decrease the number, press the m
or < key.
Press the ENTER key to restore the
previous screen.
• When changing the setting:
Press the M or m key to change the
setting.
Press the ENTER or < key to restore
the previous screen.
To clear the menu
Press the MENU key.
The menu disappears automatically if a key
is not pressed for one minute.
To reset items that have been
adjusted
Press the RESET key on the Remote
Commander.
“Complete!” appears on the screen and the
settings appearing on the screen are reset
to their factory preset values.
Items that can be reset are:
• “Contrast,” “Brightness,” “Color,” “Hue,”
“Sharpness” and “RGB Enhancer” in the
Adjust Picture... menu.
• “Dot Phase,” “H Size,” and “Shift” in the
Adjust Signal... menu.
About the memory of the settings
The settings are automatically stored in the
projector memory.
If no signal is input
If there is no input signal, “Cannot adjust
this item.” appears on the screen.
About the menu display
You can set the display position of the menu,
intensity of the background picture and tone
of the menu items as you like.
For details, see “The MENU SETTING
Menu” on page 35.
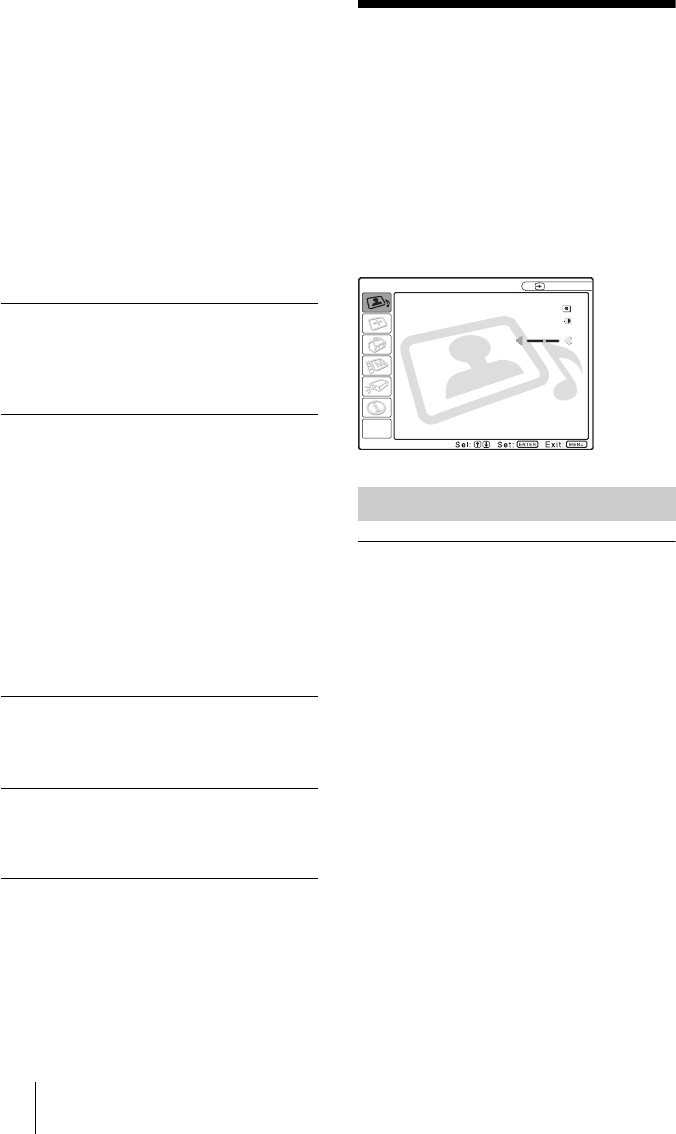
The PICTURE
SETTING Menu
The PICTURE SETTING menu is used for
adjusting the picture or volume.
Items that cannot be adjusted depending on
the input signal are not displayed in the
menu.
For details on the unadjustable items, see
page 53.
Picture Mode
Selects the picture mode.
Dynamic: Emphasizes the contrast to
produce a “dynamic” picture.
Standard: Normally select this setting. If
the picture has roughness with the
“Dynamic” setting, this setting reduces
the roughness.
Adjust Picture... Menu Items
The unit can store the setting values of the
following sub menu items for each
“Dynamic” or “Standard” picture mode
separately.
Menu Items
Picture Mode Standard
Adjust Picture...
Volume: 30
PICTURE SETTING
Input A


