


100
Installation and Adjustment
Setting Up the Printer (Continued)
T
PRESS XE
[E
C
]
EST PR INT :
A B C
X Y Z
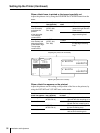
COLOR BALANCE
BAL X : 50 [1 – 50 – 99]
BAL Y : 50 [1 – 50 – 99]
BAL STEP : 05 [1 – 20]
TEST PRINT : PRESS [EXEC]
PRN SETUP : PRESS [ > ]
Q1 A 1
S
COLOR : 200
A B C
X Y Z
COLOR BALANCE
BAL X : 50 [1 – 50 – 99]
BAL Y : 50 [1 – 50 – 99]
BAL STEP : 05 [1 – 20]
TEST PRINT : PRESS [EXEC]
PRN SETUP : PRESS [ > ]
Q1 A 1
S
COLOR : 200
A B C
X Y Z
Q1 A 1
S
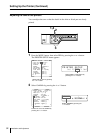
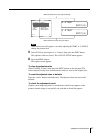
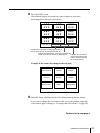
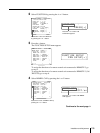
5 Decide the position of the source image to be used for adjusting the color
balance.
To decide the position of the source image, move the highlighted area by
pressing the F, f, G or g button while holding down the DISPLAY button on
the sub panel.
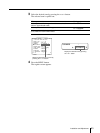
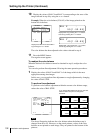
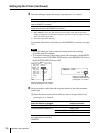
6 Press the CAPTURE button.
The image captured in memory appears.
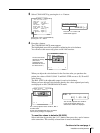
7 Select TEST PRINT by pressing the F or f button.
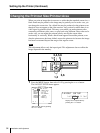
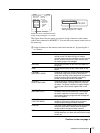
Move the highlighted part
to the desired image
position by pressing the
F, f, G or g button while
holding down the
DISPLAY button. (The
COLOR BALANCE menu
disappears temporarily.)
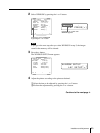
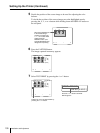
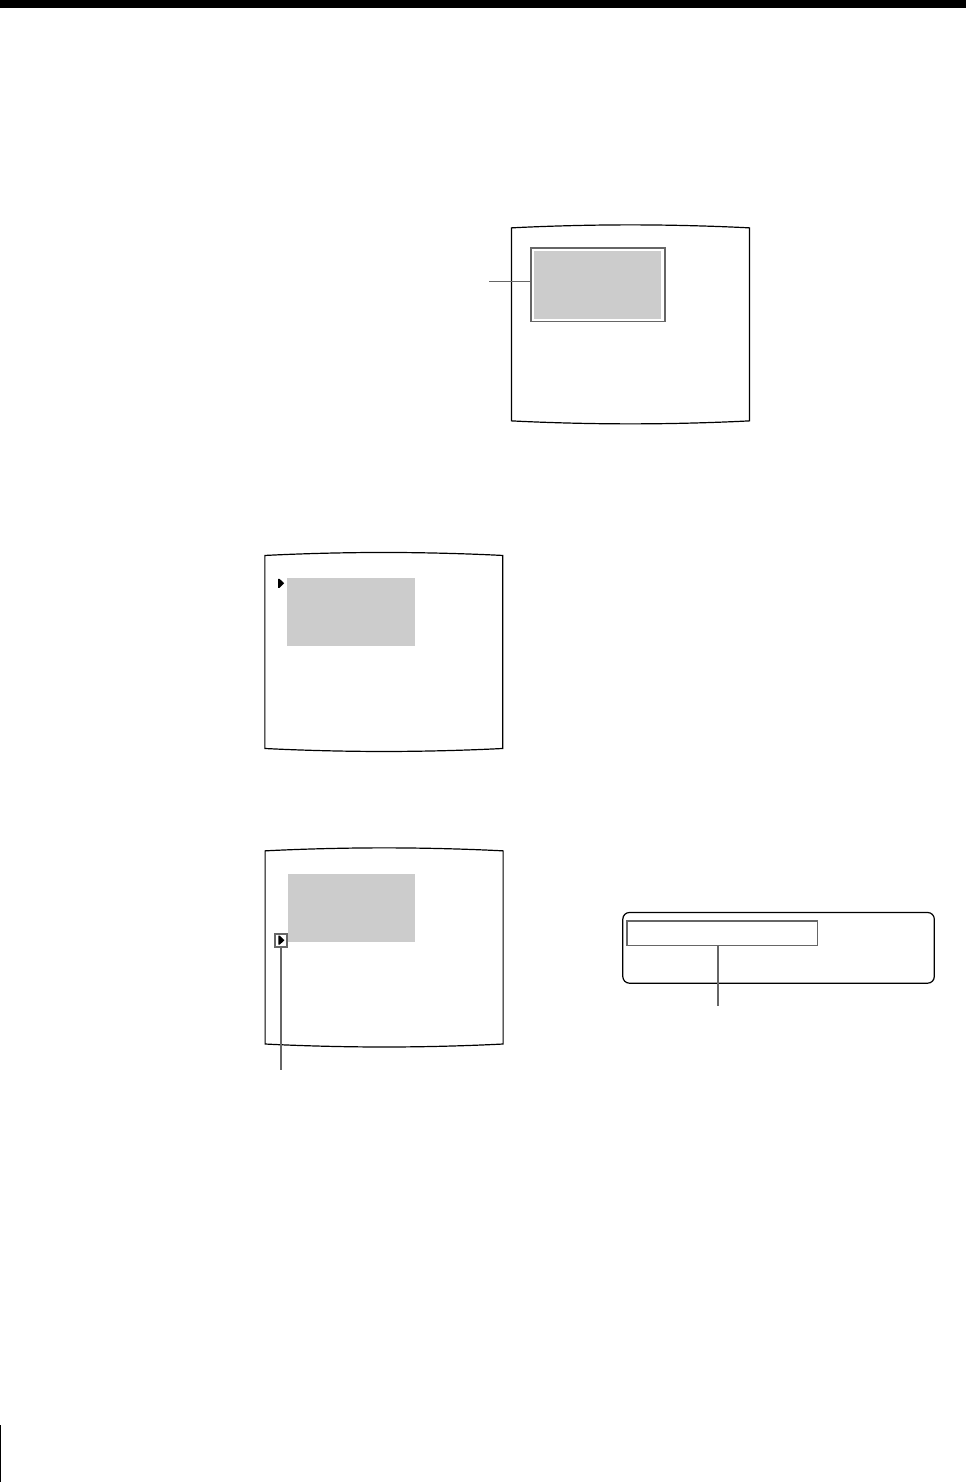
Position the cursor at TEST PRINT by
pressing the F or f button.
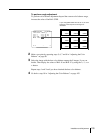
Press the F or f button until TEST
PRINT appears.