


105
Installation and Adjustment
I
MMED . C A P :
FUNCTION SETUP COLOR : 200
PRN SETUP
AUTO LIVE : OFF / ON
: OFF / ON
RM2 FUNC : / C&PRINT /
RM3A FUNC : / PRINT&PAGE
RM3B FUNC : / BACK - SP /
RM3C FUNC : / CAP/SRC /
RM3E FUNC : / GRAB /
: PRESS [ > ]
: / ALL /
Q1 A 1
S
IMMED. CAP.
CLEAR
OFF / o n
F
PRN
UNCT I ON SETUP
FUNCTION SETUP COLOR : 200
PRN SETUP
AUTO LIVE : OFF / ON
: OFF / ON
RM2 FUNC : / C&PRINT /
RM3A FUNC : / PRINT&PAGE
RM3B FUNC : / BACK - SP /
RM3C FUNC : / CAP/SRC /
RM3E FUNC : / GRAB /
: PRESS [ > ]
: ALL /
Q1 A 1
S
IMMED. CAP.
CLEAR
SETUP
[
>
]
F
UNCT I ON :
PRINTER SETUP COLOR : 200
/ COL / LAY / PRN / IN / OUT /
PRINT QTY. : 1 [ 1 ~ 9 ]
: OFF / ON
GAMMA : S / NORMAL / H
: OFF / ON
LOAD USER : 1 / 2 / 3 [ EXEC ]
SYSTEM : PRESS [ > ]
: PRESS [ > ]
C - BALANCE : PRESS [ > ]
Q1 A 1
S
INTERVAL
FUNCTION
PRESS
[
>
]
PRN SPEED : / HIGH
MOTION CHK
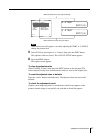
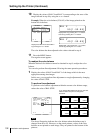
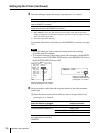
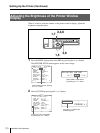
2 Select FUNCTION by pressing the F or f button.
3 Press the g button.
The FUNCTION SETUP menu appears.
To assign the functions of a remote control unit connected to REMOTE 2, go
to step 4.
To assign the functions of a remote control unit connected to REMOTE 3 (3A/
3B/3C/3E), go to step 6.
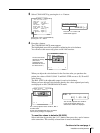
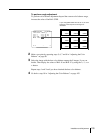
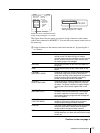
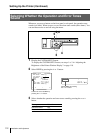
4 Select IMMED. CAP by pressing the F or f button.
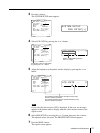
Position the cursor at FUNCTION
by pressing the F or f button.
Press the F or f button until
FUNCTION appears.
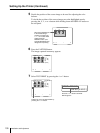
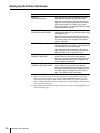
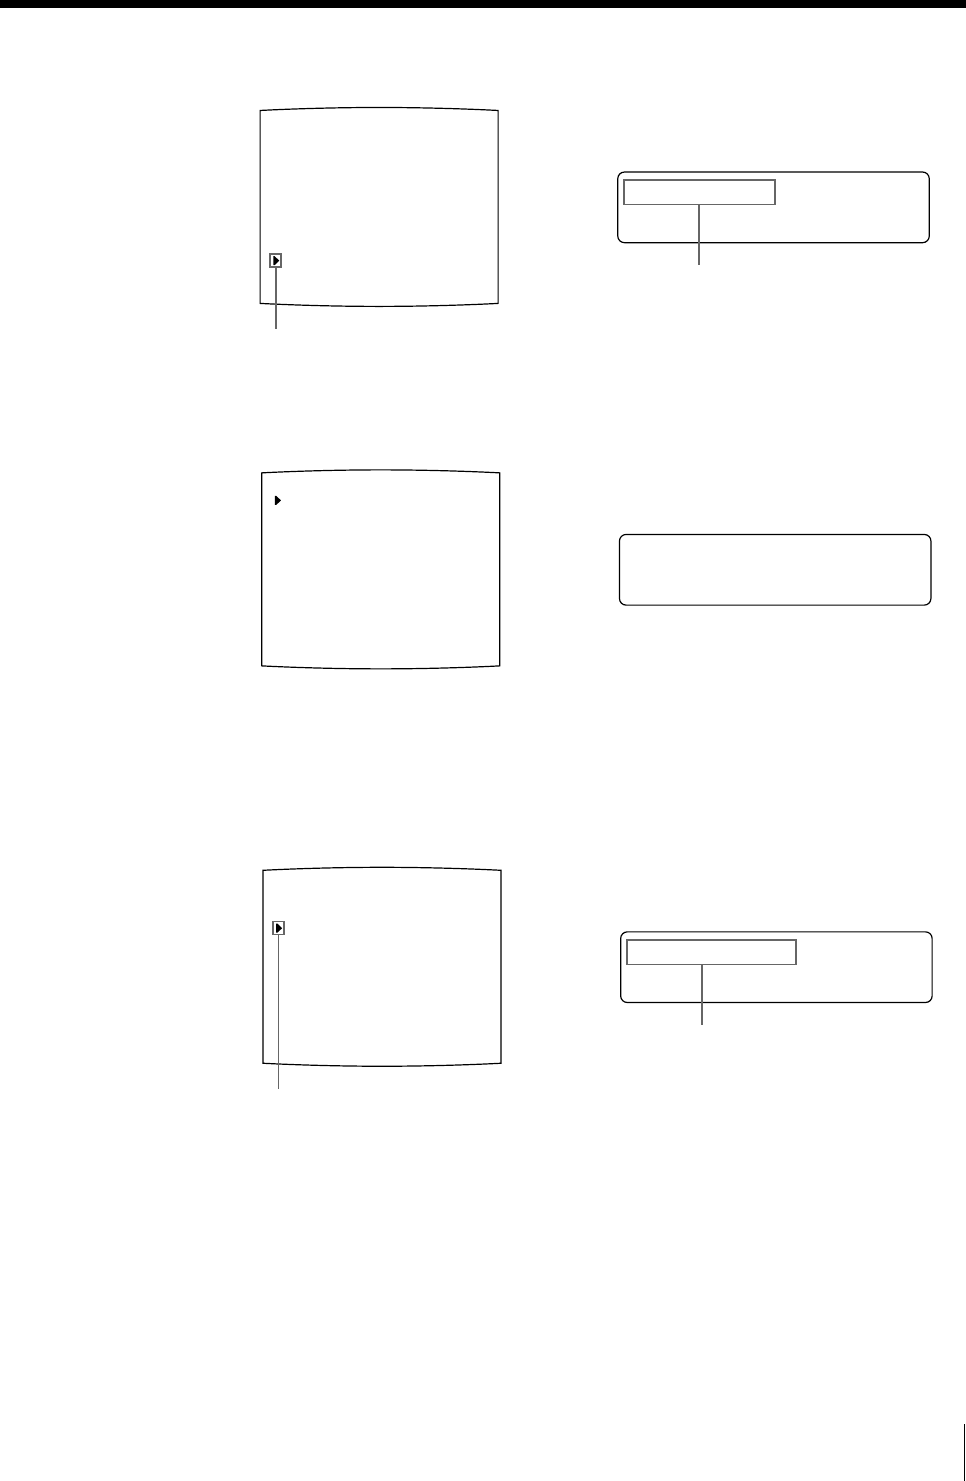
Position the cursor at IMMED. CAP by
pressing the F or f button.
Press the F or f button until IMMED.
CAP appears.
Continue to the next page c