17 (EN)
LIGHT
NORMAL
VIDEO
SELECT
BA
VIDEO/S VIDEO
INPUT SELECT
BRIGHT
-
CONTR
PICTURE CONTROL
-
++
ON
STATUS
OFF
PIO
MUTING
BLKG
SIZE R
RGB
SHIFT
CENT
B
MEMORY
RESET
MENU
ENTER
ON
POWER
OFF
STANDBY
IR
ON/ OFF
MAIN POWER
PIC
ON
AUDIO OFF
PATTERN
FOCUS
ZOOM
SHIFT
NORMAL
MUTING
STATUS
LCD LENS CONTROL
ON
COMMAND
OFF
SIZE
SHIFT
RGB
R
B
CENT
ON
OFF
POWER
MEMORY
MENU
VIDEO SELECT
INPUT SELECT
A D
B
C
BLKG
RESET
1
423
5
8
67
9
INDEX
0(ALL)
SECOND
SWITCHER/INDEX
SWITCHER
ENTER
POSITION
BRIGHT
CONTR
PICTURE CONTROL
HUE COLOR
SHARP VOLUME
LIGHT
VIDEO/S VIDEO
--
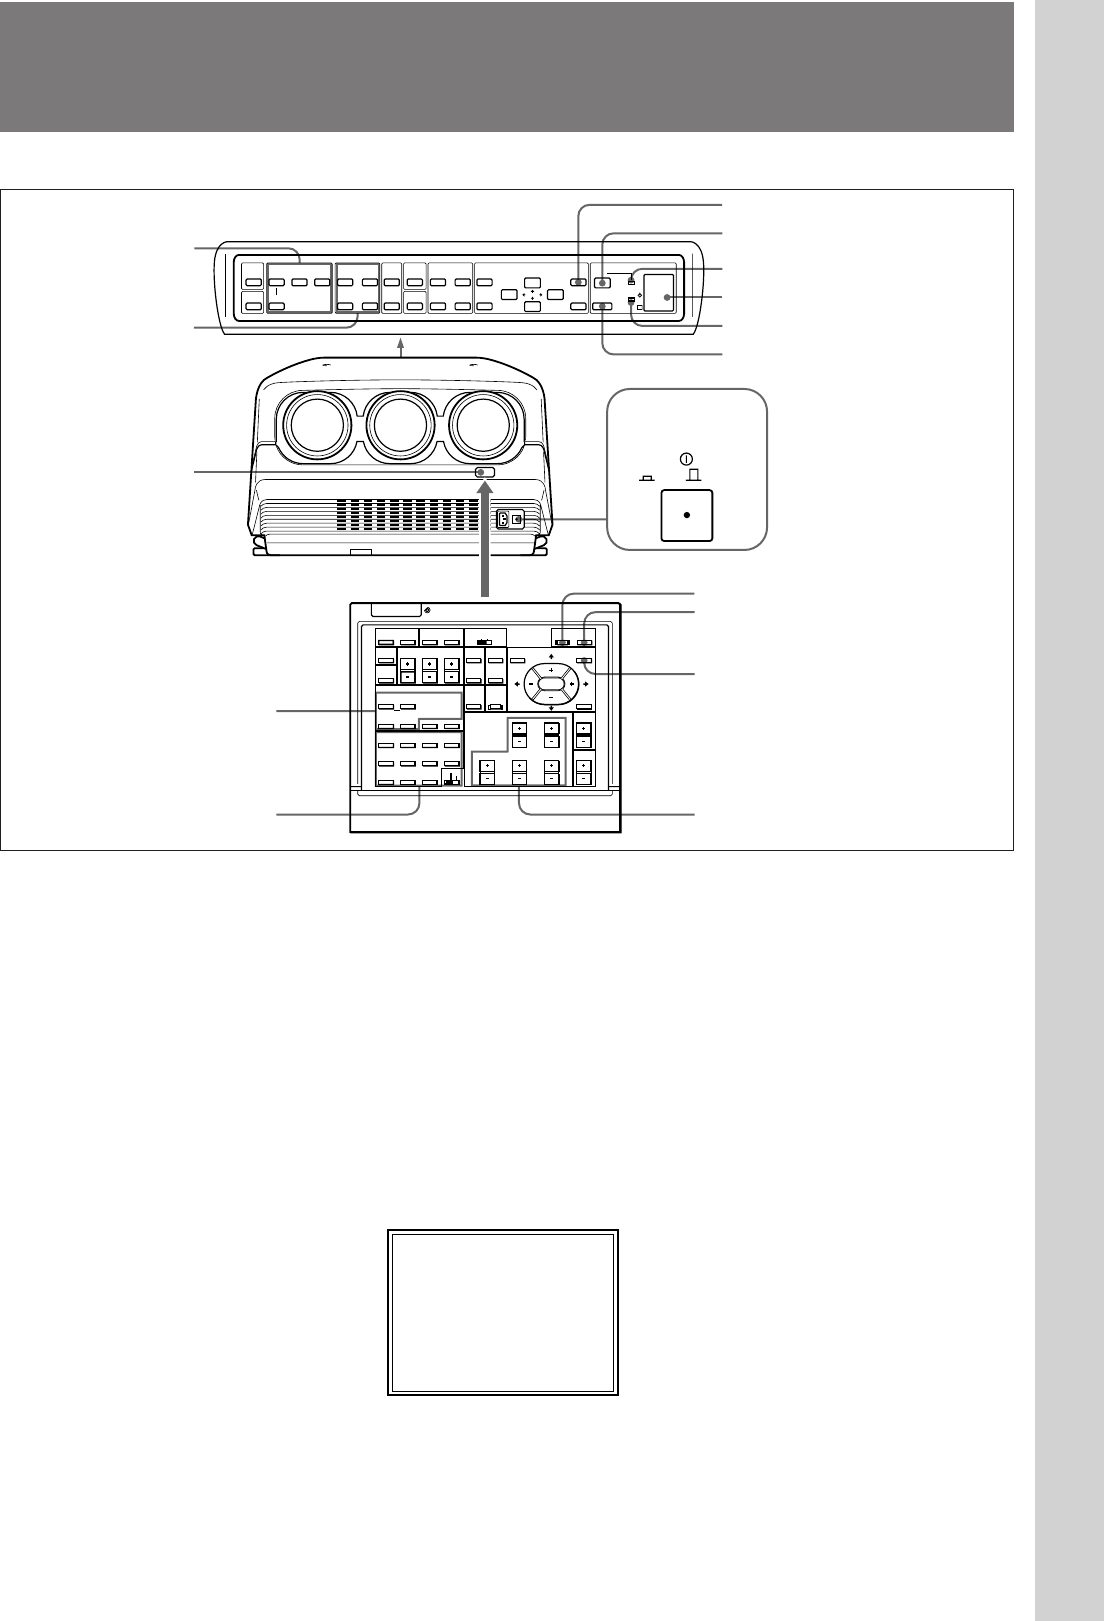
1 Press the MAIN POWER switch on the front of the projector.
The u STANDBY indicator on the control panel lights in orange and
the projector goes into the standby mode.
2 Press the POWER ON key on the remote control or the control panel.
The POWER ON indicator lights in green.
A white screen with the message shown below (warming up screen)
appears on the screen. Make sure to allow the projector to warm up for
20 minutes after turning it on.
The message disappears temporarily in about 35 seconds, and will
appear subsequently for 5 seconds every 30 seconds.
Press the MENU key to cancel the warming up screen and see the
picture immediately after the projector is turned on if, for example, the
adjustment has been finished and warming up is not needed.
(continued)
INPUT-A
For optimum
performance
white screen will
remain for 20min.
For immediate use,
push [MENU] key.
4
4
5
5
6
Rear remote control detector
POWER ON indicator
2
6
2
MENU key
SWITCHER/INDEX select switch
and number keys
Front remote control
detector
Control panel
u STANDBY indicator
MENU key
1, 6
Projecting
Projecting


