Installation Overview
3-4 First Edition 96047
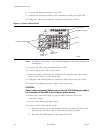
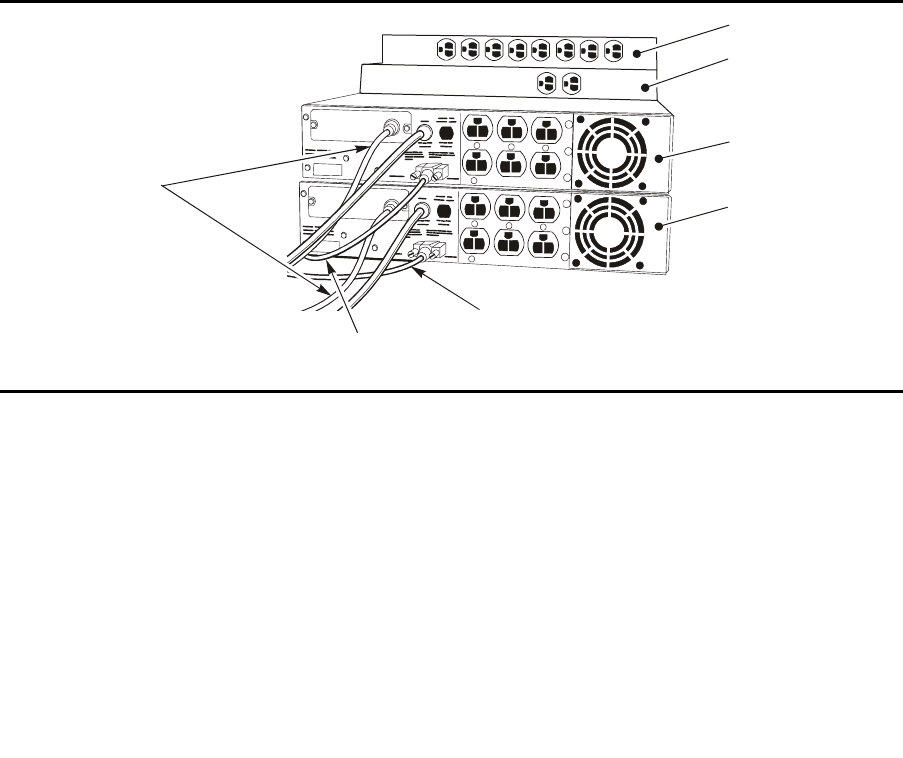
8. Connect the Ethernet cables to each UPS.
9. Connect the serial port cables to the connectors on the rear of the UPS.
10. Using the rack-mount hardware, install the switch above UPS A.
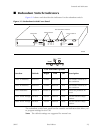
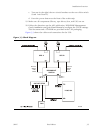
Note: See Figure 3-3 on page 3-5 for a block diagram of the cable routing and
connections.
11. Connect the UPS serial port cables to the switch.
12. Connect the power cables to the switch.
13. Route the power cable from the cooling fan through the rack area of the
library and connect it to the outlet strip.
14. Using the rack-mount hardware, install the outlet strip above the switch.
15. Connect any additional power cables to the outlet strip.
CAUTION:
Power cable requirement. Make sure you use the IEC 60309 power cables
for connection of the UPS to the customer power source.
16. Route and connect the main AC power cables from the UPS to the
customer’s outlets.
17. Power on the library and tape drives.
18. Power on each UPS and the switch:
a. Turn-on (up) the two circuit breakers on the rear of the UPS (one is the
input power, the other is the overcurrent protection breaker).
b. Press the ON/TEST button on the front of the UPS.
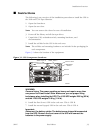
Figure 3-2. Rear Connections
C67335
OUTLET STRIP
REDUNDANT SWITCH
UPS A
UPS B
SERIAL PORT
CABLE B
SERIAL PORT
CABLE A
ETHERNET CABLES


