


Operating Your Computer 2-17
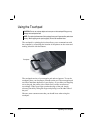
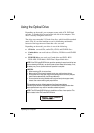
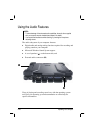
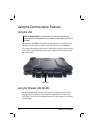
Inserting and Removing a Disc
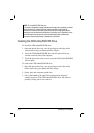
Follow this procedure to insert or remove a disc.
1. Turn on the computer.
2. Open the optical drive bay cover by pressing on both sides of the
release latch using your thumb and index fingers.
3. Press the eject button and the CD tray will slide out partially. Gently
pull on it until it is fully extended.
4. To insert a disc, place down the disc in the tray with its label facing
up. Slightly press the center of the disc until it clicks into place.
To remove a disc, hold the disc by its outer edge and lift it up from
the tray.
5. Gently push the tray back into the drive.
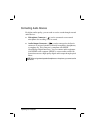
NOTE: In the unlikely event that you are unable to release the CD tray by pressing the
eject button, you can manually release the disc. (See “Optical Drive Problems” in
Chapter 8.)
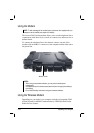
Lift up and turn counter-clockwise