Page 9
2.5 Operation:
2.5.1 Displa2.5.1 Displa
2.5.1 Displa2.5.1 Displa
2.5.1 Displa
yy
yy
y
If the power supply was purchased with the flow instruments, the power supply will be already
set up so that the display reads directly in the units of flow to be monitored. EXAMPLE: A 5 SLPM
unit is connected to channel 1. When the CHANNEL SELECTOR switch is turned to channel 1,
the display will read 5.00 at 5 SLPM flow rate. A 50 SCCM unit will have the display for its
channel read 50.0 at full flow. Note that the display has 3-1/2 digits, but only two decimal points are
active, therefore a 1 SLPM unit will read 1000 SCCM.
2.5.2 Channel Selection2.5.2 Channel Selection
2.5.2 Channel Selection2.5.2 Channel Selection
2.5.2 Channel Selection
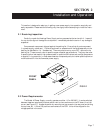
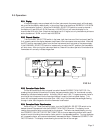
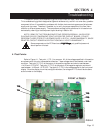
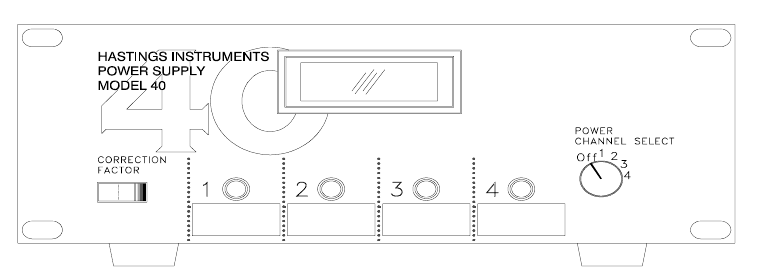
The CHANNEL SELECTOR switch in the lower right-hand corner of the front panel (see Fig.
2.4) is used to switch the display between the different flow instruments to be monitored. Note that
the OFF position removes all power from the flow instruments and from most of the power supply.
If the CHANNEL SELECTOR switch is inadvertently turned to the OFF position, the flowmeters
will shut down. After turning the instrument back on, there will be a short period of time before the
flowmeters will correctly indicate the gas flow.
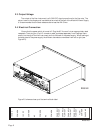
FIG 2.4
2.5.3 Cor2.5.3 Cor
2.5.3 Cor2.5.3 Cor
2.5.3 Cor
rection Frection F
rection Frection F
rection F
actor Switchactor Switch
actor Switchactor Switch
actor Switch
On the left hand side of the front panel is a switch labeled CORRECTION FACTOR. De-
pressing the right side of this switch will display the gas conversion factor for the channel correctly
selected by the channel selector switch. Normally this will read 1.000. This gas conversion factor is
a multiplier that is factored into the flow signal before it is sent to the front panel display. This
factor will be changed to some value other than 1.000, only if the flowmeter has some gas flowing
through it other than the gas for which the flowmeter is calibrated.
2.5.4 Cor2.5.4 Cor
2.5.4 Cor2.5.4 Cor
2.5.4 Cor
rection Frection F
rection Frection F
rection F
actor Pactor P
actor Pactor P
actor P
otentiometerotentiometer
otentiometerotentiometer
otentiometer
ss
ss
s
Refer to Fig. 2.4. To set a correction factor, turn the CHANNEL SELECTOR switch to the
desired channel. Depress and hold the CORRECTION FACTOR switch. The display is now
reading the correction factor currently set for the channel. This factor can be adjusted by turning
the CORRECTION FACTOR POTENTIOMETER for the corresponding channel with a small
screw driver while holding the correction factor switch in the depressed position. Turning clockwise
will increase the factor, and counterclockwise will decrease the factor. Release the CORRECTION
FACTOR switch. The display is now showing the correct flow of the new gas.


