


42
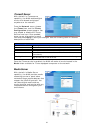
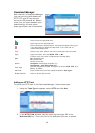
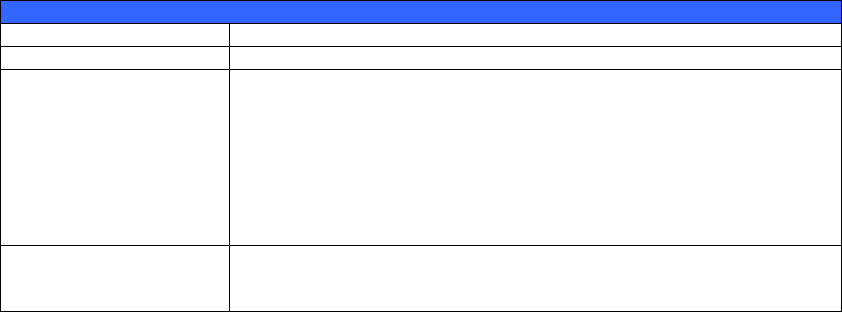
Media Manager Settings
Item Description
Media Server Enable or disable the Media Server service. Click
Shared Media Folders Select the folder(s) that contains media files to be shared. By
default, these include:
• Photos
• Video
• Music
• USBCopy
• USBHDD
• USDCam
Enabled on With this setting, you can choose if the shared media folders are
available via WAN, LAN, or WAN. Check the appropriate boxes to
access your shared media folders through selected connections.
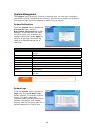
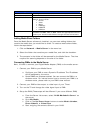
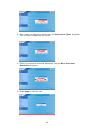
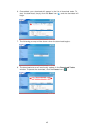
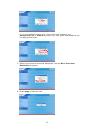
Adding Media Share Folders
Once the Media Server software is installed, you can start adding folders that
contain the media that you would like to share. To create a media share folder,
follow the steps below:
1. Click on Network > Media Server in the menu bar.
2. Select the folder that contains your media files, and click the checkbox.
3. The contents in the folder will be scanned for the Media Server. The time
required for scanning depends on the size of the folder.
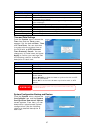
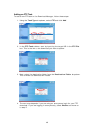
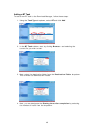
Connecting DMAs to the Media Server
Next, it’s time to connect your Digital Media Adapter (DMA) to the media server:
1. Connect your DMA to your Media Server
a. Configure your DMA to use a Dynamic IP address. The IP address
will be assigned by the router.
b. Some DMAs are wireless enabled. You can connect the DMA to a
wireless router. For instructions on how to connect your DMA to a
wireless router, please refer to your DMA’s user manual.
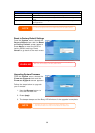
2. Connect your DMA’s video output to video input of your TV set.
3. Turn on the TV and change the video signal input to DMA.
4. Setup the DMA (These steps will be different if you use a different DMA)
a. From the Server List screen, select “N199:Mediabolic Server” as
the server.
b. Go to My Media
c. Click on the Up/Down Arrow buttons to select Music Jukebox,
Photo Albums, or Video Clips
d. Start enjoying the contents stored in your N199.