Description of Each Component 31
6. [SETTINGS] button
Use this to confirm the copying functions currently set.
P.66 “Confirming set functions”
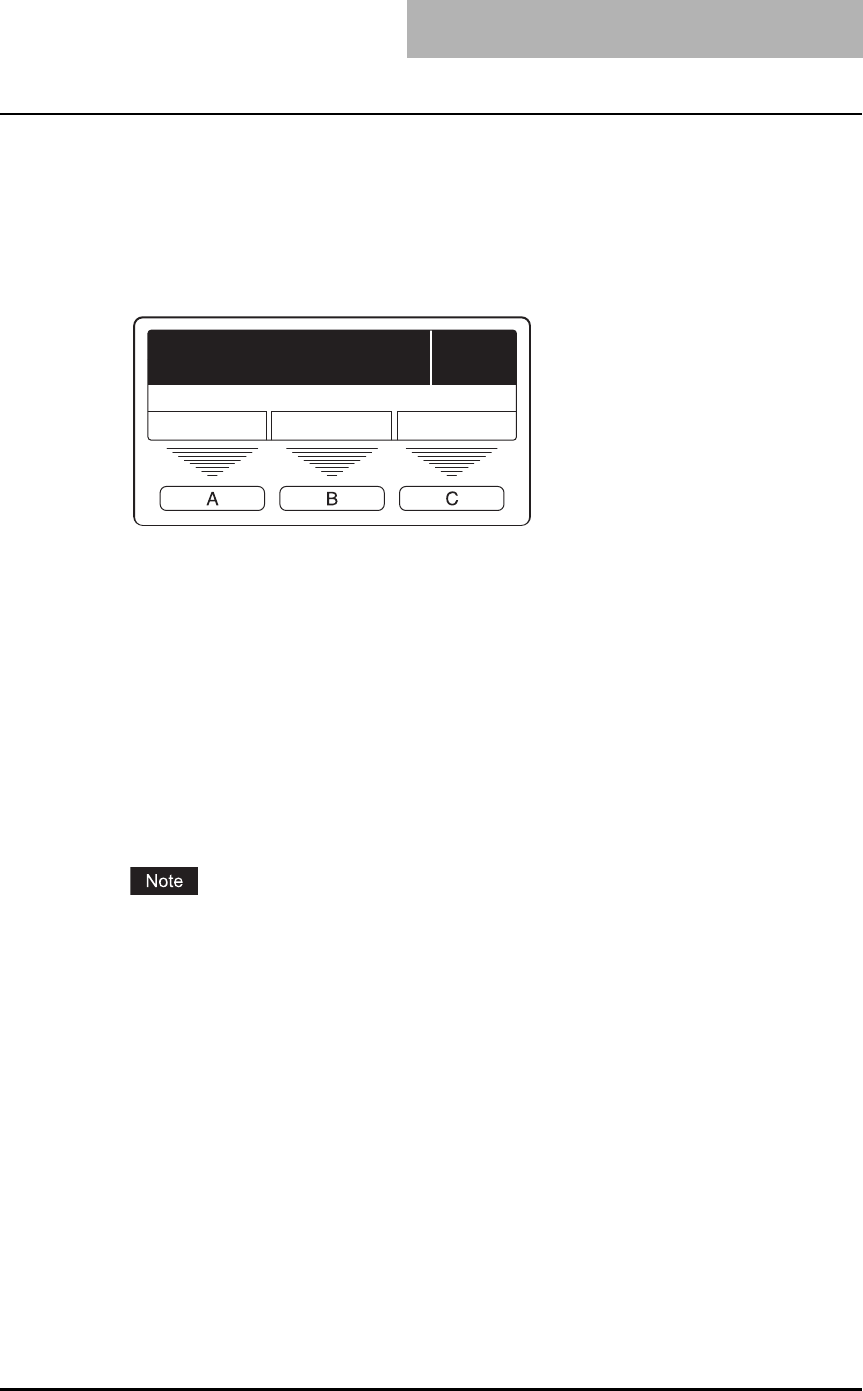
7. Selecting button A / B / C
Use them to select items or operation in each menu. Items or operation corresponding to
each button appears at the lower section of the LCD screen.
e.g.) “Copy mode” main screen
P.33 ““Copy mode” main screen”
8. LCD screen
Use this to check each menu and error messages displayed on it.
P.33 ““Copy mode” main screen”
9. Digital keys
Use them to key in any number such as copy quantity.
10.FAX TX/RX lamp
This lamp blinks at the transmission and reception of Fax data.
11. Function switching buttons
Use them to switch functions among copying, printing, scanning and Fax.
To utilize the scanning functions, the Scanner Upgrade Kit (optional) is required.
To utilize the Fax functions, the Fax Kit (optional) is required.
12.[FUNCTION CLEAR] button/lamp
This lamp blinks when copying is finished. Use this button to clear the set copy functions.
13.Contrast adjustment volume
Use this to adjust the brightness level of the LCD screen (8).
14.[CLEAR/STOP] button
Use this to stop the copy job in process or return the copy quantity keyed in to “1”.
15.[START] button
Use this to start copying. Copies can be made when the lamp is lit. It blinks when the equip-
ment is waiting for copying to be started.
For basic copy operations, see the following page:
P.57 “Making Copies”
READY
1
100% NONSORT
ZOOM FINISHING EDIT


