


124
4.SETTING ITEMS (ADMIN)
3.SETTING NETWORK FUNCTIONS (Cont.)
4
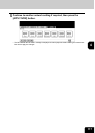
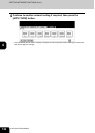
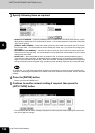
When you press the [APPLETALK NAME] and [DESIRED ZONE] buttons, the input screen is displayed. Enter
the value using the keyboard and digital keys, and press the [ENTER] button to set the entry.
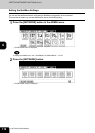
4
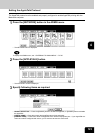
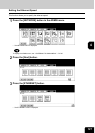
Press the [ENTER] button.
• Returns you to the NETWORK menu.
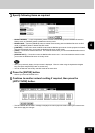
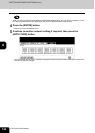
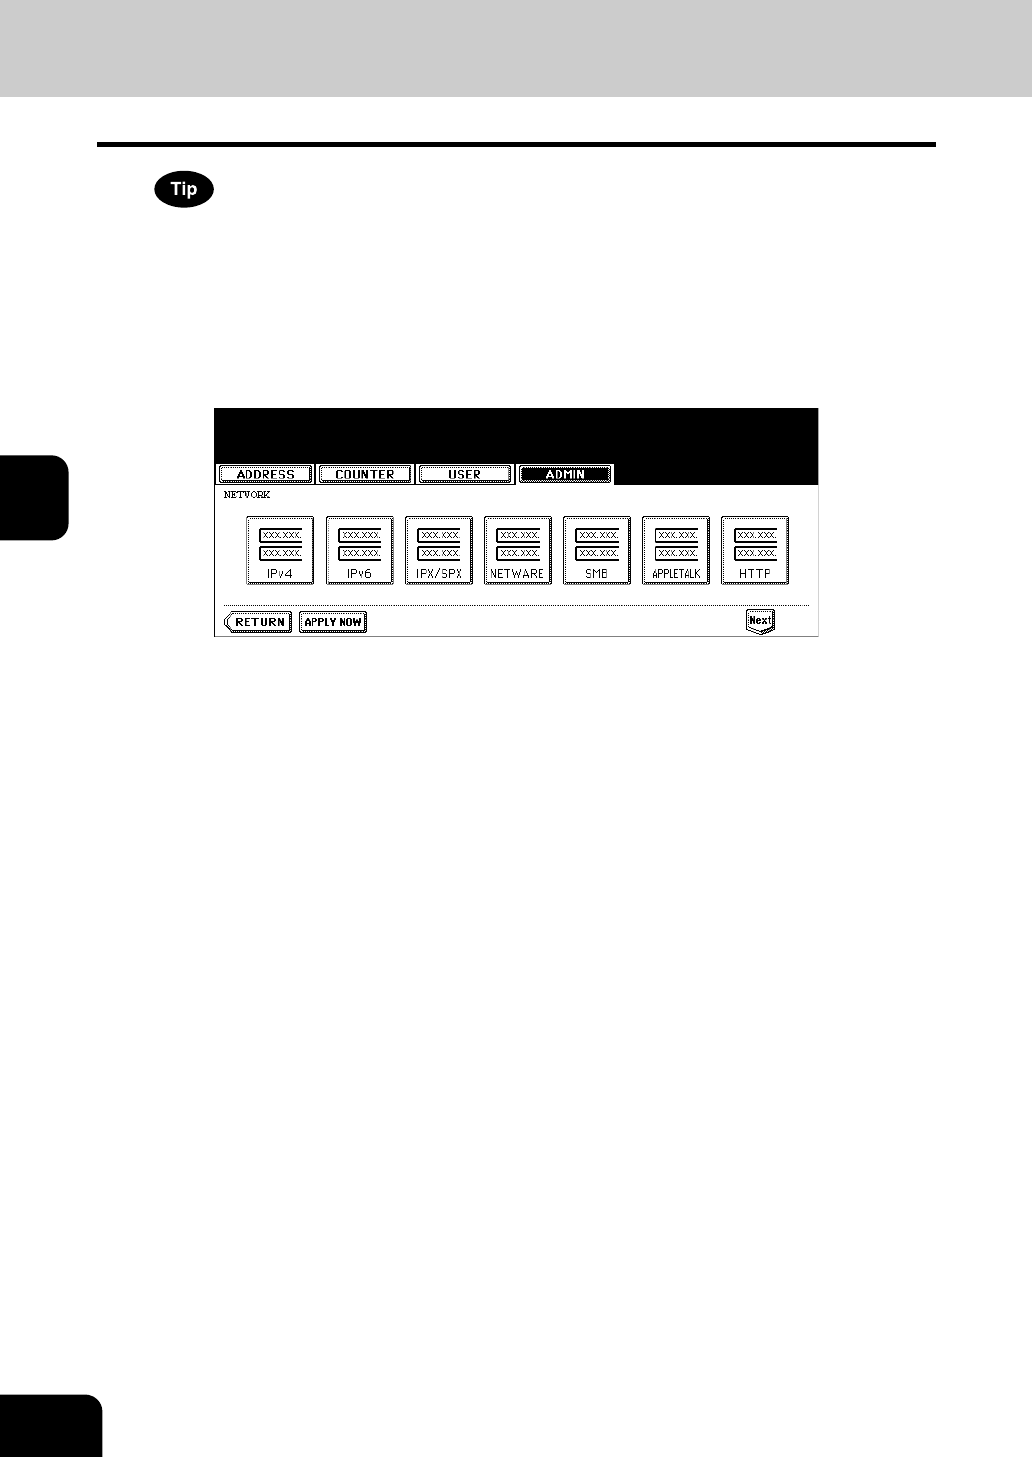
5
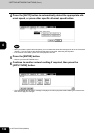
Continue to another network setting if required, then press the
[APPLY NOW] button.
• The "NETWORK INITIALIZING" message is displayed and this equipment starts initializing the network inter-
face card to apply the changes.