


7
Web Smart Gigabit Switch Family User's Guide
TL-SG2109WEB/TL-SL2210WEB/TL-SL2218WEB/TL-SL2428WEB/TL-SL2452WEB
Chapter 3: Mounting Device
3.1 Install the Device
Installation Precautions:
1. Ensure the surface on which the device is placed is adequately secured to
prevent it from becoming unstable and/or falling over.
2. Ensure the power outlet is placed within 1.5 m (5 feet) of the device.
3. Ensure the device is connected safely to the power outlet with the AC
power cable.
4. Ensure the device is placed in a ventilated enviroment.
3.1.1 Desktop or Shelf Installation
1. Place the switch on the desktop with its bottom upturned.
2. Attach the supplied rubber feet on the bottom at each corner of the switch.
3. Turnover the switch and place it on the desktop.
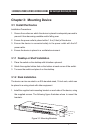
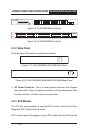
3.1.2 Rack Installation
The device can be mounted in an EIA standard-sized, 19-inch rack, which can
be placed in a wiring closet with other equipment.
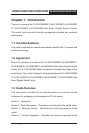
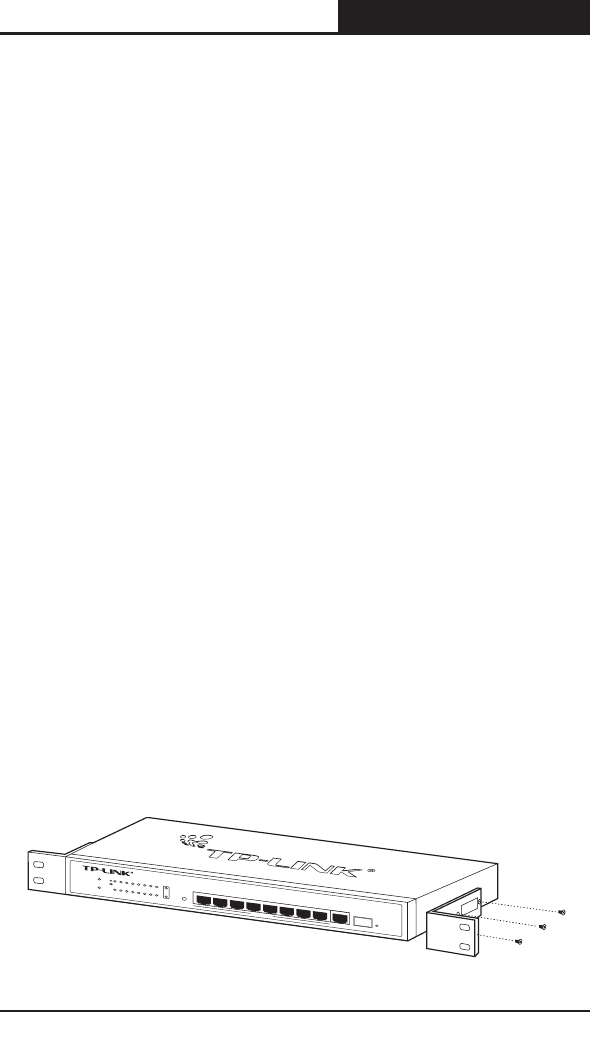
1. Install the supplied rack-mounting bracket on each side of the device, using
the supplied screws. The following figure illustrates where to mount the
brackets.
1
3
5
7
2
4
6
8
G
I
G
A
S
F
P
1
0
/
1
0
0
M
b
p
s
1
0
/1
0
0
/1
0
0
0
M
b
p
s
1
0
0
0
M
b
p
s
1
2
3
4
5
6
7
8
TL-SL2210WEB
R
E
S
E
T
8
+
2
G
W
e
b
-
S
m
a
r
t
S
w
i
t
c
h
P
o
w
e
r
1
0
0
M
L
i
n
k
A
c
t
S
y
s
t
e
m
1
0
0
0
M
G
IG
A
L
i
n
k
/
A
c
t
L
i
n
k
/
A
c
t
Figure 3-1 Mounting Brackets