© Copyright 2012 TRENDnet. All Rights Reserved.
TRENDnet User’s Guide
TEW-MFP1
6
4. Power on the printer.
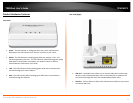
5. Verify that the status LED indicators on the front of the print server to confirm that
the device is fully functional (Power is solid green, WLAN is solid green and USB
port is solid green).
6. Press and hold for 5 seconds the WPS button of your wireless router or access
point. Verify that the WPS feature is enabled and functioning. Please refer to your
wireless router or access point’s manual or contact their technical support for
instructions.
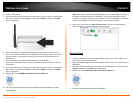
7. Press and hold for 5 seconds the WPS button on the TEW-MFP1.
Wait 30 seconds while the print server synchronizes with your wireless router or
access point.
8. Verify that the status LED indicators on the front of the print server to confirm that
the device is fully functional (Power is solid green, WLAN is solid green and USB
port is solid green).
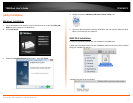
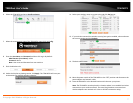
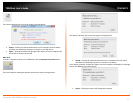
9. Double click on the TRENDnet USB Control Center Utility icon.
10. The utility will automatically find the TEW-MFP1 and the USB device you have
connected to it.
Note: If the utility cannot find your TEW-MFP1,try to close and reopen the utility. If
the utility still cannot locate your TEW-MFP1, it is likely the TEW-MFP1 cannot
establish a connection to your wireless network. Place the TEW-MFP1 to a location
where it can establish a wireless connection to your wireless network.
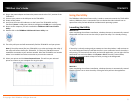
11. Select your printer and click Auto-Connect Printer. This will set your selected
printer to connect to your computer for any print jobs.
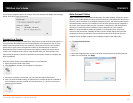
Manual Setup
1. Plug the TEW-MFP1 with the provided network cable to one of the LAN ports of
your router or your network switch.
2. Plug in the power adapter and move the power switch to the “On” position on the
TEW-MFP1.
3. Verify the status LED indicators on the front of the TEW-MFP1 are fully functional
(Power is solid green and LAN port is solid green).
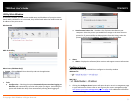
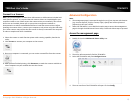
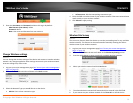
4. Double click on the TRENDnet USB Control Center Utility icon.
5. The utility will automatically find the TEW-MFP1.


