4 • OPERATION
5
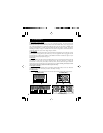
4.1 Electrical Connection
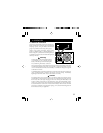
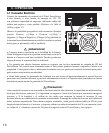
Connect your PowerVerter's DC Input Terminals to a
battery or other source of 12V DC power with sufficient
amperage capacity, using the shortest and heaviest
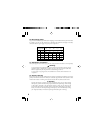
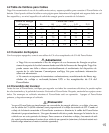
gauge wire possible. (See Wire Gauge Chart, page 6)
Observe proper polarity at all times. Always connect
Positive (+)/Red to Positive (+)/Red and Negative (-)/
Black to Negative (-)/Black. If the terminal polarity is
accidentally reversed, the unit will not be damaged, but
the fuse(s) will blow.
Warning!
• Keep battery location well ventilated. Explo-
sive hydrogen gas can accumulate near the
battery if it is not kept well ventilated. Sparks
may result during final battery connection.
• Do not allow objects to contact the PowerVerter’s two DC Input Terminals. Do not short
or bridge them together. Serious injury to person and/or property could result. You may
cover or insulate these terminals once the battery is connected to help protect against
accidental short circuits.
• You must tighten your battery terminals to approximately 4 Newton-meters of torque to
create an efficient battery connection and prevent excessive heating. Insufficiently
tightening the terminals could void your PowerVerter's warranty.
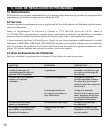
Caution!
Even though the inverter is a high-efficiency converter of electricity, the output capacity
is limited by two external factors: 1) the amp-hour size of the battery supplying power to
the inverter; and 2) the length and gauge of the wires running from the battery to the
inverter. If either of these items are not sufficient to supply the recommended current,
output power of the inverter will be less than its rated maximum. For best performance,
it is recommended to use short DC wires between the battery and the inverter and then
use longer AC extension cords (grounded, 14-gauge, 3-wire, less than 100 ft. long) between
the PowerVerter and your equipment.
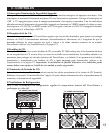
PV1000 Shown


