Page 15
Chapter 6 Setup
The scanner interface can be configured to fit the user's specific
application. All configuration parameters are stored in a non-volatile
memory, which is retained even if power is lost.
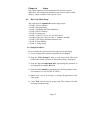
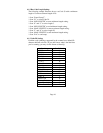
6.1 Bar Code Menu Setup
The setup menu in Appendix D contains eight groups:
* Group 1: Device selection.
* Group 2: Beep and delay.
* Group 3: Keyboard and Wand Emulation.
* Group 4: RS-232 Settings
* Group 5: Scanner port.
* Group 7: Code 39, I 2 of 5, S 2 of 5 and Code 32.
* Group 8: Code 128, Code 93, Code 11, Codabar, and MSI.
* Group 9: UPC/EAN, and Delta Distance Code.
* Group 10: Data Editing.
* Group 11: Dump setup.
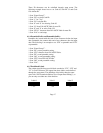
6.1.1 Setup Procedures:
For most parameters, proceed the following steps for the setting:
1) Locate a group that contains the parameter to be changed.
2) Scan the "Enter Group #" label to enter setup mode. The green
LED on the scanner will flash to indicate that setup is in progress.
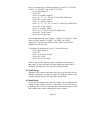
3) Scan the label (on right hand side) representing the parameter to
be changed.(For example, B1 label)
4) Scan the labels (number) representing the desired parameter value.
(For example, 05, scan “0” and “5” labels.)
5) Repeat step 3 and 4, if necessary, to change the parameters in the
same group.
6) Scan "Exit" label to end the group setup. The scanner will make
two beeps to end the setup.


