


Operation
Vidikron Vision Model 15 Installation/Operation Manual 37
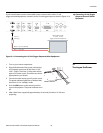
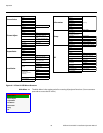
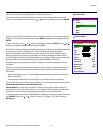
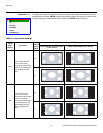
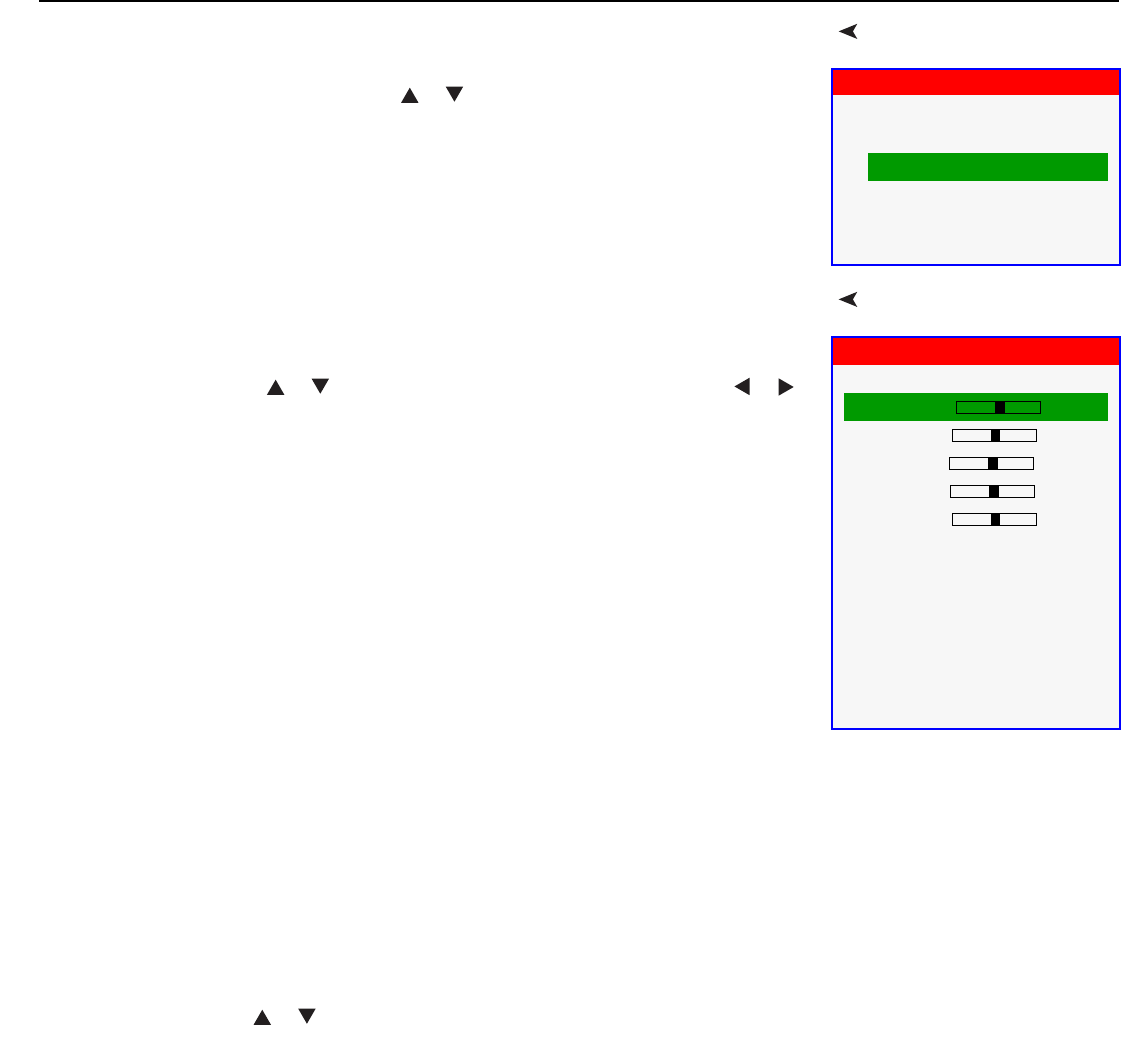
Source SelectChoose Source Select from the Main Menu to switch video sources.
The active source is indicated by an arrow to its left; in this example, Video is the active
source. To select a different source, use the
or button to highlight it and press ENTER.
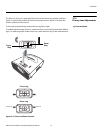
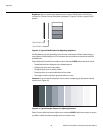
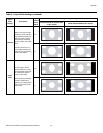
Picture AdjustUse the controls in the Picture Adjust menu to calibrate your Vision 15 for optimum picture
quality. To access the Picture Adjust menu, press MENU, highlight Picture Adjust and press
ENTER.
To adjust a setting, use the or button to highlight it and press ENTER. Use the or
button to change the setting. When finished, press EXIT.
The Vision 15 has been designed to incorporate setup and calibration standards established
by the Imaging Science Foundation (ISF). The ISF has developed carefully crafted,
industry-recognized standards for optimal video performance and has implemented a
training program for technicians and installers to use these standards to obtain optimal
picture quality from Vidikron video display devices. Accordingly, Vidikron recommends that
setup and calibration be performed by an ISF certified installation technician.
All signal types require separate processing. Therefore, you need to calibrate each input
separately.
Although it may be possible to obtain satisfactory picture quality using the naked eye and
regular program material, Vidikron recommends using the following calibration tools for
best results:
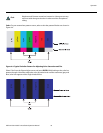
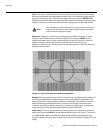
• External test pattern source – Ovation Multimedia, Digital Video Essentials or AVIA test
DVD or equivalent.
• A blue filter (provided with many test DVDs), for color level and tint adjustments.
Connect your test pattern source to the input that you are calibrating and proceed as follows.
Perform the adjustments in the order listed here.
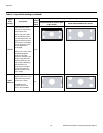
Picture Memory: For each input, the Vision 15 lets you store picture quality settings as
presets that you can recall at a later time. You can create up to three presets per input and
resolution, to accommodate changing lighting conditions or viewer preferences.
To recall a picture memory preset, highlight Picture Memory in the Picture Adjust menu and
press ENTER. Then, press or to select “Custom,” “ISF Night” or “ISF Day” and press
ENTER again.
Source Select
➨
Video
S-Video
Component
HDMI
DVI-D
DVI-A
Picture Adjust
Picture Memory Custom
Brightness 0
Contrast 0
Color 0
Tint 0
Sharpness 3
Gamma 2.2
Color Temp. 6500
Color Space Auto
BrilliantColor™ Off
Black Level 0 IRE
Save Settings
Reset to Defaults