10 ViewSonic PJ700
E
N
G
L
I
S
H
OnView Menus
Use the OnView
®
menus to make precise adjustments to the options described in the section below.
To access and adjust the OnView menus, do the following:
1
Press the MENU button on the remote control or the projector control pad to display the OnView
menus.
2 Use the left or right arrow buttons to select a menu (Setup, Input, Image, Options).
3
Use the up and down arrow buttons to highlight an item on the displayed menu.
4 Use the right arrow button to select the highlighted menu item.
5
Use the arrow buttons as indicated on screen to adjust the menu item.
NOTE: If you do not push a button after making an adjustment, the change applies automatically
after a few seconds.
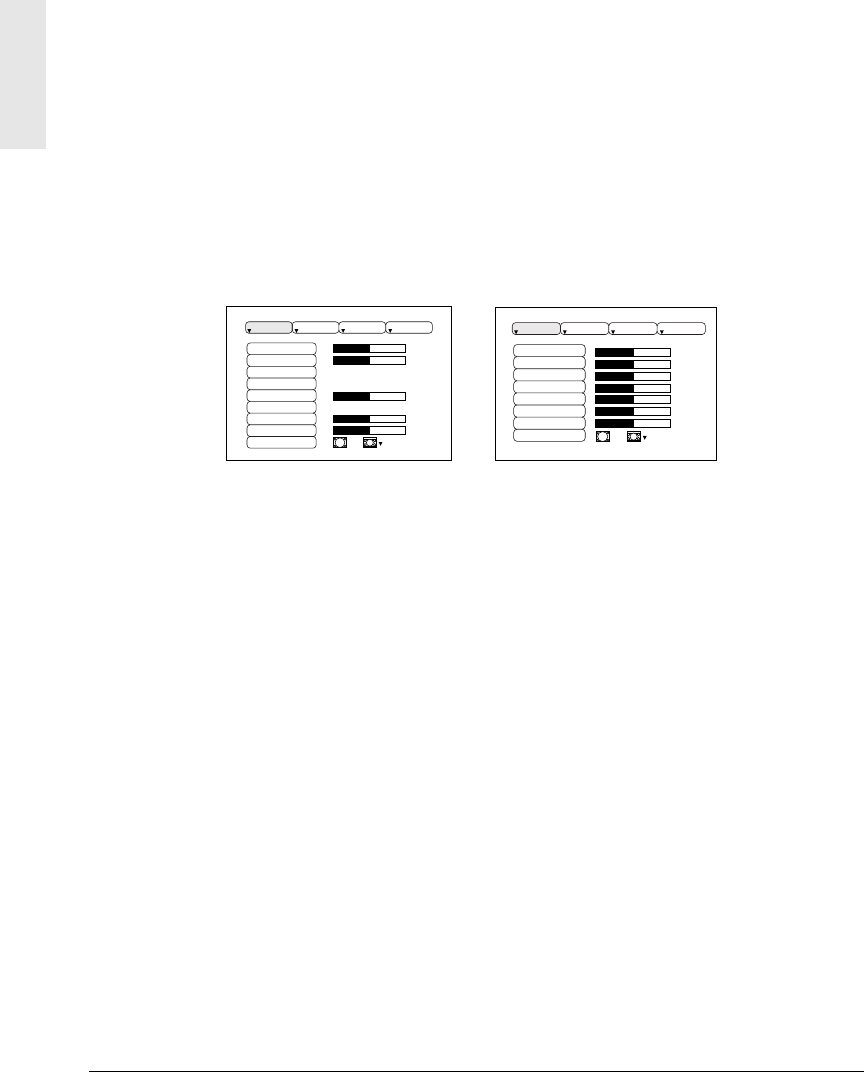
Setup Main Menu
Bright adjusts the brightness of the projected image.
Contrast adjusts the contrast of the projected image.
Vertical Position (computer input only) moves the projected image up or down.
Horizontal Position (computer input only) moves the projected image to the right or left.
Horizontal Phase (computer input only) eliminates visible horizontal lines on the projected image.
Horizontal Size (computer input only) widens or narrows the projected image.
Sharpness (video input only) makes the edges of the image appear softer or sharper.
Color (video input only) increases or decreases the saturation of the color.
Tint (video input only) adjusts the hue of the projected image from red to green.
Color Balance R darkens or lightens the Red color of the projected image.
Color Balance B darkens or lightens the Blue color of the projected image.
Aspect selects an aspect ratio for the projected image. The aspect ratio is the ratio of width to height
of the projected image.
0
-2
+1
0
0
100
100
800
SETUP INPUT OPT.IMAGE
BRIGHT
CONTRAST
V POSIT
H POSIT
H PHASE
H SIZE
COLOR BAL R
COLOR BAL B
ASPECT
BRIGHT
CONTRAST
SHARPNESS
COLOR
TINT
COLOR BAL R
COLOR BAL B
ASPECT
SETUP INPUT OPT.IMAGE
0
0
0
0
0
+1
+1
SETUP Main Menu RGB
S
ETUP Ma
i
n Menu
Vid
eo


