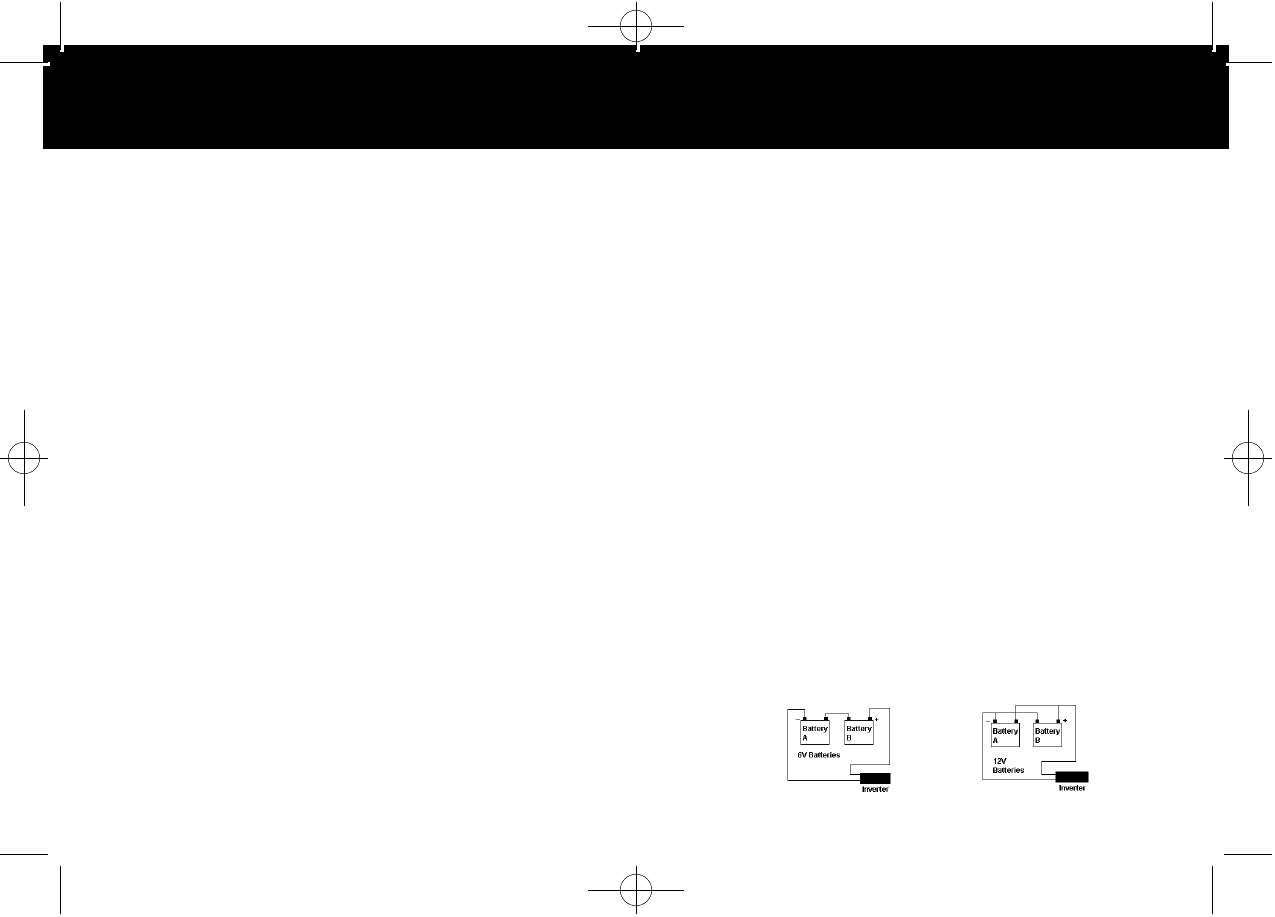
R e g a r dless of the wire gauge selected to make the connec-
tions to the battery, we recommend use of an "O Ring
A d a p t e r." Use of #0 gauge wire to make the connections to
the inverter may re q u i re a "0 to 4 Gauge Adapter." Both
adapters are available through electronic supply store s
including Radio Shack. Radio Shack part number is listed
b e l o w :
O Ring Adapter: RSU11538139
2000 Series
When the inverter and the battery are set up within four feet
of each other, use a minimum of #2 gauge wire to make the
connections. Within four to six feet, use two #0 gauge wire .
At distances of more than six feet, use two #0 gauge wire s
connected in parallel to the battery. This connection will
re q u i r e eight O Ring Adapters as re f e renced above.
A l t e rn a t i v e l y, use #00 (2/0) gauge wire with the appro p r i a t e
adapters. These #00 gauge wire adapters are available
t h r ough most electronic supply store s .
14
CABLE INFORMATION
OPERATION
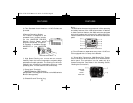
Making the Connection.
1. Make certain that the Power switch is in the OFF (O)
position.
2. Connect the cables to the power input terminals at
the rear of the inverter and tighten the screws to make
a secure connection. Do not use tools to tighten
these screws.
( To make these connections on the 2000 series, re m o v e
the supplied nut at each terminal on the invert e r, install
the wire connectors flush with the metal backing plates
and refasten the nuts secure l y. Do not over tighten
these nuts).
3. Connect the cable from the (BLACK) Negative (-) ter-
minal on the inverter (white on the 1000 series) to the
Negative (-) terminal on the 12 volt power source.
Make certain the connection is secure.
4. Confirm that the cable you have just installed is prop-
erly connected. Specifically, make certain that the
cable is connected to the Negative (-) terminals on
both the inverter and the 12 volt power source.
5. Connect the cable from the (RED) Positive (+) terminal
on the inverter (red on all series) to the Positive (+) ter-
minal on the power source.
15
1250/1750/2750 Manual 3/6/02 2:45 PM Page 17


