


Step 4
Using dry compressed air or a vacuum,
clean out both sections of the cartridge.
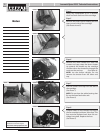
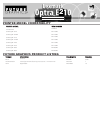
Step 5
Remove the three screws holding the end
caps on each side of the cartridge.
(See Photos 4 and 5)
Photo 4
Photo 5
Photo 6
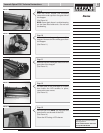
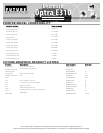
Step 6
Remove the drum shutter arm from the
contact end cap, rotate the drum shutter
up towards the handle on the cartridge
until the tab on the shutter fits through the
notch on the end cap.
(See Photo 6)
NOTE: Let the shutter dangle; Do not
remove the shutter from the other end
cap.
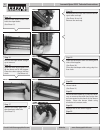
Step 7
Pull the contact end cap from the side of
the c
ar
tridge.
(See Photo 7)
NO TE: Do not lose the white bearing that
fits on the foam f
eed roller axle
(See Photo 8)
Photo 7 Photo 8
Need trust-worthy, detailed Technical
Instructions for another engine?
Visit: www.futuregraphicsllc.com
2 Lexmark Optra E310 Technical Instructions
P
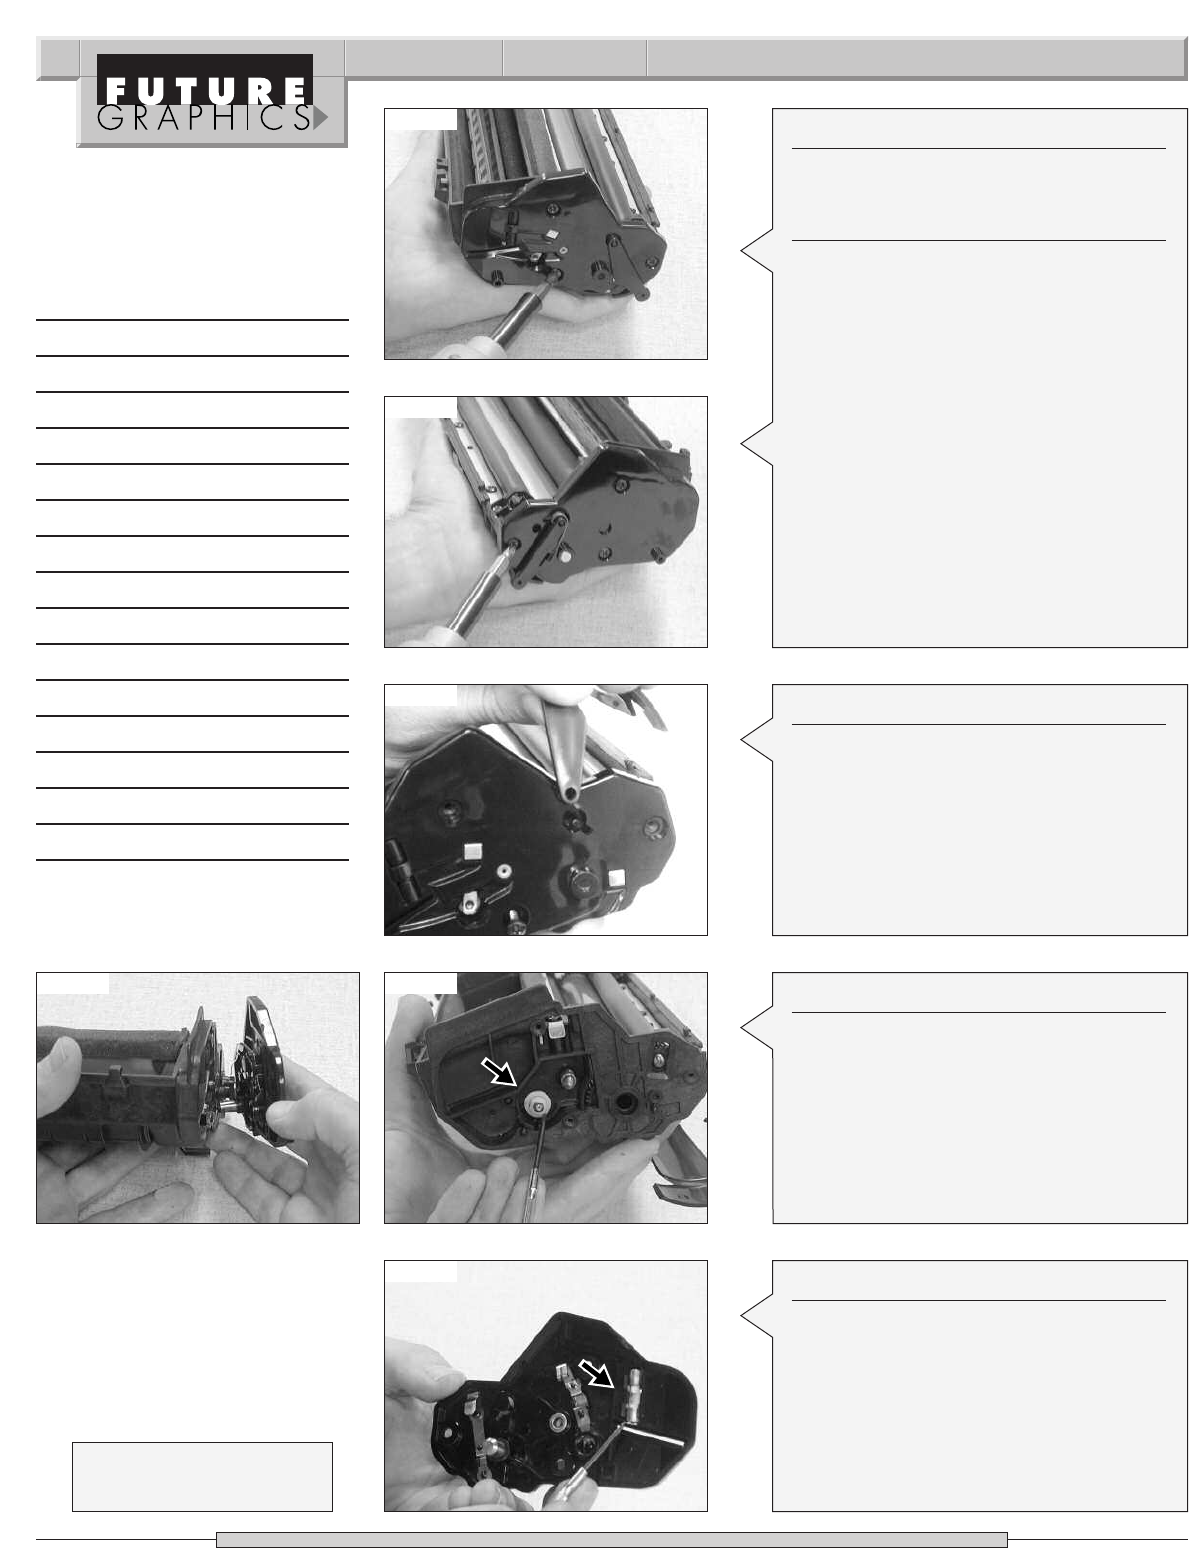
hoto 9
Step 8
Located ONLY on the contact end cap of
the fax cartridge is a blown 100m fuse. This
fuse must b
e r
eplac
ed each time this c
ar-
tridge is recycled. Replace the fuse.
(S
ee P
hoto 9)
Notes