


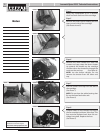

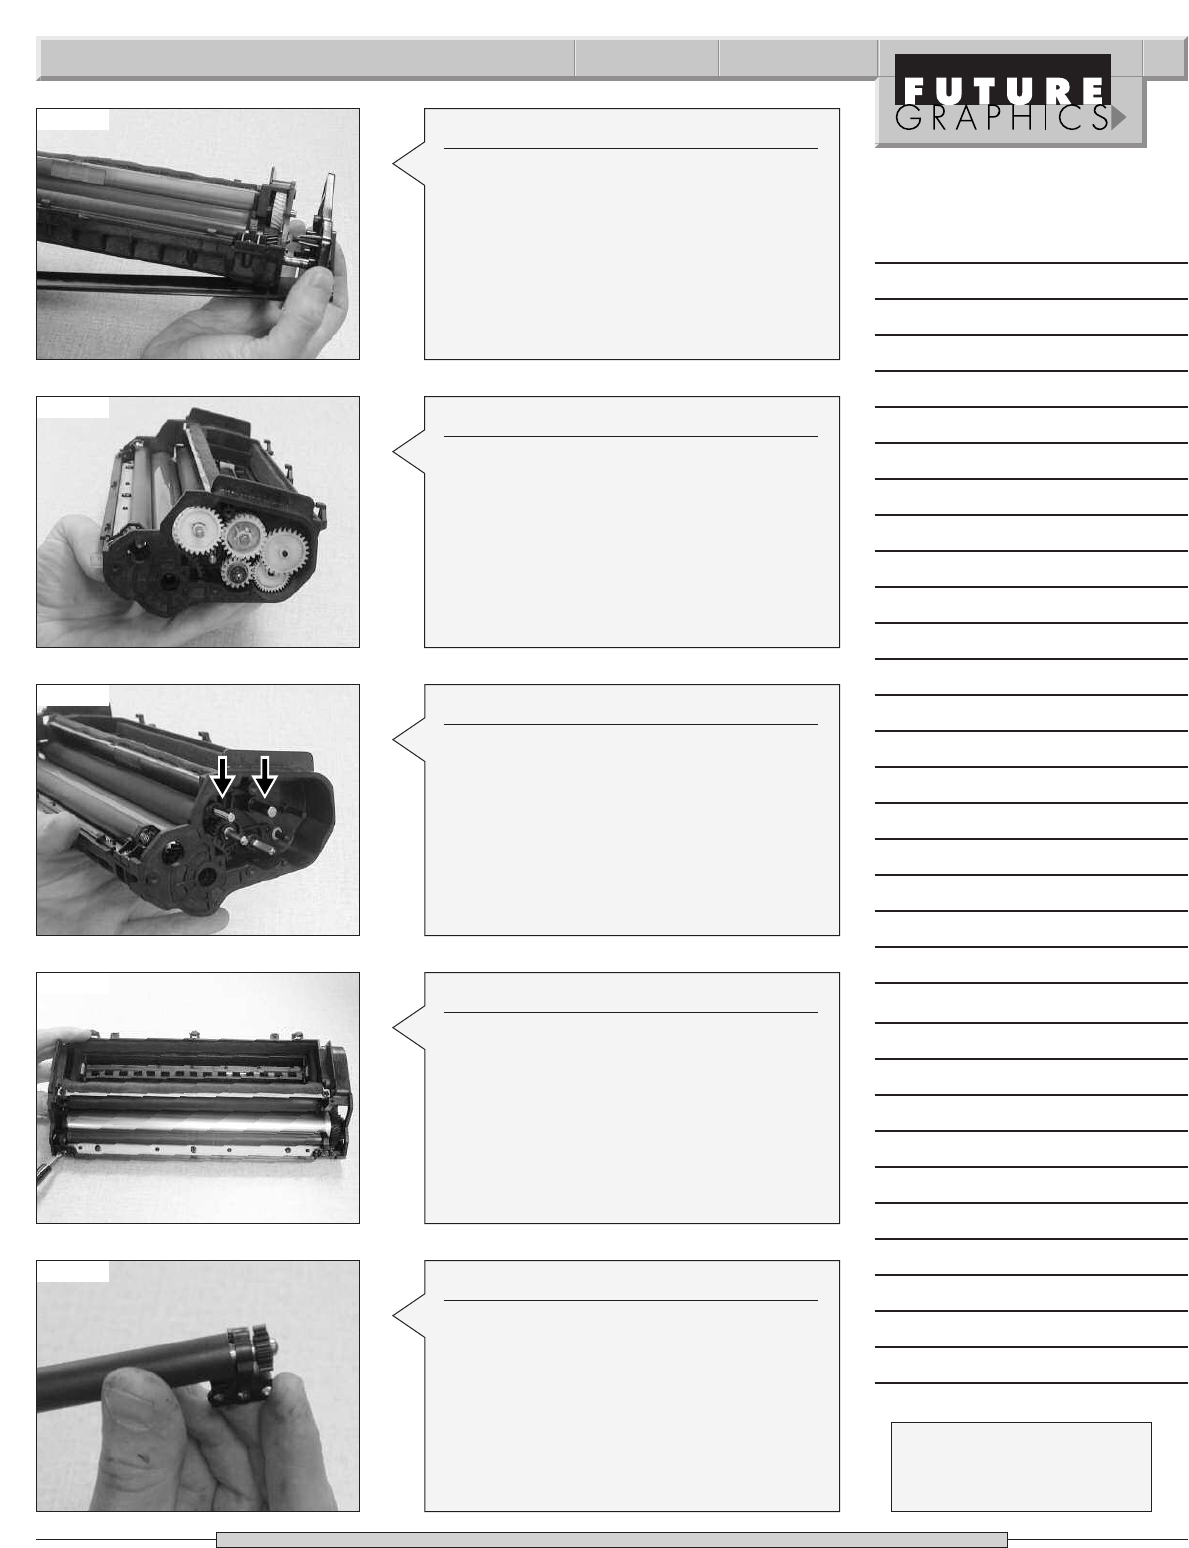
Photo 11
Step 11
Remove the two metal gear axles from the
gear side of the hopper.
(See Photo 12)
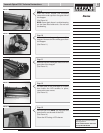
Photo 12
St
ep 12
On each end of the PCR ther
e is a screw
that holds the PCR saddles in place
,
remove the two screws.
(S
ee P
hot
o 13)
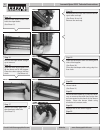
Photo 13
Step 13
Lift out the PCR. NOTE: Do not lose the
gear tha
t fits on the end of the PCR.
(See Photo 14)
Clean the PCR using a PCR cleaner.
P
hoto 14
N
eed help with a particular remanu-
facturing problem?
Call the Technical Resource Center from
8am - 5pm PST: 800 394.9900
Lexmark Optra E310 Technical Instructions 3
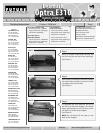
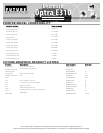
Step 10
Photo 11 shows the gear alignment of the
hopper. Remove the five white gears from
the hopper.
(See Photo 11)
Photo 10
Step 9
With the drum shutter still attached,
remove the end cap from the gear side of
the hopper.
(See Photo 10)
N
O TE:
O
nce again there is a white bearing
on the foam feed roller axle. Do not lose
the bearing.
Notes