


Replacing the Print Cartridges
Chapter 4: Maintaining the Printer ❖ 4-13
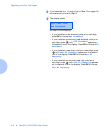
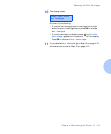
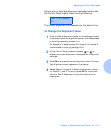
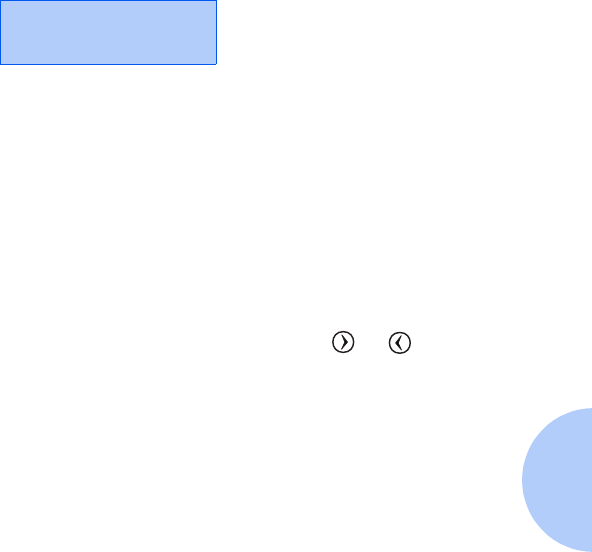
Once the print cartridge alignment test page has printed,
the Control Panel display looks like the following:
The current alignment value appears on the second line.
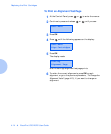
To Change the Alignment Value
1
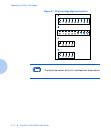
From the Test A alignment group on the test page, locate
the number under the alignment pattern that
comes closest
to forming a perfectly straight line.
For example, in sample group A on page 4-12, number 5
comes closest to forming a straight line.
2
At the Control Panel, press and release or to
display the correct alignment value based on the printed
test page.
3
Press
OK
to choose the correct alignment value. The next
Test Alignment screen appears on the display.
4
Repeat Steps 1 through 3 to select the alignment values
for Tests B, C, and D. Once you press
OK
for the correct
value for Test D Alignment, the printer returns to the
ready state.
Test A Alignment
=5*