Chapter12—Sampling pads
202 — Operation Guide
❍ START
❍ END
Specify the beginning (START) and end (END) of the area that will be erased from
the pad track selected by PAD.
❍ EXECUTE
This button executes the Erase command.
Tip!
• If you set the counter to measure units, you can set the START and END
parameters in measure/beat units.
• Instead of using the [DATA/JOG] dial to vary a location continuously, you can
use the keys of the locate section to move instantly to a desired locate point or
marker.
3. Move the cursor to the parameter whose setting you wish to change,
and press the [ENTER] key.
The cursor will move to the parameter setting, and the value of the selected
parameter will be displayed.
4. Use the [DATA/JOG] dial to set the parameter, and press the [ENTER]
key.
The setting will change, and the cursor will return to the parameter location of
step 3.
5. Repeat steps 3–4 to set the remaining parameters.
6. Move the cursor to the EXECUTE button and press the [ENTER] key.
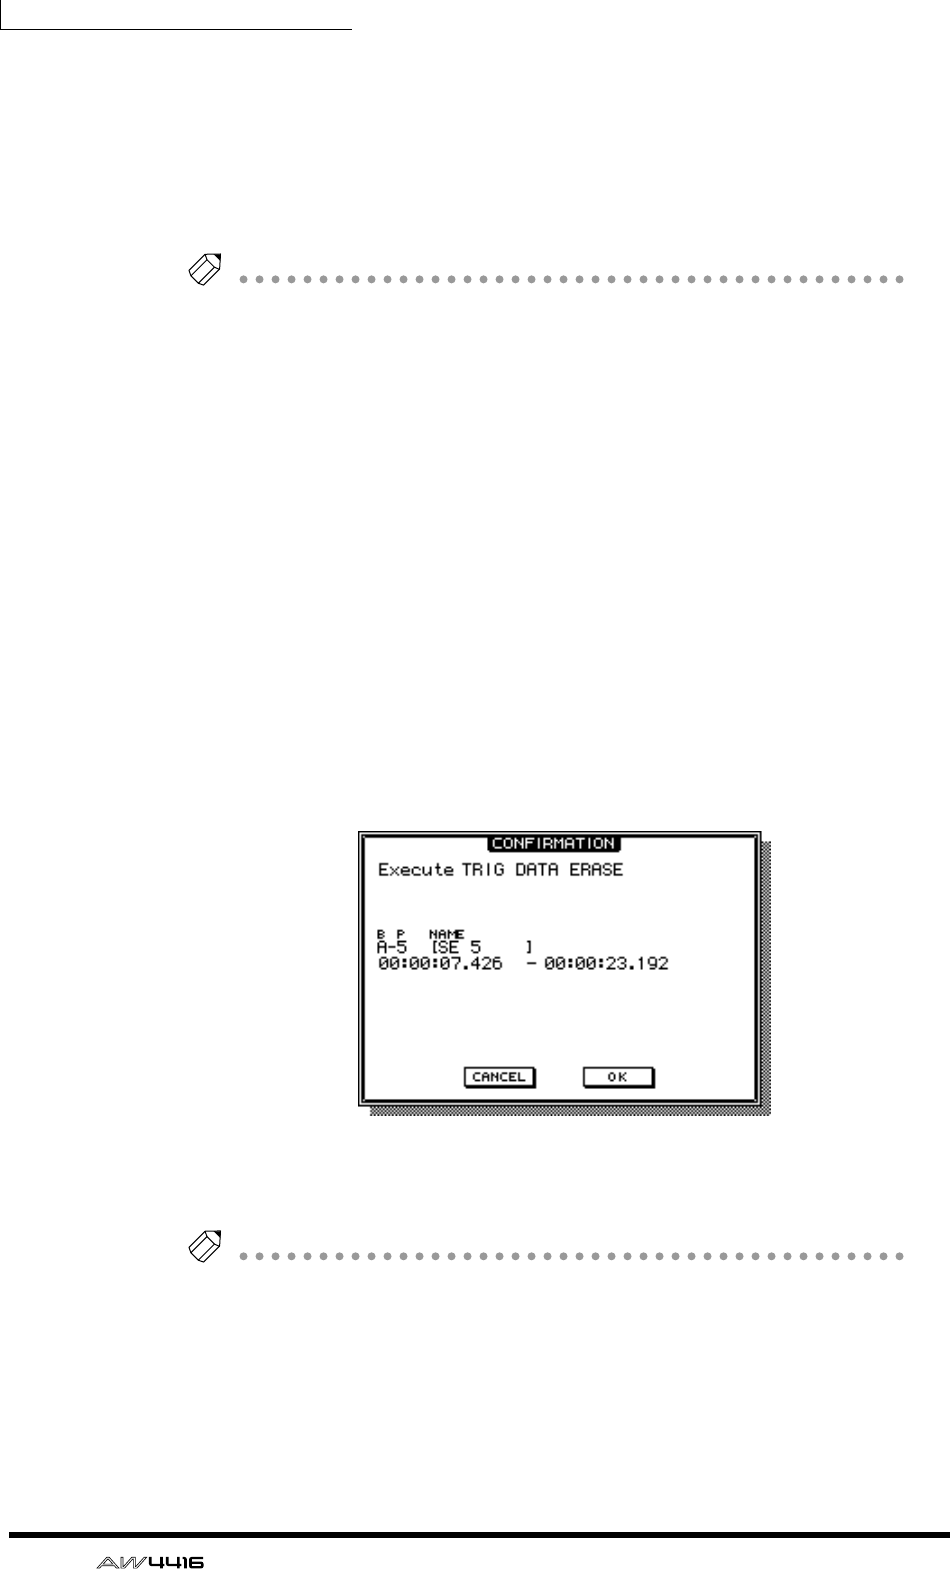
A popup window will appear, asking you to confirm the Erase command.
7. To execute the Erase command, move the cursor to the OK button and
press the [ENTER] key.
Tip!
You can undo the result of the erasure by pressing the [UNDO] key immediately
after executing Erase.


