


2322
23
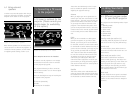
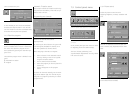
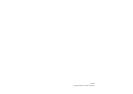
selected in this menu. In this example, the first
time you click on the quick key you will activate
the volume function. A volume bar will be dis-
played at the bottom of the projected image
where you can adjust the volume up and
down. You adjust the bar by either pressing
the pressure-sensing pad right or left or you
may use one of the two zap keys on the
remote control. To accept the adjustment, and
terminate the quick menus click on the left
mouse button. To get back to the original vol-
ume, click on the right mouse button.
The next click on the quick key will accept the
volume adjustment and activate the brightness
function and a brightness bar will be shown at
the bottom of the page. When you have gone
through all assigned functions the menu will
disappear.
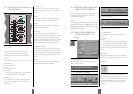
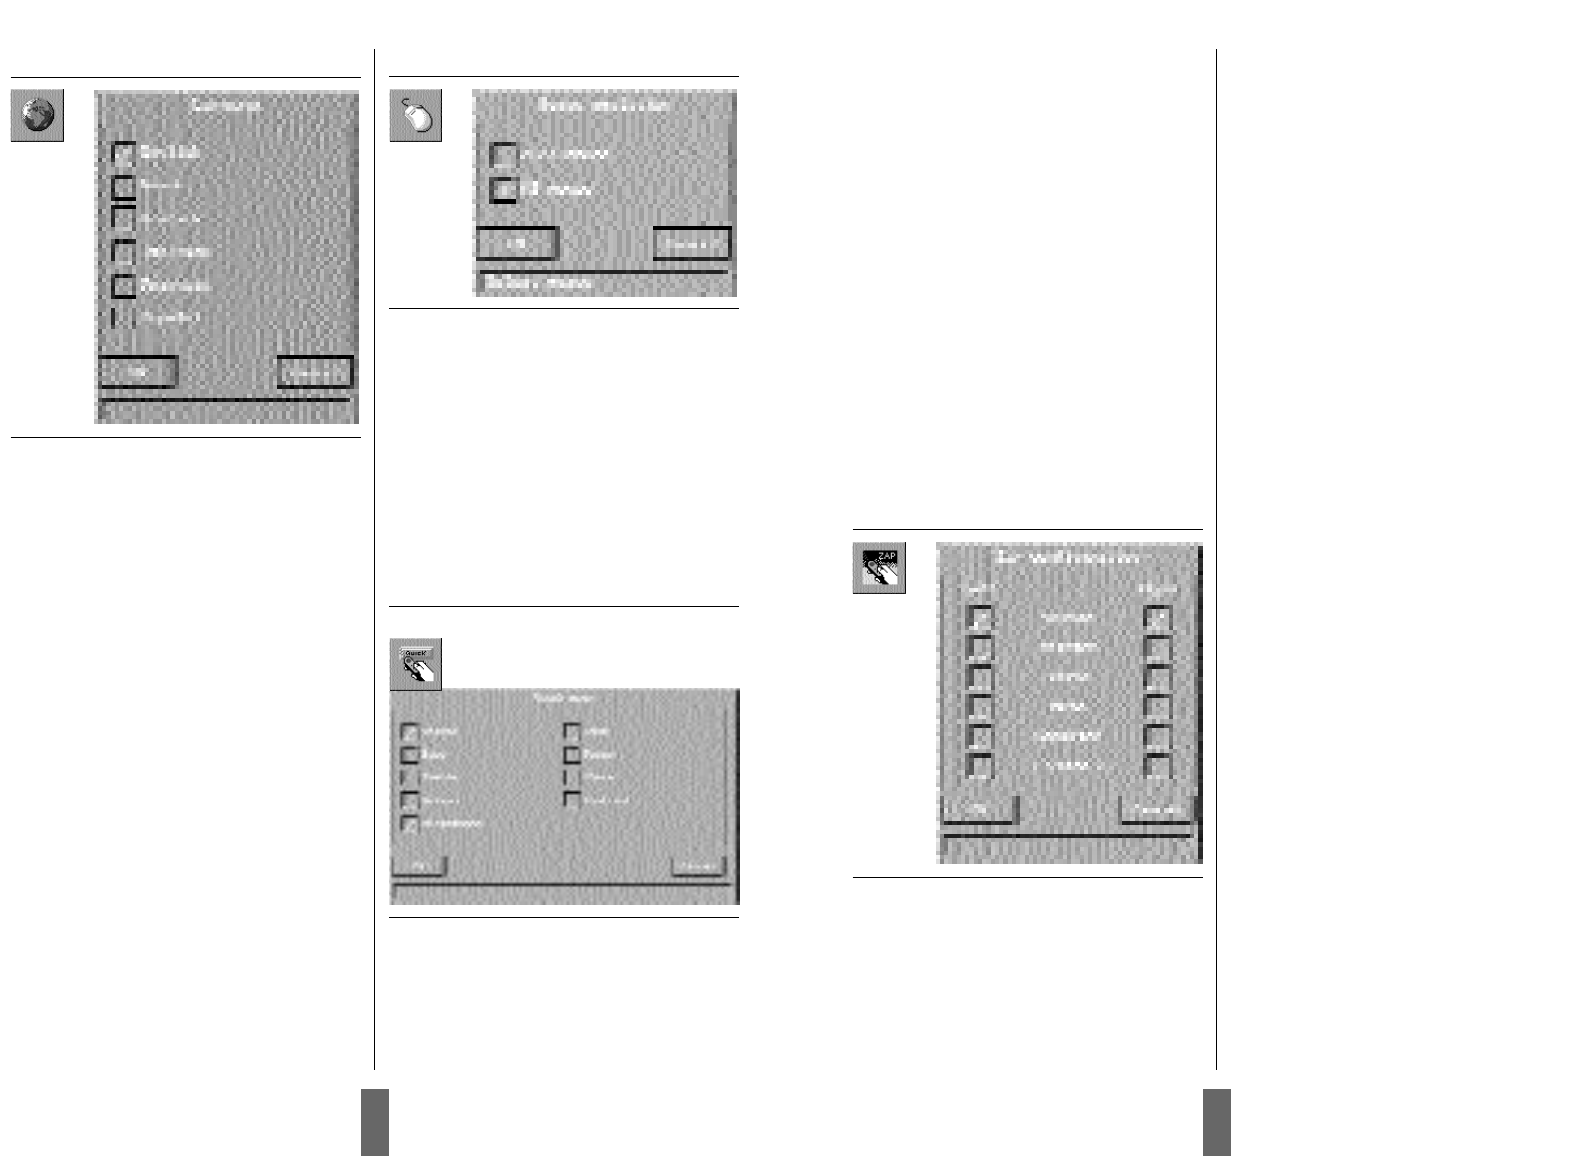
7.2.5 Zap menu
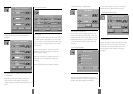
Zap menu
The Zap menu is used to assign functions to
the zap keys on the remote control. The menu
consists of two columns of buttons where the
left column assigns the functions to the left
key and the right column assigns the functions
to the right key.
Note:
Un-selecting all boxes for Zap 1 assigns the
“Zap 1’ button on the remote to Power-up the
projector from stand-by mode.
Un-selecting all boxes for Zap 2 assigns the
“Zap 2” button on the remote to function as
the Power-down (stand-by) button.
Volume (+/-)
Controls the sound of active source.
TV channel
Controls the preprogrammed TV channel
assignments. If a TV tuner is installed and
selected as source you can select a TV channel
by using the zap keys.
Pointer
You can activate the pointer function in the
projector. One click activates the pointer and
the next click deactivates it.
Blank
Activates blank mode by pressing the Zap key.
First click will activate Blank mode and second
click will deactivate it.
Mute
Turns the sound off. First click will turn off the
sound and second click will turn it on.
Computer
Selects Computer as the source.
Video
Selects video sources. Both Zap keys can be
programmed to select Video.
Tuner (only when TV tuner is installed)
Select TV-tuner as source.
7.2.6 Show accumulated lamp time
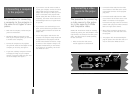
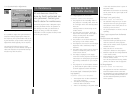
7.2.2 Language
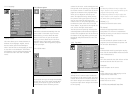
Language selection
This menu allows you to choose between six
different menu languages: English, French,
German, Italian, Spanish and Norwegian.
Click in the box next to the language you want
to use. Click on the OK button. The window
will disappear, and the selected language will
be used in the main menu and in all other
menus.
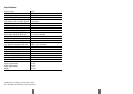
7.2.3 Mouse system
Mouse system selection
USB will be selected automatically when the
mouse cable is connected. If your PC uses
RS232 mouse, you must choose MS Serial
Mouse in this menu. If your PC uses PS/2
mouse, you must choose PS/2 in the menu.
Selected system will be active until another
system is chosen. When shipped the projector
is set up to PS/2.
7.2.4 Quick menu
Quick menu settings
In the quick menu you can assign functionality
for the quick key on the remote control. When
clicking on the quick key you will be able to
switch between all the functions you have
22