


1110
Figure 4.
1
2
4
3
5 6 7
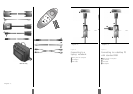
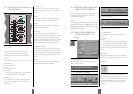
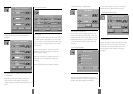
Figure 4:
Connecting the mouse cable
and stereo jack (PC)
• Back panel of computer
• PC monitor
• EVC cable
• PC adapter
• Stereo jack cable
• PS/2 mouse for PC
• RS232 mouse for PC
1
2
3
4
5
6
7
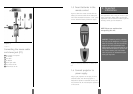
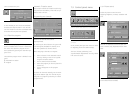
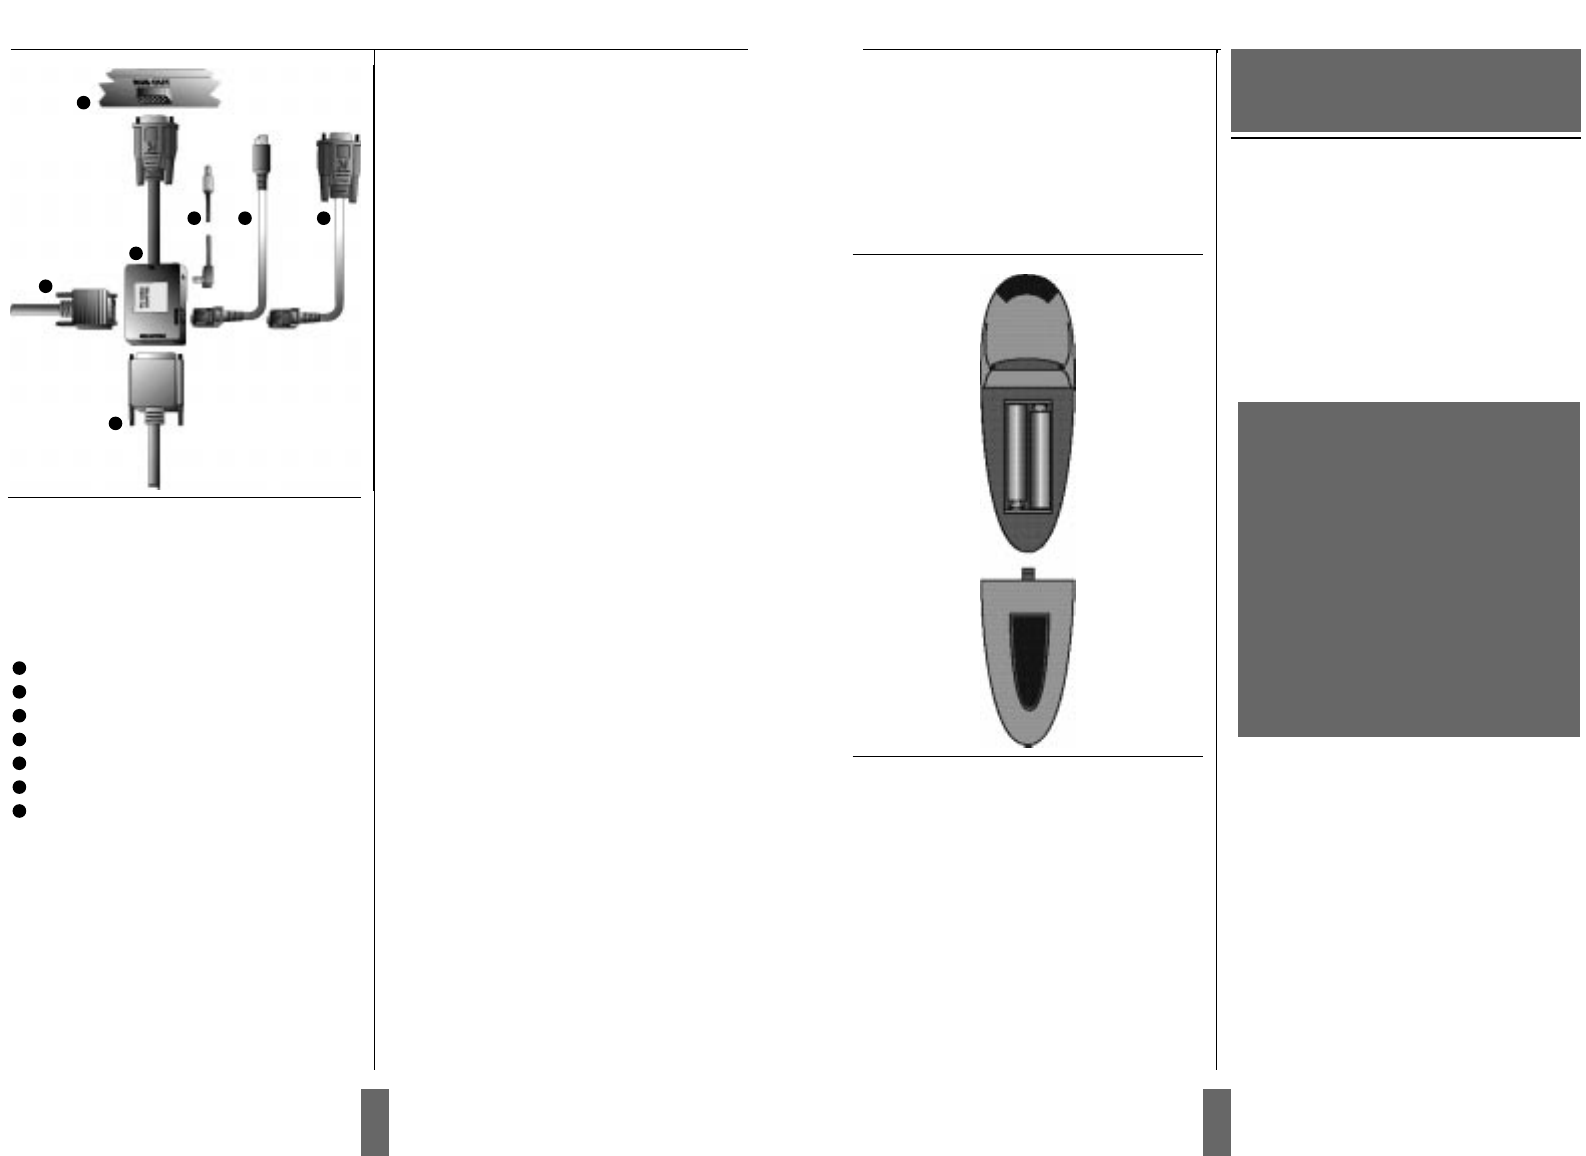
1.3 Insert batteries in the
remote control
Figure 5 shows the remote control with the
battery lid removed. Slide off the battery lid
and insert the batteries with the + and - poles
correct. Slide the battery lid back on again.
1.4 Connect projector to
power supply
Plug in your projector. Do not plug it into a
switched outlet. Your Zenith projector is
designed to operate on standard current, 120-
volt, 60 Hertz AC. Do not attempt to operate it
on DC current.
The registration card or copy of invoice is your
proof of purchase. Please make sure that the
registration card is returned in order to get the
warranty service you are entitled to
NOTE! Please use caution when
transporting the unit.
WARNING! Tampering with or opening
the unit can be dangerous. For replace-
ment of the lamp, see the instructions
support with the replacement lamp.
Maintenance should be performed by an
authorized Zenith dealer or service cen-
ter. Please contact your local dealer
with any service or maintenance ques-
tions you may have.
Figure 5 Inserting batteries in remote con-
trol
2. Important
information