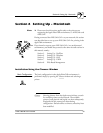
Section 2: Basic Installation
AXIS 540/640 User’s Manual 17
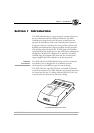
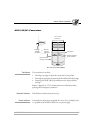
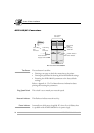
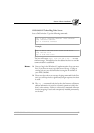
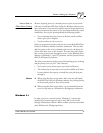
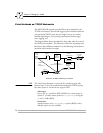
Connecting Printers to the AXIS 540/640
Caution Make sure that the external power supply is marked with the correct
mains voltage.
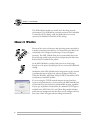
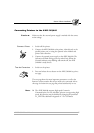
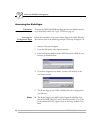
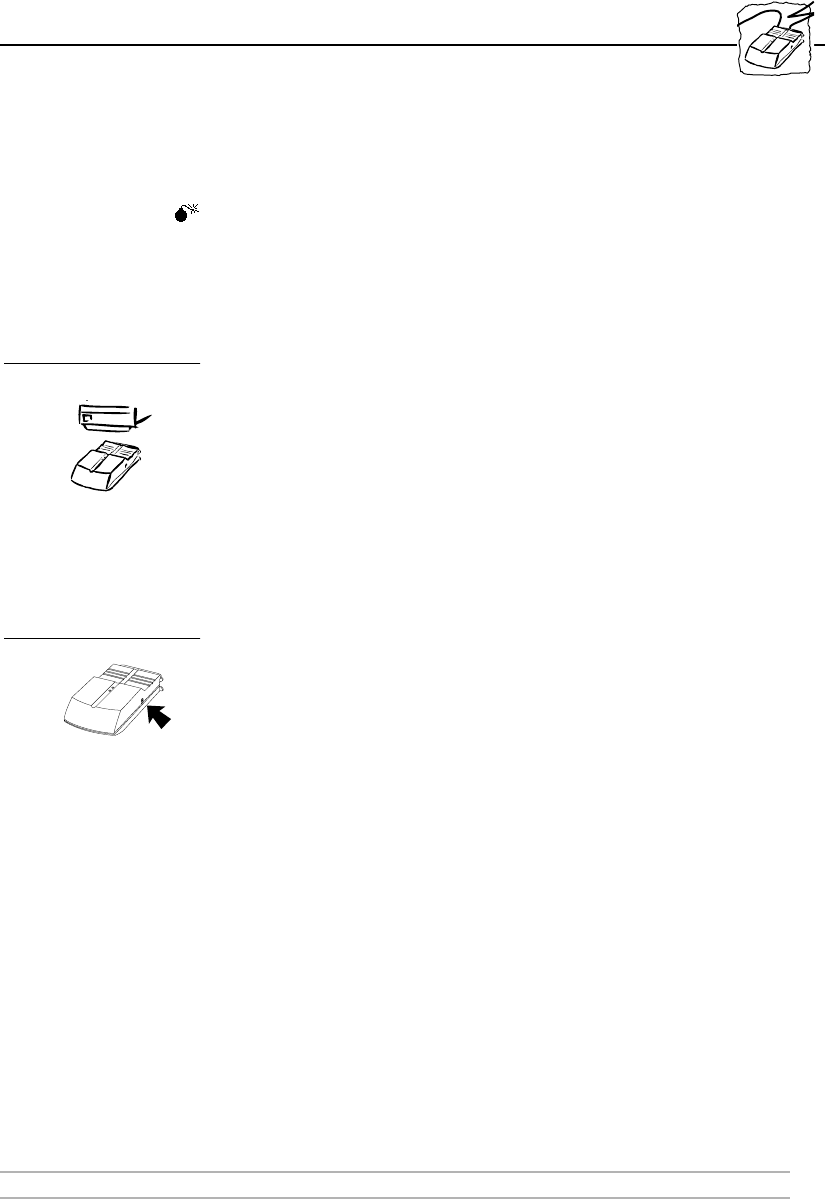
Connect a Printer: 1. Switch off the printer.
2. Connect the AXIS 540/640 to the printer, either directly to the
parallel printer port, or using the optional velcro ribbons and
printer cable extension.
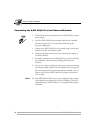
3. Connect the external power supply to the AXIS 540/640. The
indicators will flash during power up and self test. When the
Network indicator stops flashing and remains off, the AXIS
540/640 is ready for use.
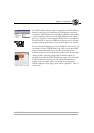
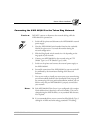
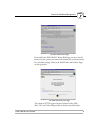
Test the Connection: 1. Switch on the printer.
2. Press and release the test button on the AXIS 540/640 to print a
test page.
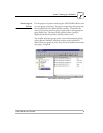
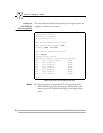
The test page shows the most important parameters as well as the
firmware version number. But all you need to be concerned with at
this stage is whether the test page has printed satisfactorily or not.
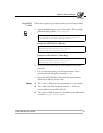
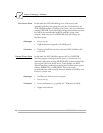
Note: ❏ The AXIS 540/640 supports high speed Centronics
Communication. For use with older printers not supporting high
speed, this function may be disabled by changing the parameter
L1_CENTR as defined in Appendix A - The Test Button.