18 Chapter 1
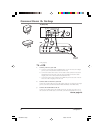
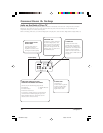
Connections & Setup
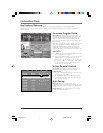
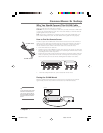
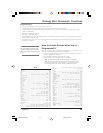
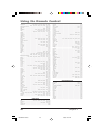
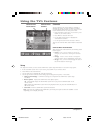
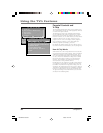
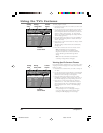
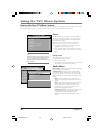
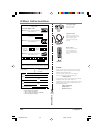
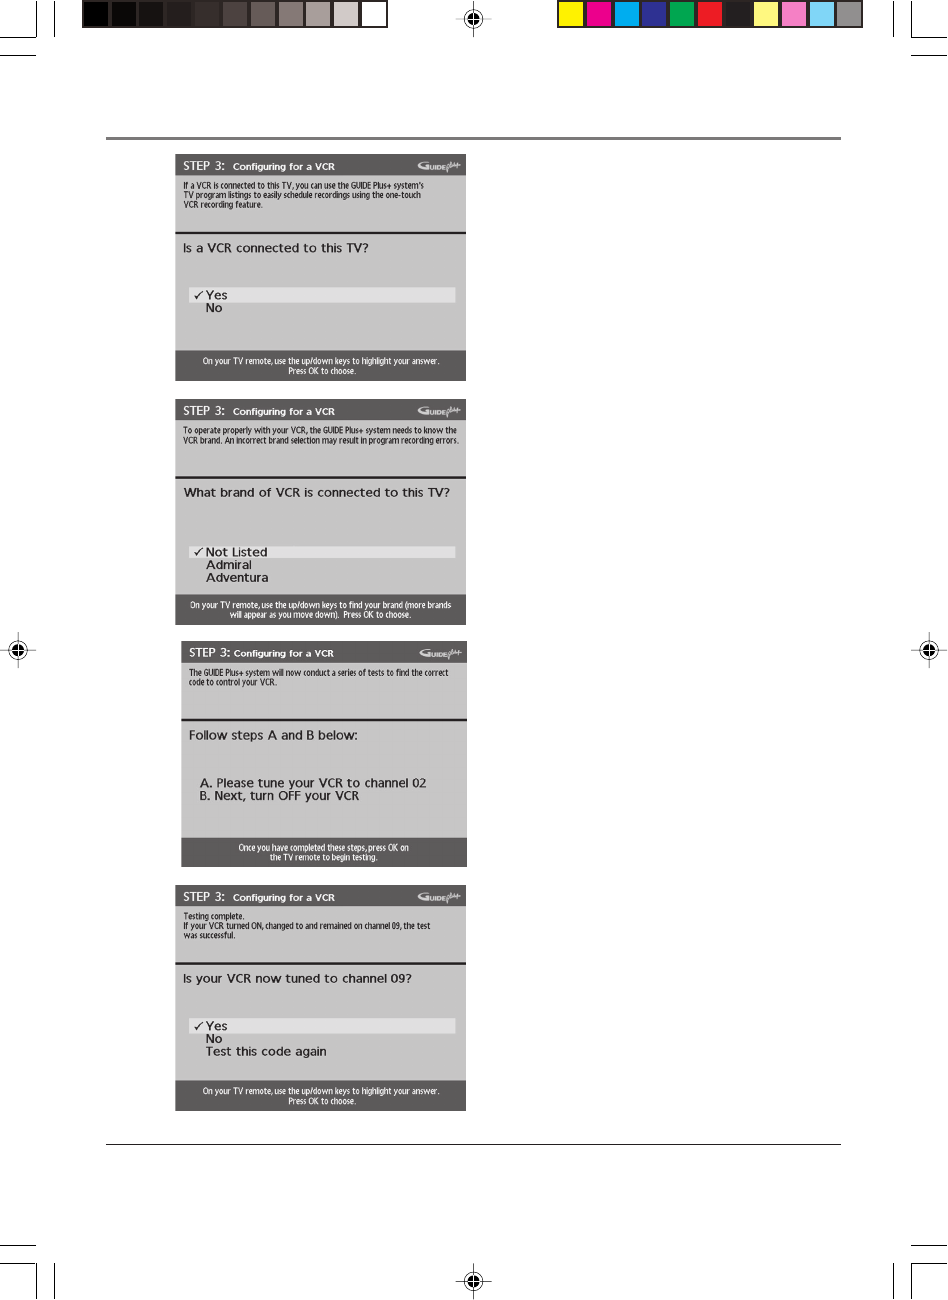
Step 3: Configuring for a VCR
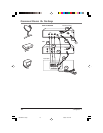
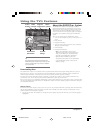
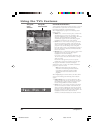
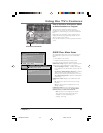
1. If your TV is connected to a VCR, press OK.
If it is not, highlight No and press OK (a screen will
appear reminding you to connect your G-LINK cable
to your TV and VCR.).
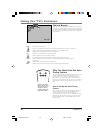
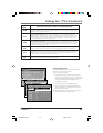
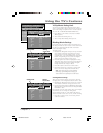
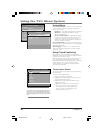
2. Use the up and down arrow buttons to highlight the
brand of your VCR that is connected to the TV and
press OK.
If your brand isn’t listed, highlight Not Listed and
press OK.
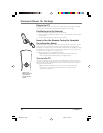
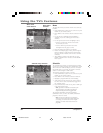
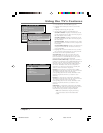
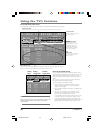
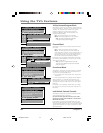
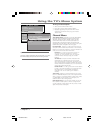
3. Tune your VCR to channel 02. Next, turn OFF your
VCR. When you complete these steps, press OK to
begin testing.
Important Note: When code testing is in
progress, don’t touch your TV, VCR, or any of
the remote controls for these products.
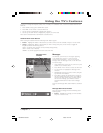
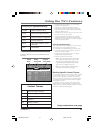
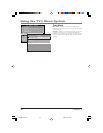
4. Look at the front display of your VCR. If your VCR
turned on automatically and changed to channel 09,
the test was successful. Highlight Yes and press OK.
If your VCR didn’t change to channel 09, you can
either choose No or Test this code again.
If you think your TV or remotes might have been
touched during the test, tune your VCR to channel 02,
turn off your VCR and highlight Test this code again.
If you don’t think the test was interrupted,
highlight No. Tune your VCR to channel 02 and
turn off your VCR. Press OK (the GUIDE Plus+
system starts testing another set of codes.)
Keep following the previous instructions until the
VCR finds the correct code.
1569452A.01 Setup 4/9/02, 12:57 PM18