Printing using Windows
Xerox Phaser 3320DN/DNI
User Guide
26
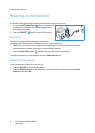
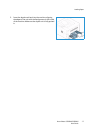
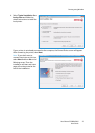
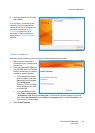
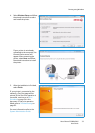
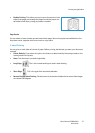
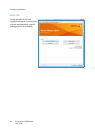
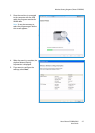
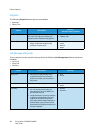
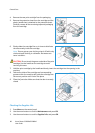
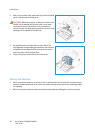
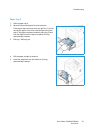
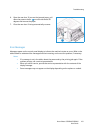
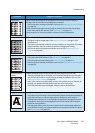
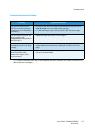
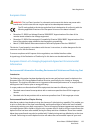
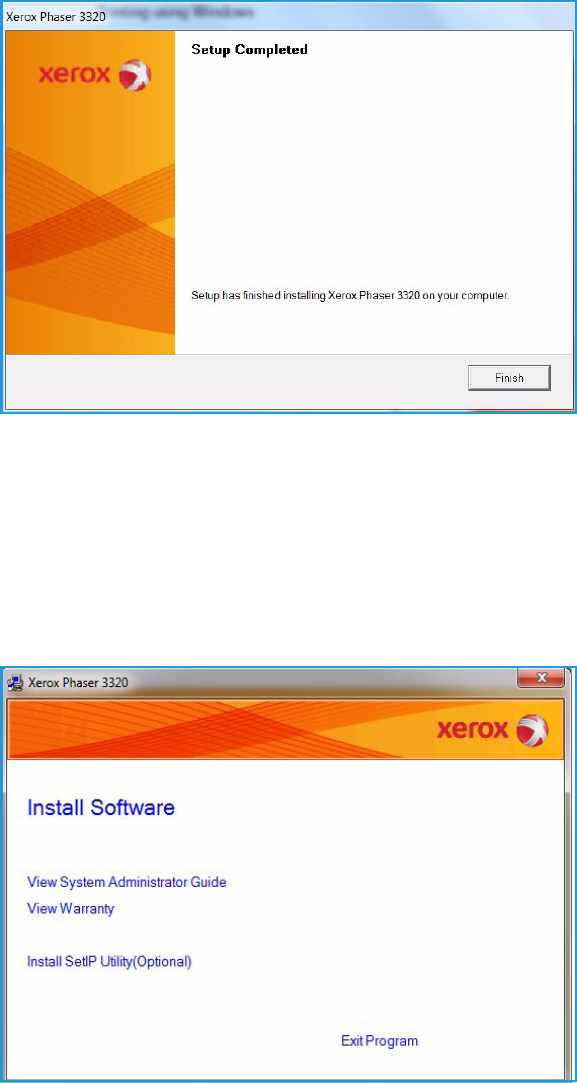
5. After the installation is finished,
select Finish.
If your printer is connected to the
computer, a Tes t Print page will be
printed. If the Tes t Print operation is
successful, continue on to Print
Procedure on page 34 in this
document. If the print operation
failed, refer to Troubleshooting on
page 93.
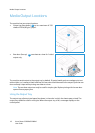
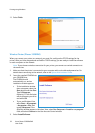
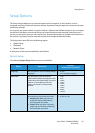
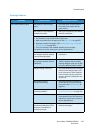
Networked Printer
When you connect your printer to a network, you must first configure the TCP/IP settings for the
printer. After you have assigned and verified the TCP/IP settings, you are ready to install the software
on each computer on the network.
1. Make sure that the printer is connected to your network and powered on. For details about
connecting to the network, refer to the System Administrator Guide.
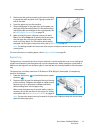
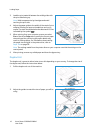
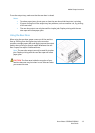
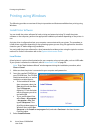
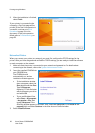
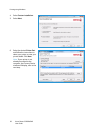
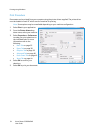
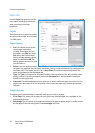
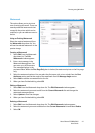
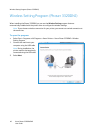
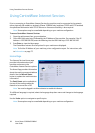
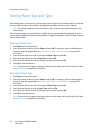
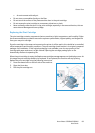
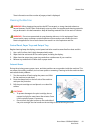
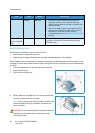
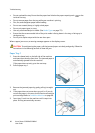
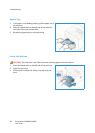
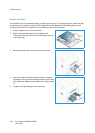
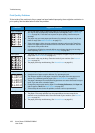
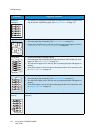
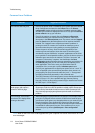
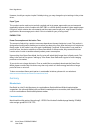
2. Insert the supplied CD-ROM into
your CD-ROM drive.
The CD-ROM should
automatically run, and an
installation window appears.
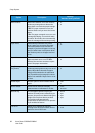
• If the installation window
does not appear, select the
Start button and then Run.
Type X:\Setup.exe,
replacing “X” with the letter
which represents your drive
and select OK.
• If you use Windows Vista,
select Start > All programs
> Accessories > Run, and
type X:\Setup.exe. If the
AutoPlay window appears in Windows Vista, select Run Setup.exe in the Install or run
program field, and select Continue in the User Account Control window.
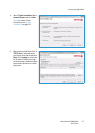
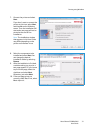
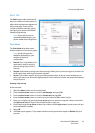
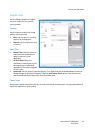
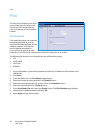
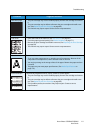
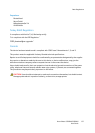
3. Select Install Software.