


Wall-mounting 25
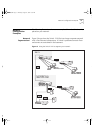
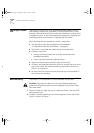
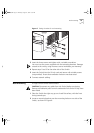
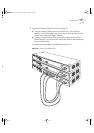
Figure 7
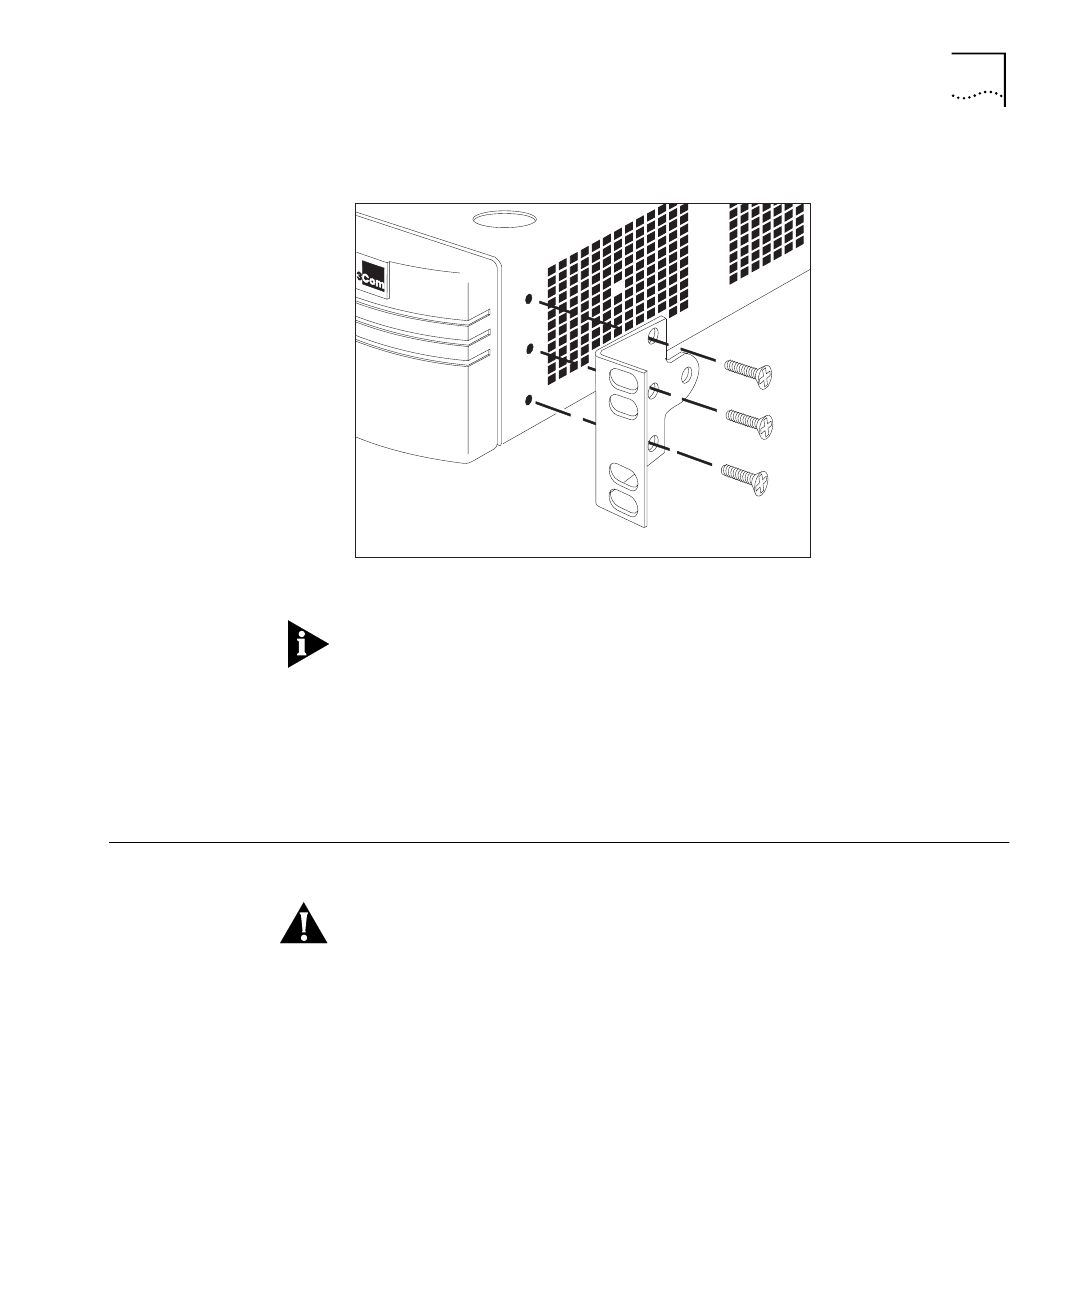
Fitting a bracket for rack mounting
3 Insert the three screws and tighten with a suitable screwdriver.
You must use the screws supplied with the mounting brackets. Damage
caused to the unit by using incorrect screws invalidates your warranty.
4 Repeat steps 2 and 3 for the other side of the Switch.
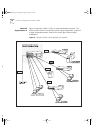
5 Insert the Switch into the 19-inch rack and secure with suitable screws
(not provided). Ensure that ventilation holes are not obstructed.
6 Connect network cabling.
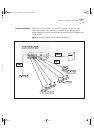
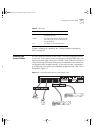
Wall-mounting
A single Switch can be wall-mounted.
CAUTION:
Disconnect any cables from the Switch before continuing.
Remove self-adhesive pads from the underside of the Switch if they have
been fitted.
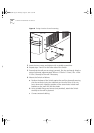
1 Place the Switch the right way up on a hard flat surface, with the front
facing towards you.
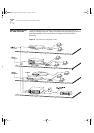
2 Locate a mounting bracket over the mounting holes on one side of the
Switch, as shown in Figure 8.
16950ua.bk Page 25 Thursday, August 27, 1998 11:55 AM