To configure one or more wireless networks for auto connection, follow these steps:
1 Right-click the Network icon in the notification area at the bottom of the screen to display a pop-
up menu. Click Open Network Connections.
2 Right-click the Wireless Network Connection icon and click Properties in the Pop-up menu.
Windows XP displays the Wireless Network Connection Properties dialog.
3 Select the Wireless Networks tab. Notice that the wireless network that was present when you
first inserted the wireless NIC is already listed.
4 To add another network to the list, click the Add button on the Wireless Networks tab to display
the Wireless Network Properties dialog.
5 Type a network name (SSID) in the Network name test box.
6 If you have implemented a system automatically providing users with network keys and/or WEP
keys, click OK to save this network SSID and move on to the next network that you want to
configure.
7 If you are setting up an ad hoc mode wireless connection, click the last check box in the dialog.
Otherwise, if you are configuring a connection to an AP, leave the check box uncheck and click
OK.
Windows XP adds the network to the list of preferred networks in the Wireless Network
Connection Properties dialog box.
8 When you finish adding all wireless networks to which your computer needs access, click OK.
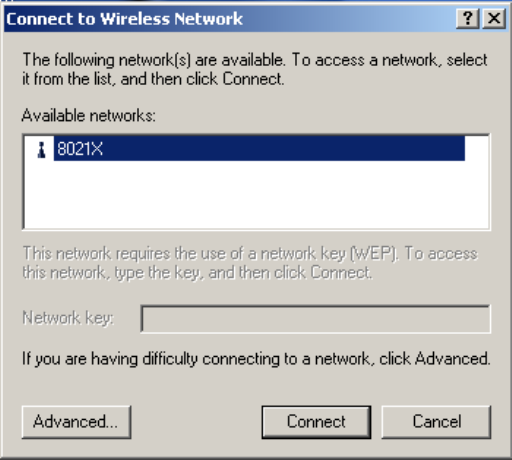
Note: XP includes support for the IEEE 802.1X standard for port–level authentication of stations
in the network.
If for some reason you prefer to use the Configuration Utility that came with the Wireless LAN PCI
Adapter with Windows XP, you should not use Windows to configure wireless network settings.
Note: Only follow these steps if you wish to disable Windows XP Wireless LAN Zero
Configuration.
1 Select START>CONTROL PANEL
2 Double click NETWORK and INTERNET CONNECTIONS


