


TRSM Installation
5
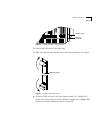
To remove the faceplate:
1
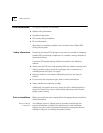
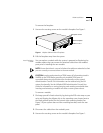
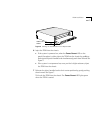
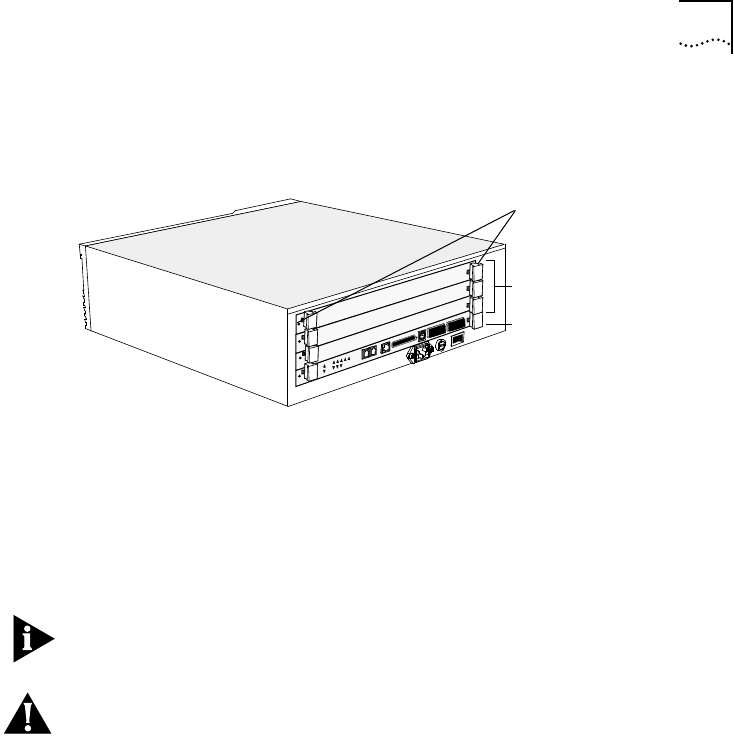
Unscrew the securing screws on the module’s faceplate. See Figure 1.
Figure 1
LANplex 6004 with Blank Faceplates
2
Pull the faceplate away from the system.
Read if replacing
a TRSM
You can replace a module while the system is powered on. Replacing the
module requires that you remove the attached cables from the module’s
ports prior to installing the new module.
NOTE:
Ensure that there is a record of where the cables are attached so that
you can correctly re-connect them to the new module.
CAUTION:
Inserting and extracting a TRSM erases all information stored in
NVRAM on the TRSM. Before removing the installed TRSM, save all
nonvolatile data using the NV data save functionality on the system’s
Administration Console. This information can be restored using the NV
restore functionality. See the LANplex 6000 Administration Console User
Guide for information on saving, restoring, and resetting nonvolatile data.
Inserting and extracting a module will cause a warm system reboot.
To remove a module:
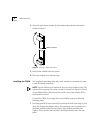
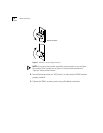
1
Discharge yourself of static electricity by placing the ESD wrist strap on your
wrist and clipping the alligator clip to the mounting screw located next to
the black ground symbol on the system’s right mounting bracket. See
Figure 3. If your system does not have mounting brackets, touch the rear
panel.
2
Disconnect the cables from the module’s ports.
3
Unscrew the securing screws on the module’s faceplate. See Figure 1.
Blank faceplates
LMM+ in slot 1
Captive screws
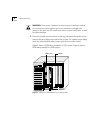
Blank faceplates
LMM+ in slot 1
Captive screws