11 - SET UP AND ADJUSTMENTS (continued)
31
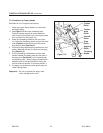
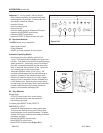
One Way
Tension
Roller
Tension
Wrap
Roller
Knurled
Roller
Wrap
Roller
Applying
Roller
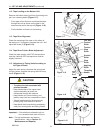
Threading
Needle
#1
#2
#3
#4
Figure 11-8
2012 March
800rf-NA
Important – If drive belts are allowed to slip on
box, excessive belt wear will occur.
Note - For belt replacement and tension
specifi cations - refer to Section 13 /
Maintenance and Repairs).
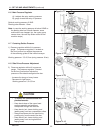
• To reduce the risk associated with
pinches hazards:
− Keep hands clear of the upper head
support assembly as boxes are
transported through the machine.
− Keep hands, hair, loose clothing, and
jewelry away from box compression rollers.
− Always feed boxes into the machine by
pushing only from the end of the box.
− Keep hands, hair, loose clothing, and jewelry
away from moving belts and taping heads.
CAUTION
1
2
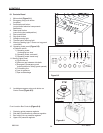
Figure 11-7
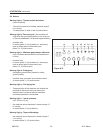
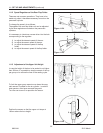
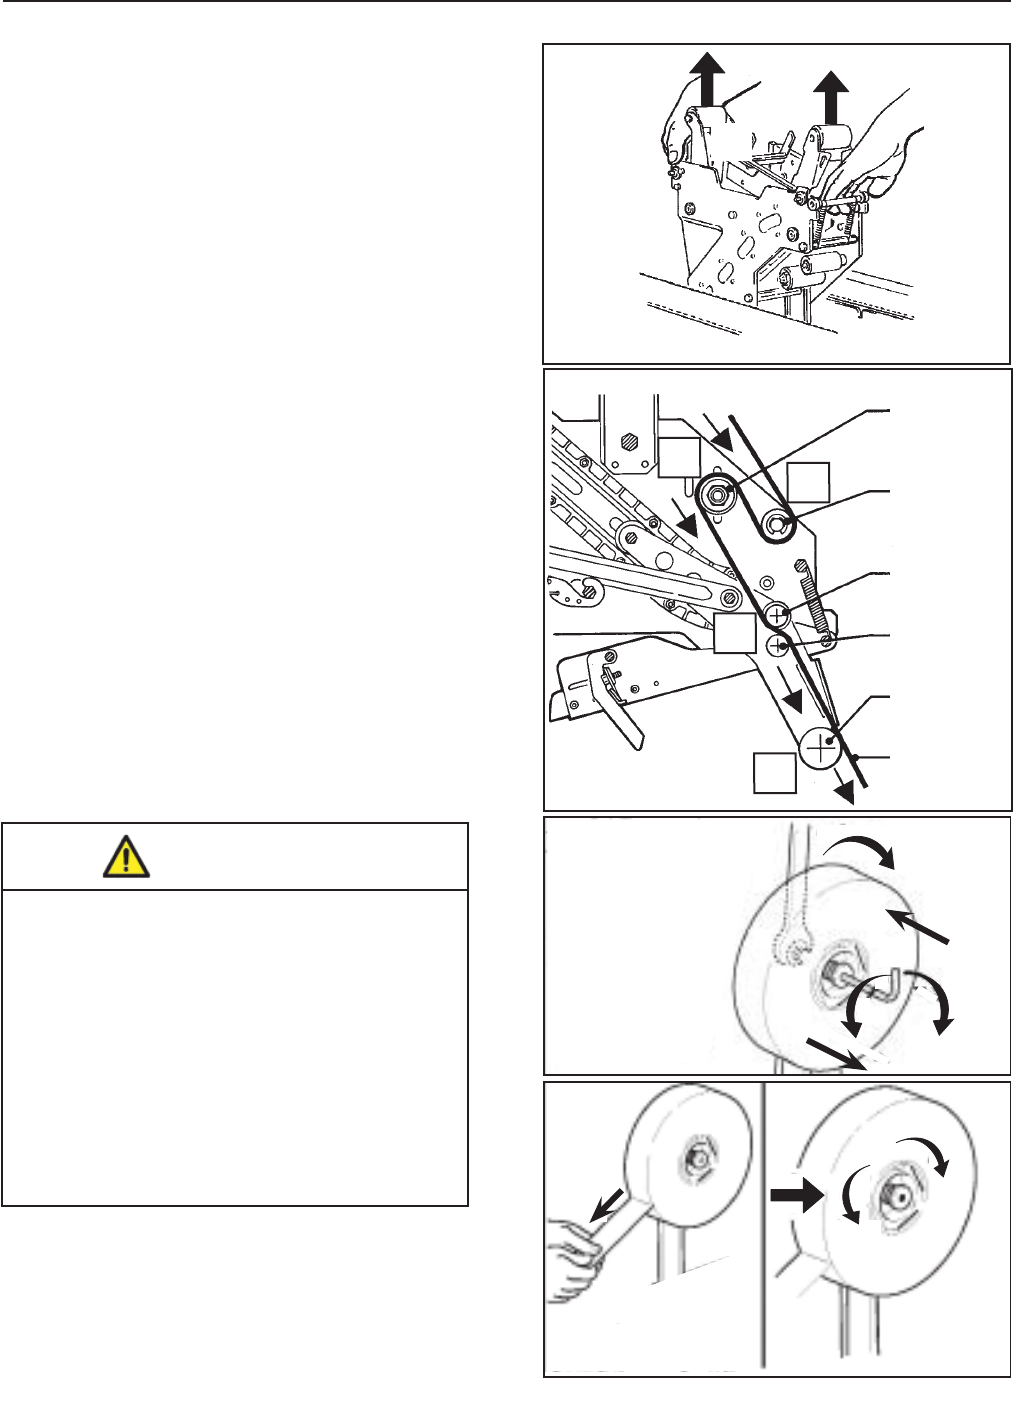
11.2 Tape Loading on the Bottom Unit
Remove the bottom taping unit from its housing and
put it on a working bench (Figure 11-7).
- Put a tape roll on the drum and thread the tape
through the unit as shown on the label in the
same manner as for the top unit (Figure 11-8).
- Put the bottom unit back into its housing.
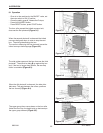
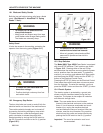
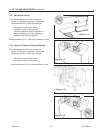
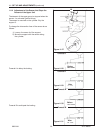
11.3 Tape Drum Alignment
Check the centering of the tape on the rollers of
the taping unit. If necessary unscrew the nut 1 and
adjust the screw (2) (Figure 11-9).
11.4 Tape Drum Friction Brake Adjustment
Check the tape tension:-with PVC the tape drum
must be free-with OPP the tape drum must be
slightly frictioned
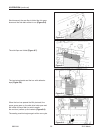
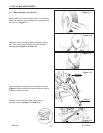
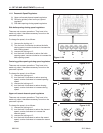
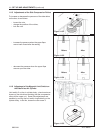
11.5 Adjustment of Taping Units According to
the Type of Boxes
Adjust the main spring:-decrease the spring load
for light boxes;-increase the spring load for heavy
boxes (Figure 11-10).
Figure 11-9
1
2
+
_
Figure 11-10


