LTPH-UM-1088-02, Issue 2 Installation
ThinMux Chassis January 3, 2002 9
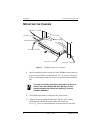
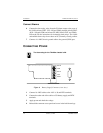
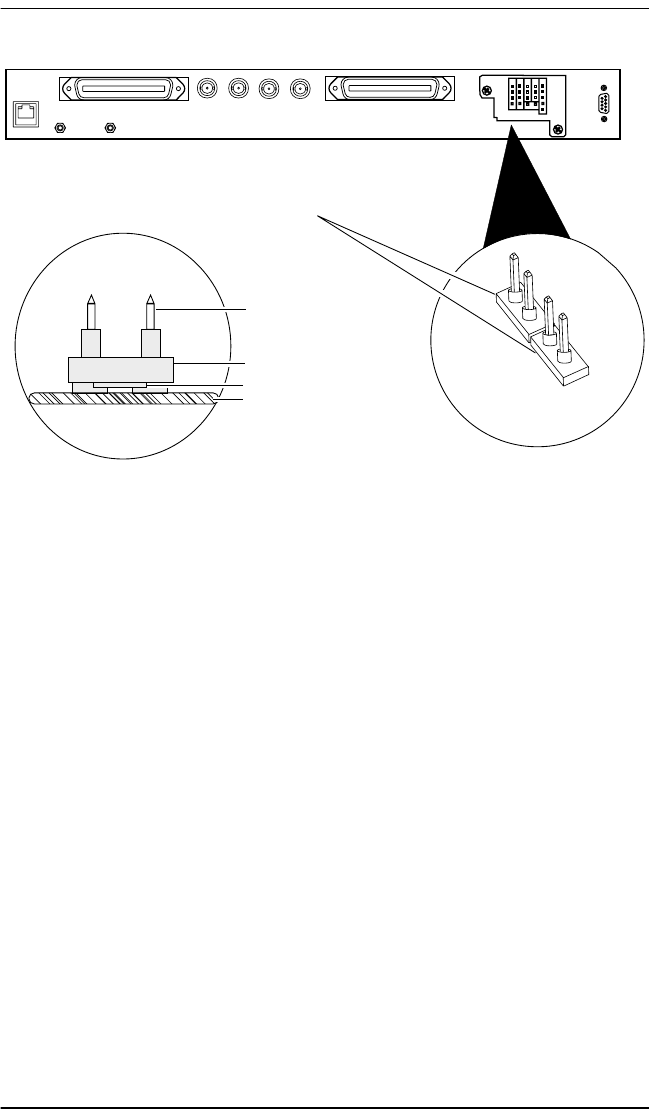
Figure 5. Installing Line Terminators
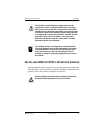
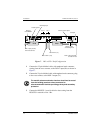
3 Install the BITS terminating blocks (catalog number TERM-100),
provided in the installation kit, between the Bits A+, A- and B+, B- posts.
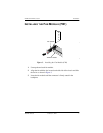
4 Connect Bits A and Bits B posts to your Synchronous Optical Network
(SONET) clock synchronization source (SONET minimum clock or
better). Use a frame ground post as a shield, if needed.
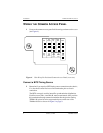
Connect Test Access
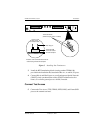
5 Connect the Test Access TTIP, TRING, RTIP, RING, and Frame GND
posts to the external test head.
JP12
B-
B+
A-
A+
Termination blocks
(TERM-100 part number 1178533)
Wire-wrap pin
Terminator PCB
Terminator resistor
Chassis backplane
*Install the 100 termination block with the
resistor facing towards the backplane.
Ω
Side view of
termination block*
JP7
Test
Access
CRIT
VIS
CRIT
AUD
Bits Alarm
B-
B+
A-
A+
TTIP
TRING
RTIP
RRING
Frame
GND
Frame
GND
NO NO
COM COM
NC NC
FE
MIN
MAJ
CRIT
COM
RTN B]
-48 B
RTN A
-48 A
FGND
Craft
RS-232


