


www.addonics.com Technical Support (M-F 8:30am - 6:00pm PST) Phone: 408-453-6212 Email: www.addonics.com/support/query/
I. Installing Drive into the HDD Duplicator
For installing a hard drive on the various enclosures that come with the HDD duplicator, refer to the
bundled enclosure installation guides.
Step 1
Open the source drive door and slide in the 3.5” SATA hard disk Source drive into the drive bay. Close the
front panel and using the key provided, turn the key lock to the Lock position. This will secure the drive and
turn on the power to the hard drive.
Step 2
Open the target drive door(s) and slide in the 3.5” SATA hard disk Target drive(s) into the drive bay. Close
the front panel and using the key provided, turn the key lock to the Lock position. This will secure the drive
and turn on the power to the hard drive.
Note: Refer to the Snap-In 25
user guide for 2.5” SATA hard drive installation.
II. Connecting the Power Cable and Powering On
a. Connect the power cord provided from the wall outlet to the back of the tower.
b. A main power switch is located at the back of the tower. Turn the switch on. Another auxiliary
switch is located on the front of the tower.
c. Push the auxiliary switch button to turn on the HDD duplicator.
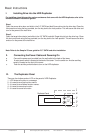
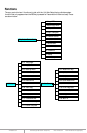
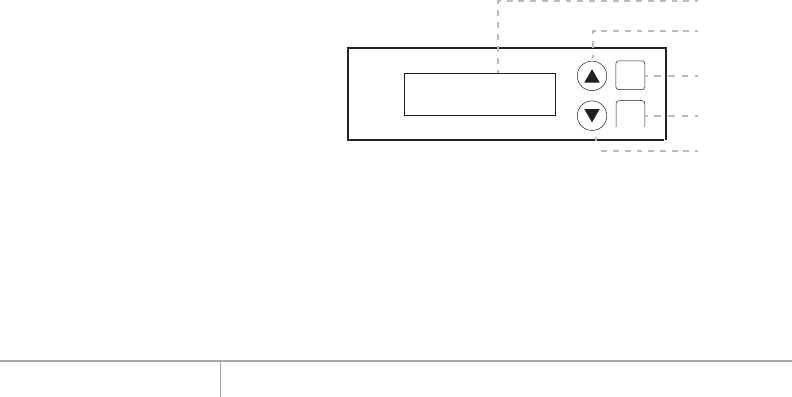
III. The Duplicator Panel
There are four buttons and an LCD on the panel of HDD Duplicator.
1 – LCD shows a function or a message.
2 – it is used to scroll up function menus.
3 – it is used to scroll down function menus.
4 – it is used to execute a function.
5 – it is used to cancel a function.
ENT
ESC
Duplicator Panel
1
2
3
4
5
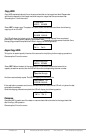
Basic Instructions