20
6.4 OSD Option Adjustment
Learning about the menu system
-
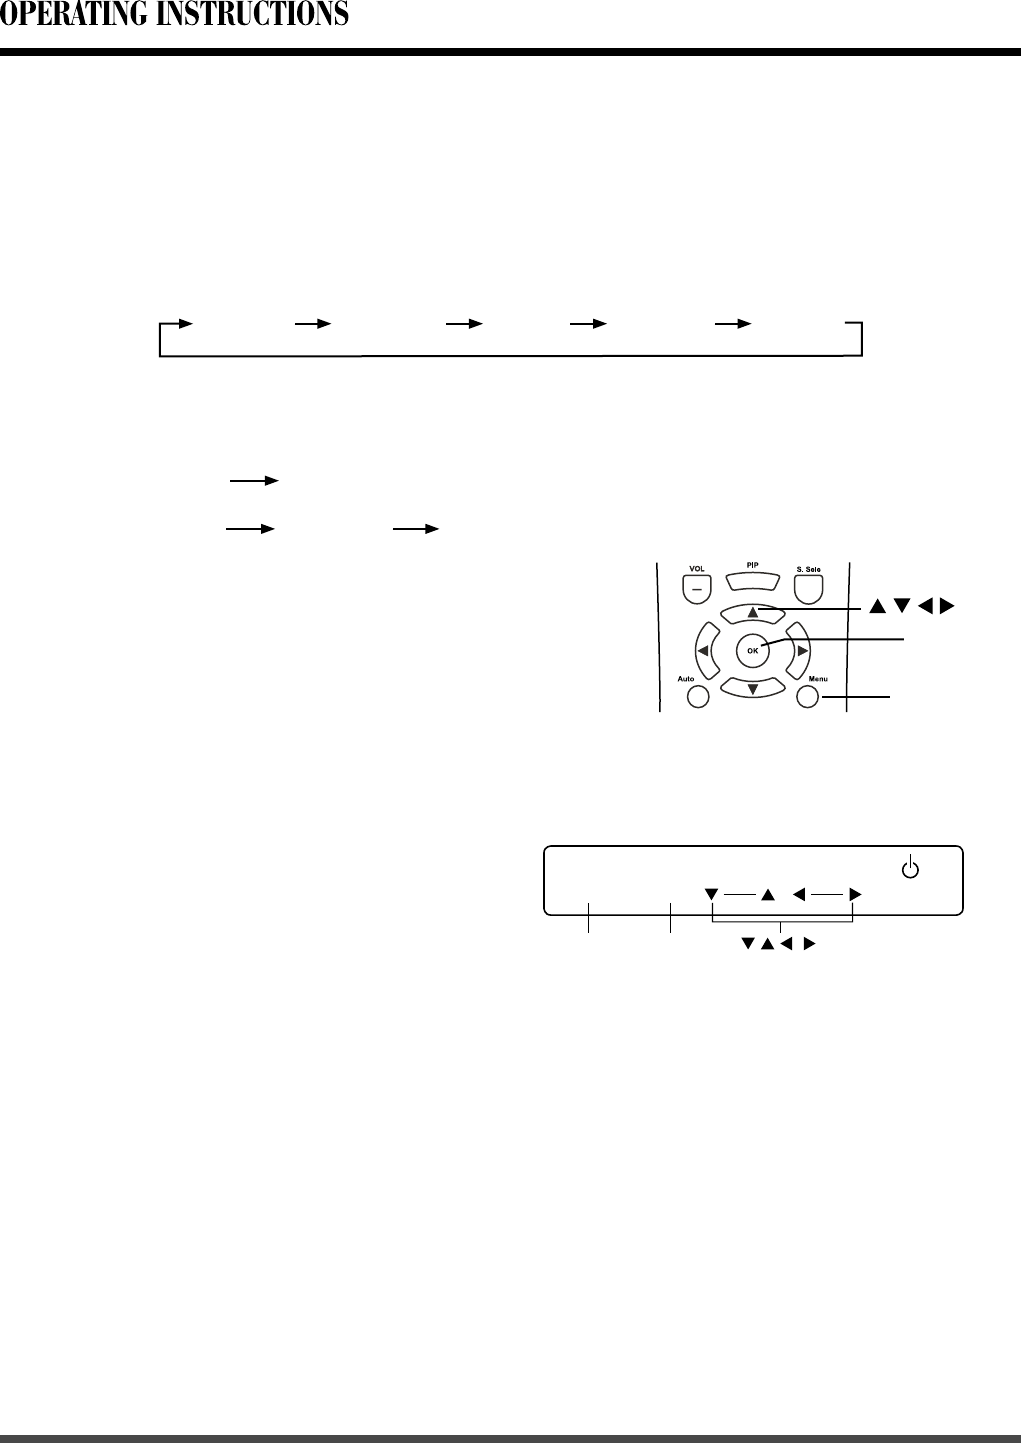
The buttons for OSD option adjustment include: Menu, ▲ , ▼ , ◄ , ► and OK buttons.
- Press Menu button to open the OSD Menu then press ◄ , ► button to select the
pages. The pages are displayed in the following sequence (circular display):
SOURCE MENU STANDBY
VOL.
the front panel
MENU
SOURCE
- Press Menu button on the remote control or on the front panel, it will change in the
following sequence:
Sub Menu
Main Menu
Exit
Main Menu
Exit
- Press Menu button to open the OSD Menu.
- Use ◄ , ► buttons to select the pages.
- Use ▲ , ▼ buttons to select the items.
- Press OK or ► button to enter.
- Use ◄ , ► buttons to select or adjust.
- Press Menu button to exit the Sub Menu or
Main Menu.
OK
Menu
Picture Window Audio LayoutOptions
SEL.
6.5 OSD Functions
1 Picture Page
[Input source is YPbPr 1, YPbPr 2, VGA or HDMI signal]
- Press Menu button, then press ◄ or ► button to choose the “Picture” item.
- Press ▲ or ▼ button to select “Brightness”, “Contrast”
, “Saturation
(only for YPbPr 1
and YPbPr 2)”, “Phase (only for VGA)”, “Peaking (only for YPbPr 1, YPbPr 2 and HDMI)”,
“Frequency”, “Picture Mode” or “Color Temp”, then press
OK or ► button to enter.
- Press ◄ or ► button to adjust;
- Press Menu button to exit Sub Menu or Main Menu.
Note: When the signal source is HDMI, you can’t adjust
“
Phase” and “Frequency”.
