Chapter 1 Hardware Installation 11
Step 5 Connect CPU Fans
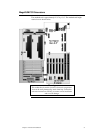
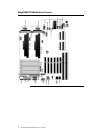
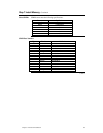
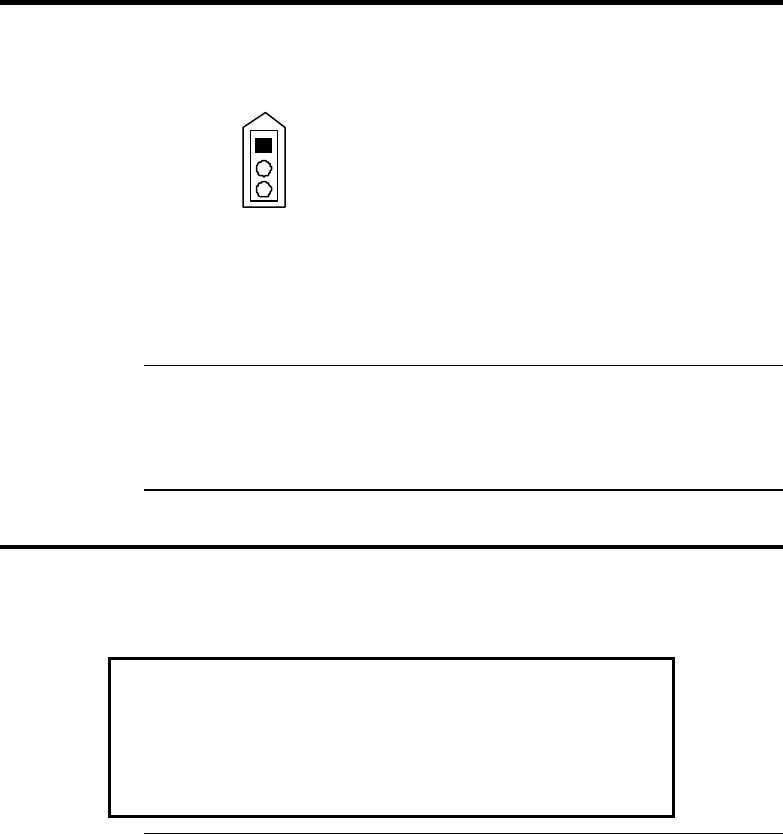
J1 and J7 (shown below) are 3-pin bergs that connect the fan on the CPU heat
sink to the motherboard power. J1 is the CPU fan connector for the CPU in CPU
Slot1. J7 is the CPU fan connector for the CPU in CPU Slot2.
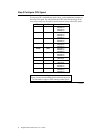
J1, J7, and
J23 pinout
+12V
Ground
Pin 1
Fan Sense
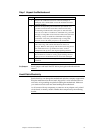
All Pentium II CPUs are shipped with a heat sink and a CPU fan. The
connector from the CPU fan usually has three leads (has red, yellow, and black
leads). Connect the Red lead to Pin 3 (+12V). Make sure that you use fans
that have 3 leads. The 3
rd
(yellow) lead should provide a tachometer output to
permit the fan speed to be monitored by the onboard server management
hardware. If you must use fans with only 2 leads, connect the red lead to Pin 3.
J23 Chassis Fan J23 is a 3-pin berg located near the VRM for the CPU 2 socket. The pinout is
the same for J23 as it is for J1 and J7. J23 provides +12V power to the main
chassis fan. The chassis fan should provide a tachometer output on Pin 3 so it
can be monitored by the onboard server management hardware.
Step 6 Install CPU
The Pentium II CPUs are on Intel Slot1 adapter cards. Insert the Slot1 cards into
the CPU card sockets on the motherboard. The CPU Slot1 sockets are below
the SIMM sockets.
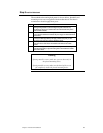
Warning
Improper CPU installation can damage the CPU and the
motherboard. You must follow the procedures in this section
exactly as documented. Make sure you wear an antistatic
wristband while installing the CPU. Follow all antistatic
procedures.


