13
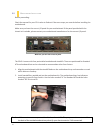
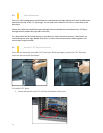
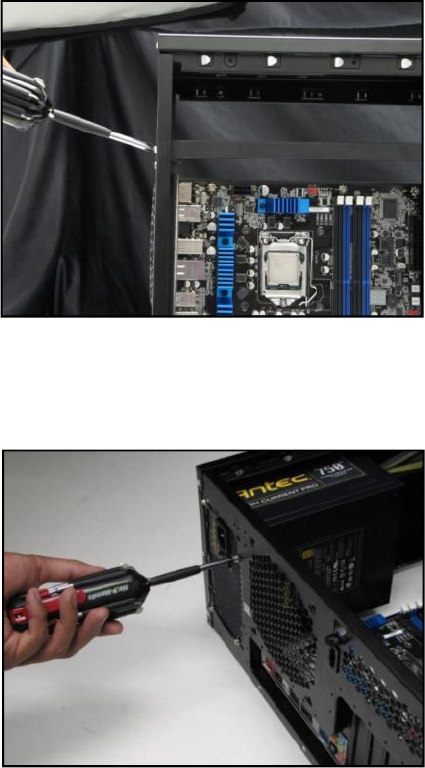
2. Remove the second screw with your other hand supporting the beam so the beam won’t drop.
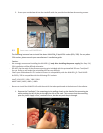
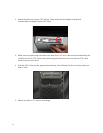
3. Repeat steps 1 and 2 for the support beam screws at the rear of the case.
.
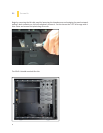
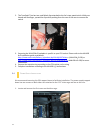
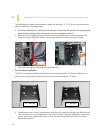
4. Place the SOLO II on its side. Position the PSU into the mount and secure it with the PSU screws
provided. If your PSU has a fan on its top side, make sure it aligns with the SOLO II’s top intake
vent.
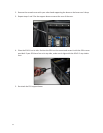
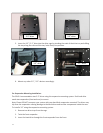
5. Re-attach the PSU support beam.


