SURTA 1500XL/1500XLJ/2200XL Series 100/120 Vac Tower/Rack-Mount 2U6
Operation
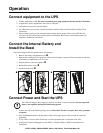
Connect equipment to the UPS
1. Connect equipment to UPS. Do not use extension cords, plug equipment directly into the UPS outlets.
2. If applicable, connect equipment to the serial or USB ports.
3. Add optional accessories to the SmartSlot.
4. For additional system security, install PowerChute software. Refer to the PowerChute Utility CD for
instructions.
5. External battery packs provide extended runtime during power outages. Refer to the APC Web site,
www.apc.com for external battery pack purchase information. Refer to the external battery pack user
manual for installation instructions.
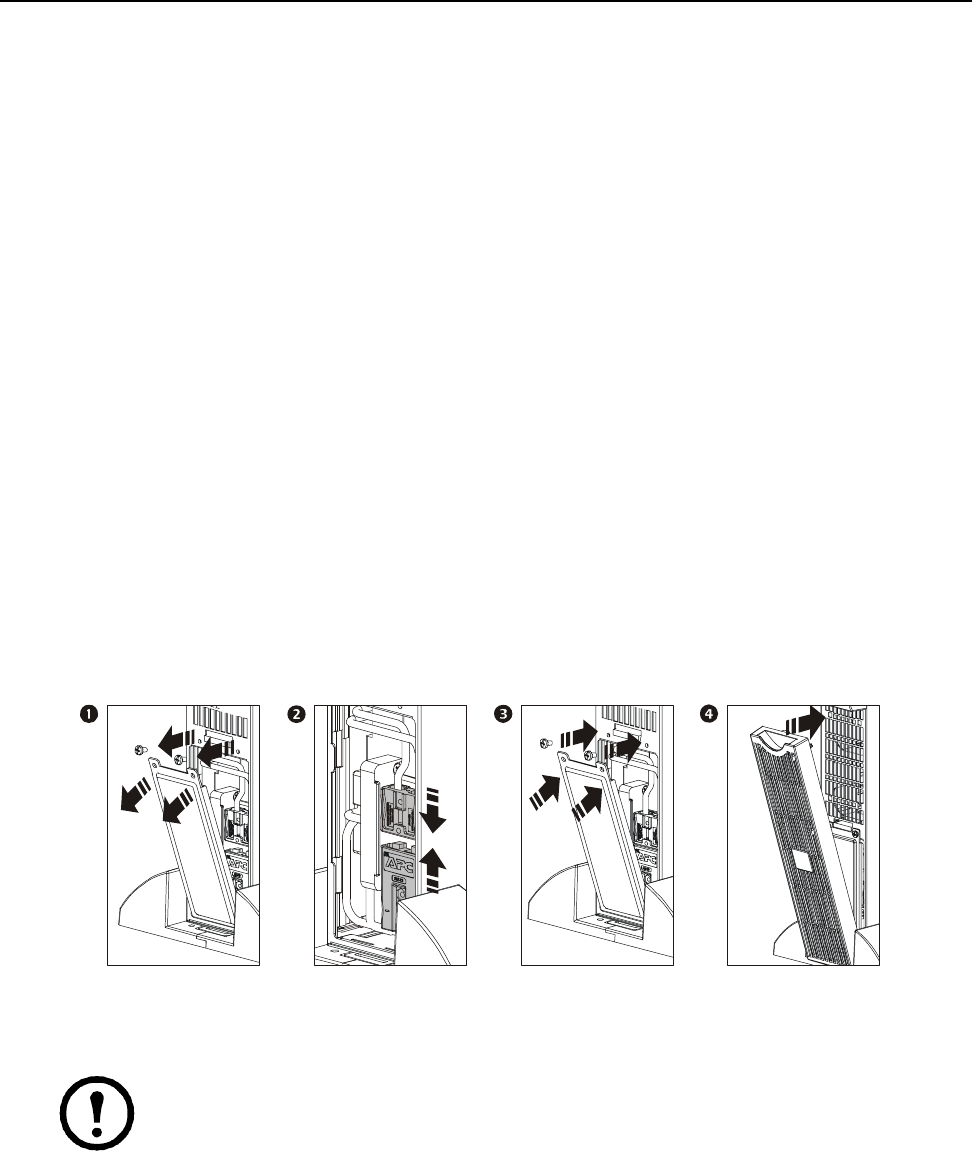
Connect the Internal Battery and
Install the Bezel
The UPS is shipped with the internal battery disconnected.
1. Remove the battery compartment cover.
2. Remove the warning label and protective sticker from the battery connector. Place the sticker on the back
of the battery compartment cover for re-use.
3. Snap the battery connectors together.
4. Reinstall the battery cover.
5. Install the front bezel.
Connect Power and Start the UPS
The UPS will charge to 90% capacity in the first four hours of normal operation. Do not expect full
battery run capability during this initial charge period.
1. Connect the UPS to the building utility power. Connect the UPS into a two-pole, three-wire, grounded
receptacle.
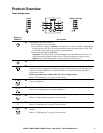
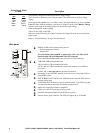
2. Press the On button the front display panel of the UPS to apply power to the unit and all connected
equipment.
3. To use UPS as a master on/off switch turn on all the equipment that is connected to the UPS.
4. Configure the Network Management card (NMC), if installed. Refer to NMC documentation for
instructions.
su0072b


