Storix System Backup Administrator - 14 - Enabling Backups for Windows and MAC OS X
4. Windows XP PRO
The following instructions explain how to set up a shared folder on a computer running Windows XP
Professional.
Configure the Computer for File Sharing
You will only need to configure your computer for file sharing once. If the option for file sharing is already set up
on your computer or if you wish to set up another shared folder on your computer, continue to the instructions to
Share a Folder
.
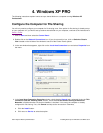
1. Click on Start and then select the Control Panel.
2. Double-click on the Network Connections icon. If you do not see this icon, click on Switch to Classic
View located on the left side of the window to see all of the Control Panel options.
3. In the new window that appears, right-click on the Local Area Connection icon and select Properties from
the menu.
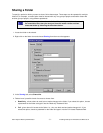
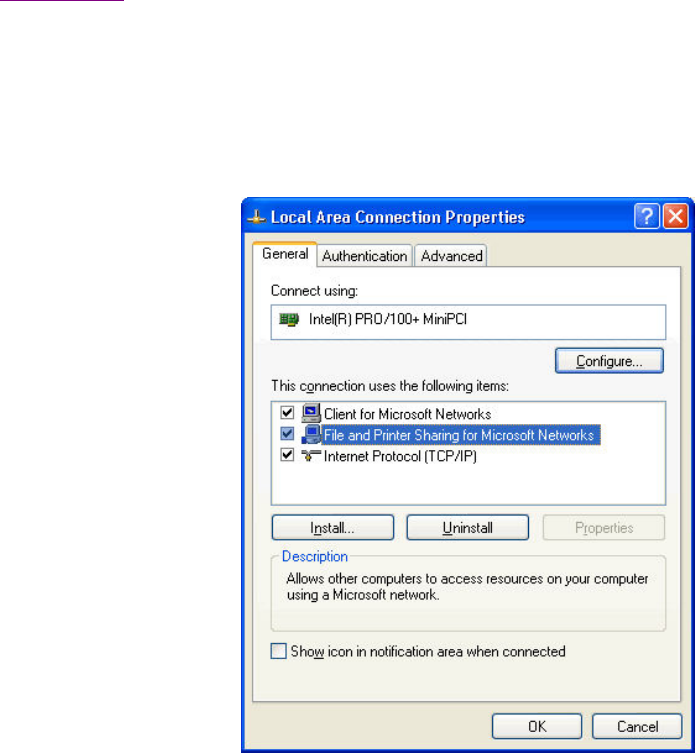
4. In the Local Area Connection Properties window, check that the General tab is selected. Under the This
connection uses the following items: section, check that File and Printer Sharing for Microsoft
Networks is listed and make sure that its checkbox is checked. If it is listed, the computer is already
configured for file sharing. If so, click Cancel and skip to the next section. Otherwise,
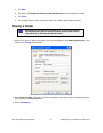
a. Click the Install button.
b. Click once on Service to select that option.


