Storix System Backup Administrator - 7 - Enabling Backups for Windows and MAC OS X
2. Windows 98 / ME
The following instructions explain how to set up a shared folder on a faculty or staff computer running Windows
98. The shared folder can be made accessible to anyone who has the password and is using a Windows
machine on the Wellesley campus network.
Configure the Computer for File Sharing
You will only need to configure your computer for file sharing once. If file sharing is already set up on your
computer (i.e. if you already have a shared folder on your computer), and you wish to set up another shared
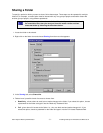
folder, follow the directions for Sharing a Folder
.
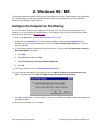
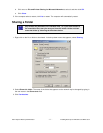
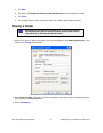
6. Click on the Start button, and then select Settings!Control Panel.
7. Double-click on the Network icon. In the window that appears, make sure the Configuration tab is
selected. If you do not see the Network icon, click on the view all Control Panel options link on the left
side of the window.
8. In The following network components are installed: section, if you do not see File and printer sharing for
Microsoft Networks listed, then:
a. Click Add.
b. Select Service and then click Add.
c. Select File and printer sharing for Microsoft Networks.
d. Click OK.
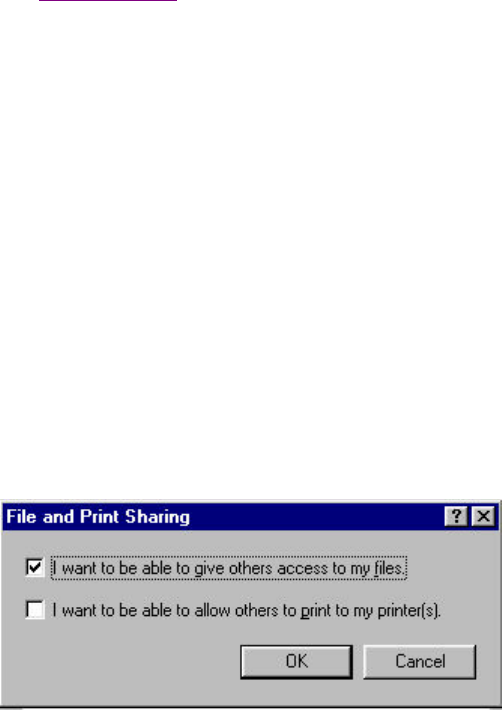
9. In the same window, click on the File and Print Sharing button.
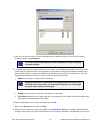
10. In the dialog box that appears, check the box next to "I want to be able to give others access to my
files". Uncheck the box for "I want to be able to allow other to print to my printers".
11. Click OK, then OK again; you will be asked to restart your computer. Click Yes to restart. The computer will
automatically restart.
File sharing is now available on the computer.


