


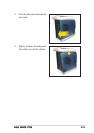

Chapter 2: Basic installationChapter 2: Basic installation
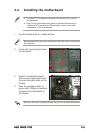
Chapter 2: Basic installationChapter 2: Basic installation
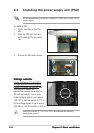
Chapter 2: Basic installation
2-122-12
2-122-12
2-12
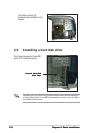
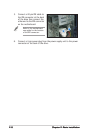
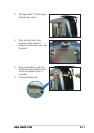
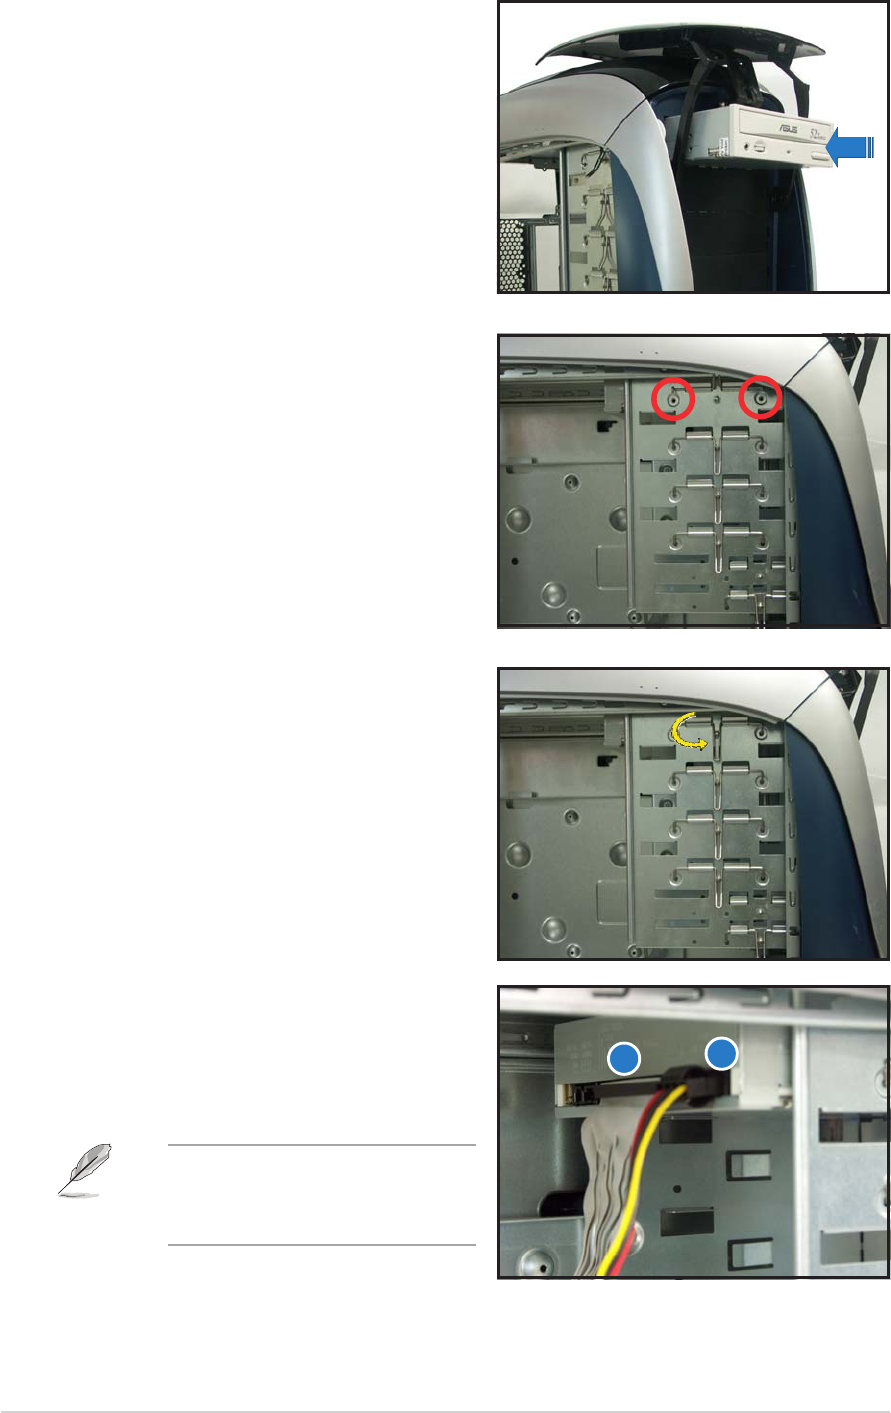
7. Align the screw holes as shown.
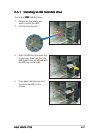
6. Carefully insert the optical drive
into the bay, then push it inward
until it is completely flushed into
the chassis.
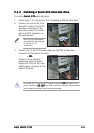
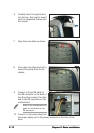
8. Press down the drive bay lock to
secure the optical drive to the
chassis.
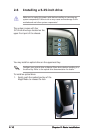
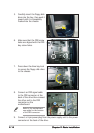
9. Connect a 40-pin IDE cable to
the IDE connector at the back of
the drive then connect the other
end to the IDE connector on the
motherboard.
Refer to the motherboard user
guide for the location of the
IDE connector.
10. Connect a 4-pin power plug from
the power supply unit to the power connector at the back of the
drive.
9
10