5-245-24
5-245-24
5-24
Chapter 5: Software supportChapter 5: Software support
Chapter 5: Software supportChapter 5: Software support
Chapter 5: Software support
Delete ArrayDelete Array
Delete ArrayDelete Array
Delete Array
1. From the VIA RAID BIOS utility main menu, select
Delete ArrayDelete Array
Delete ArrayDelete Array
Delete Array then
press <Enter>.
3. Press <Y> to confirm or <N> to return to the configuration options.
The selected array will be destroyed.
Are you sure? Continue? Press Y/N
10. Press <Y> to confirm or <N> to return to the configuration options.
11. Press <Esc> to go back to main menu.
Select Boot ArraySelect Boot Array
Select Boot ArraySelect Boot Array
Select Boot Array
1. From the VIA RAID BIOS utility main menu, select
Select BootSelect Boot
Select BootSelect Boot
Select Boot
ArrayArray
ArrayArray
Array then press <Enter>.
2. From the list of channel used for IDE RAID arrays, press <Enter> to
select a RAID array for boot. After selection, the
StatusStatus
StatusStatus
Status of the
selected array will change to Boot.
3. Press <ESC> to return to the menu items. Follow the same procedure
to deselect the the boot array.
2. From the list of channel used for IDE RAID arrays, press
<Enter><Enter>
<Enter><Enter>
<Enter> to
select a RAID array to delete. The following confirmation message
appears.
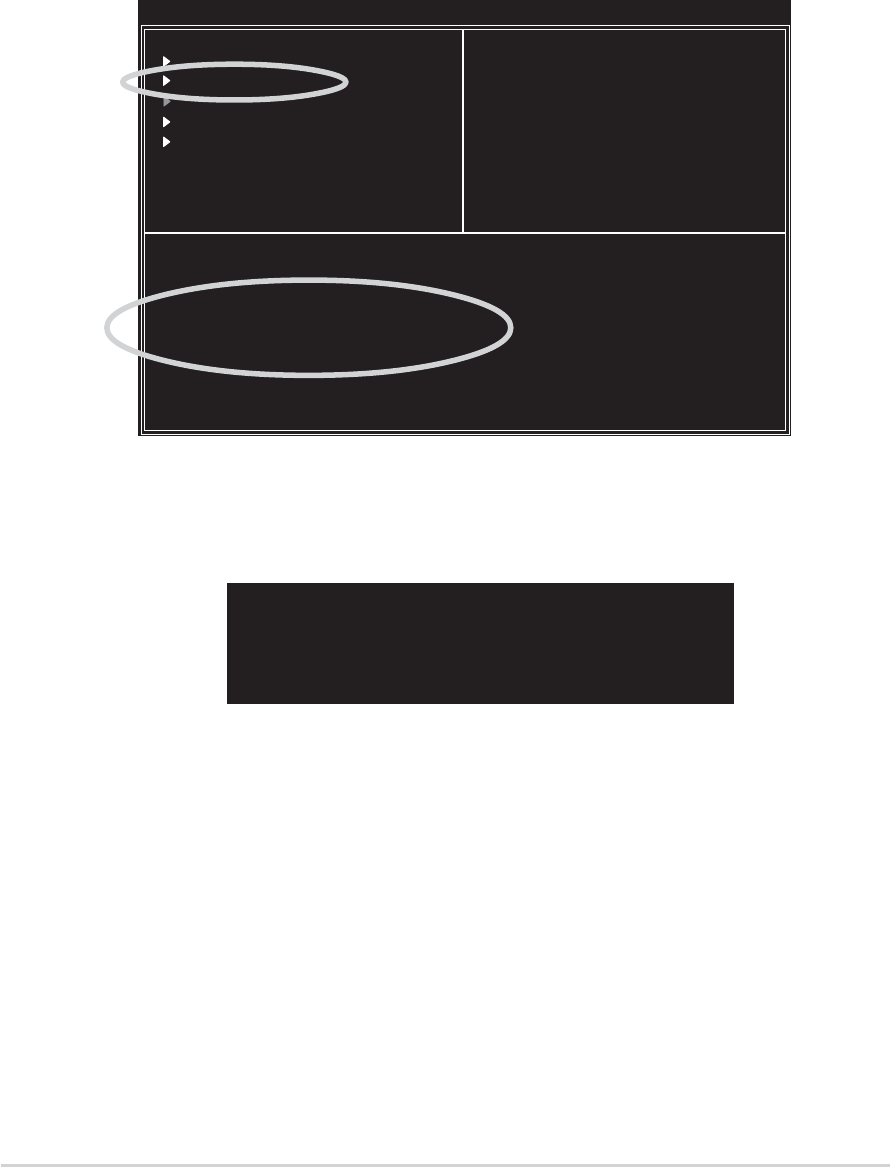
Create Array
Delete Array
Create/Delete Spare
Select Boot Array
Serial Number View
VIA Tech. RAID BIOS Ver 1.xx
Create a RAID array with
the hard disks attached to
VIA RAID controller
F1 : View Array/Disk Status
↑
,
↓
: Move to next item
Enter : Confirm the selection
ESC : Exit
Channel Drive Name Array Name Mode Size(GB) Status
[ ]Serial_Ch0 Master XXXXXXXXXXX ARRAY 0 SATA 999.99 XXXXXXX
[ ]Serial_Ch1 Master XXXXXXXXXXX ARRAY 0 SATA 999.99 XXXXXXX


