Chapter 2: Getting connected
2-8
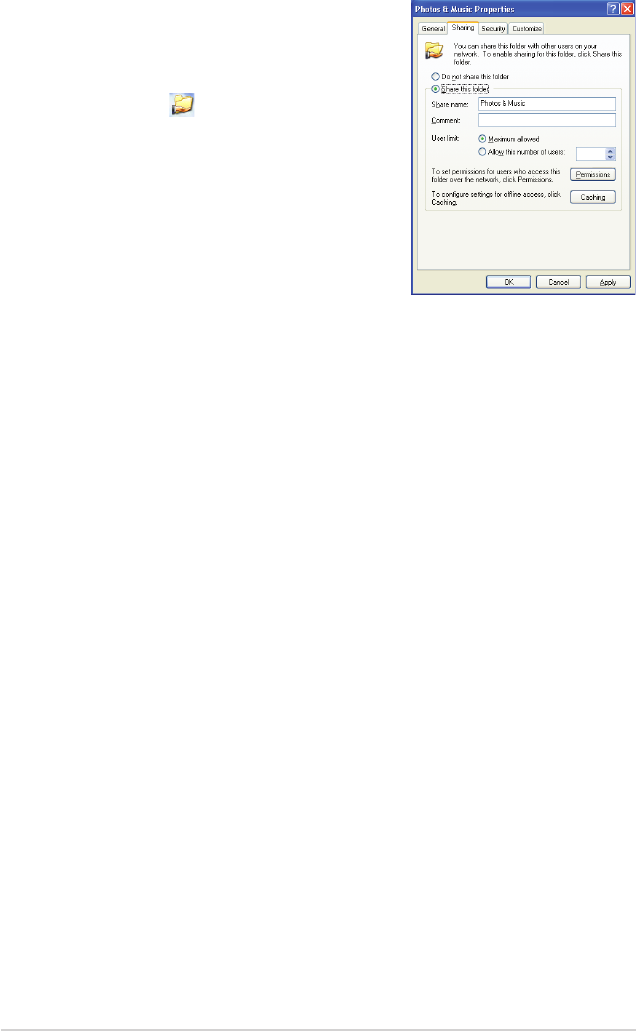
3. Tick Share this folder.
If you want to set permissions for the
network users, click Permissions. Click
Apply when done.
4. A hand icon appears on the folder
indicating that the folder’s contents are
shared over the network.
Sharing les under Windows
®
Vista OS
In Windows
®
Vista OS, you can share les in any of these two ways:
• Share les from a folder on your computer.
• Share les from the Public folder.
Sharing les from a folder on your computer
To share les from a folder on your computer:
1. On your computer, select the folder containing the les that you want to
share.
2. Right-click the selected folder, and select Share.
3. In the File Sharing screen, select the network user that you want to share
les with from the dropdown list, then click Add.
4. To set permissions for the network user, select any of these permission levels
from the dropdown list under Permission Level:
• Reader: Select this option if you want the user to have a read-only
access rights to the shared les. S/he cannot add, change, or delete the
shared les.
• Contributor: Select this option to allow the user to view and add shared
les. S/he can only change or delete the les s/he had shared.
• Co-owner: Select this option to allow the user to view, add, change, or
delete a shared le.
5. When done, click Share.


