


2-122-12
2-122-12
2-12
Chapter 2: Hardware informationChapter 2: Hardware information
Chapter 2: Hardware informationChapter 2: Hardware information
Chapter 2: Hardware information
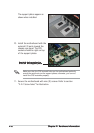
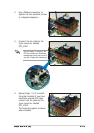
The Intel
®
Xeon™ processors require an Intel certified heatsink and fan
assembly to ensure optimum thermal condition and performance.
When you buy a boxed Intel CPU, the package includes the heatsink, fan,
retention brackets, screws, thermal grease, installation manual, and other
items that are necessary for CPU installation.
2.3.22.3.2
2.3.22.3.2
2.3.2
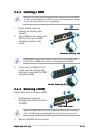
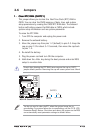
Installing the CPU heatsink and fanInstalling the CPU heatsink and fan
Installing the CPU heatsink and fanInstalling the CPU heatsink and fan
Installing the CPU heatsink and fan
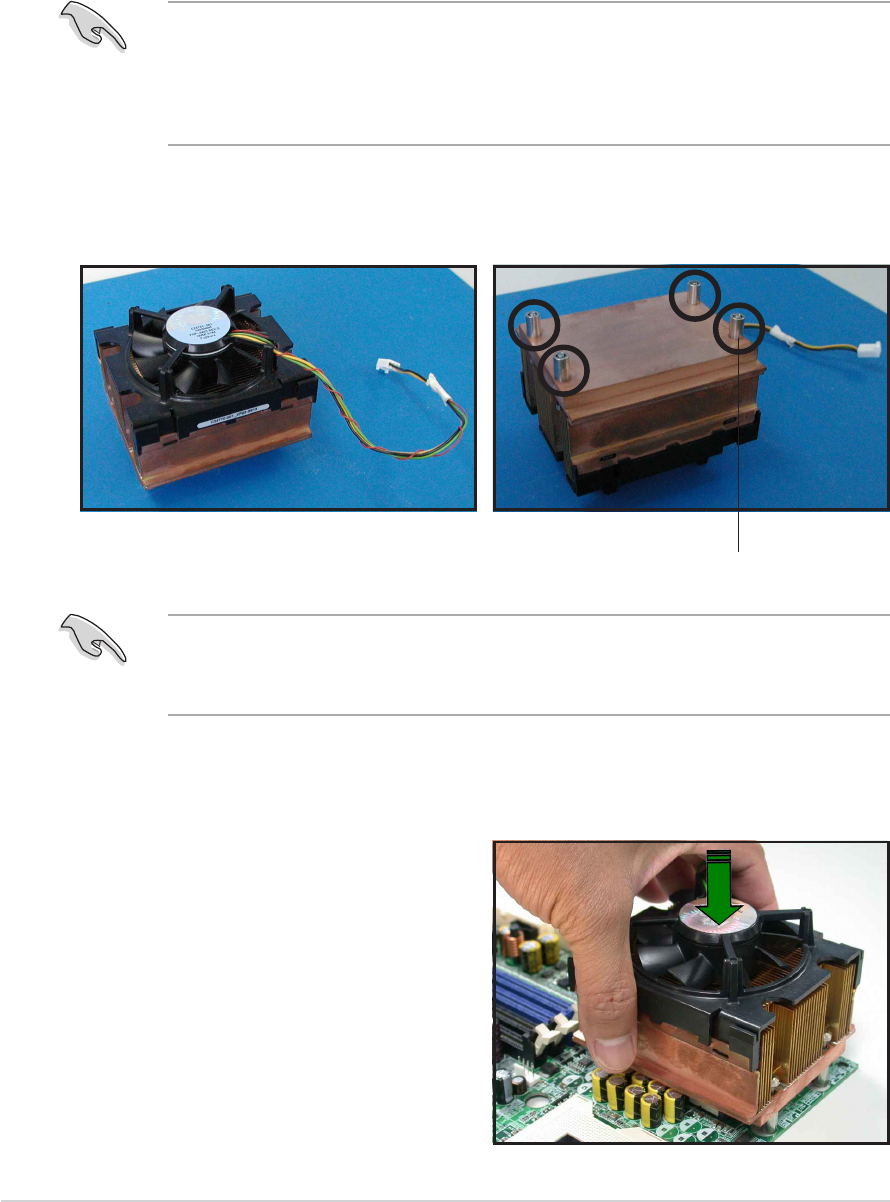
•
Make sure that you have applied the thermal grease to the top of
the CPU before installing the heatsink and fan.
•
Refer to the installation manual that came with the CPU package for
details on heatsink/fan assembly and installation.
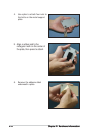
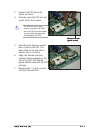
To install the CPU heatsink and fan:
1. Place the heatsink on top of the
installed CPU, making sure that
the four screws on the heatsink
align with the nuts on the
support plate.
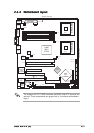
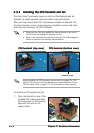
CPU heatsink (top view)CPU heatsink (top view)
CPU heatsink (top view)CPU heatsink (top view)
CPU heatsink (top view)
CPU heatsink (bottom view)CPU heatsink (bottom view)
CPU heatsink (bottom view)CPU heatsink (bottom view)
CPU heatsink (bottom view)
Heatsink screw
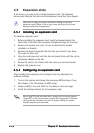
Before installing the CPU heatsinks, ensure that the jumpers FM_CPU1
and FM_CPU2 are set correctly depending on the pin definition of your
CPU fan cables. Refer to page 2-19 for information on these jumpers.