27
3. HARDWARE SETUP
ASUS P4T User’s Manual
CPU
3. H/W SETUP
Step 2: Install the CPU
A. Locate the ZIF socket on the motherboard.
B. Unlock the socket by pressing the lever sidesways and then lifting it up to a
90˚–100˚ angle.
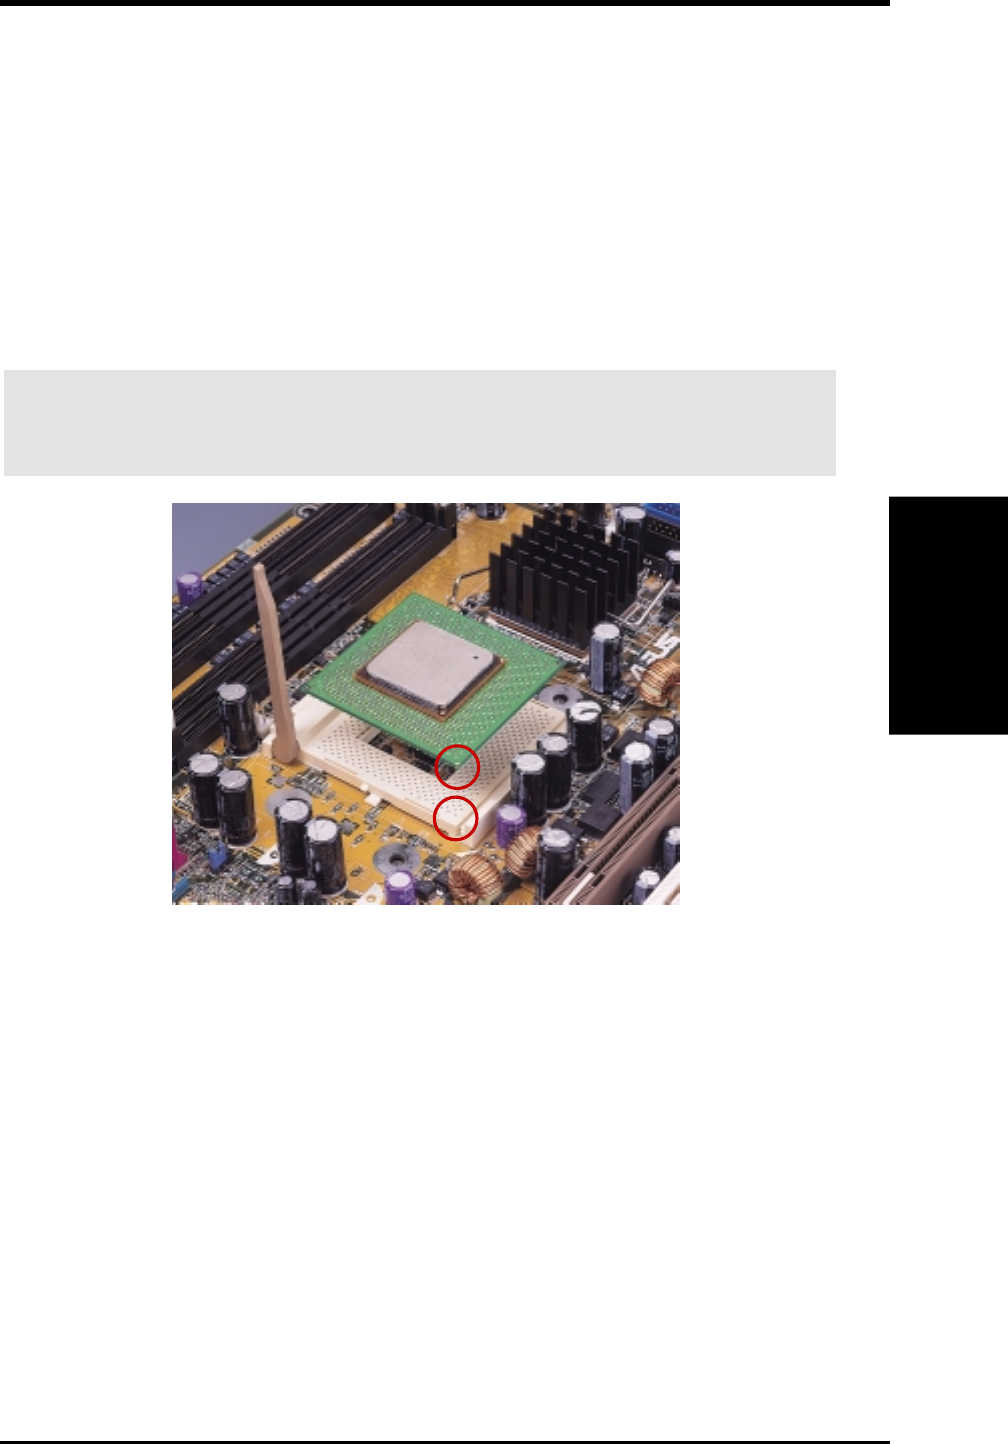
C. Align the CPU over the socket such that its notched or marked corner matches
the socket’s corner near the end of the lever, while making sure that the CPU is
parallel to the socket.
D. Carefully insert the CPU into the socket until it fits in place. The illustration
below shows how to insert a CPU properly.
CAUTION! The CPU fits in only one orientation. Do not force the CPU into the
socket as it will bend the pins and damage the CPU. It should drop into the
socket with minimal pressure. If not, check its orientation or check for bent pins.
E. Secure the CPU into the socket by pushing the socket lever all the way down.
You will hear a click indicating that the lever is in place.


