


36
®
Virtual Media
The Virtual Media feature allows you to remotely make files available to any host
computer that is linked to the Wizard IP Plus. Single files or collections of files
and folders up to 2GB in size can be quickly transferred via the VNC link. This
can prove to be an invaluable tool when upgrading host computers from remote
positions.
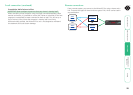
In order to use the Virtual Media feature, the VM link must be made between
the Wizard IP Plus and a USB port on the host computer or KVMA switch. See
Host computer links: Virtual Media for details.
To remotely transfer files to a host computer
1 On the remote system, log into the Wizard IP Plus using the VNC viewer and
select the required host computer in the usual manner.
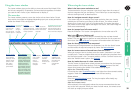
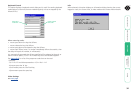
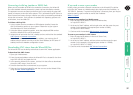
2 On the remote system, select the file(s), folder(s) or storage device (i.e.
floppy disk, hard drive, CD-ROM, memory stick) that you wish to transfer to
the host computer (to a maximum of 2GB) in either of the following ways:
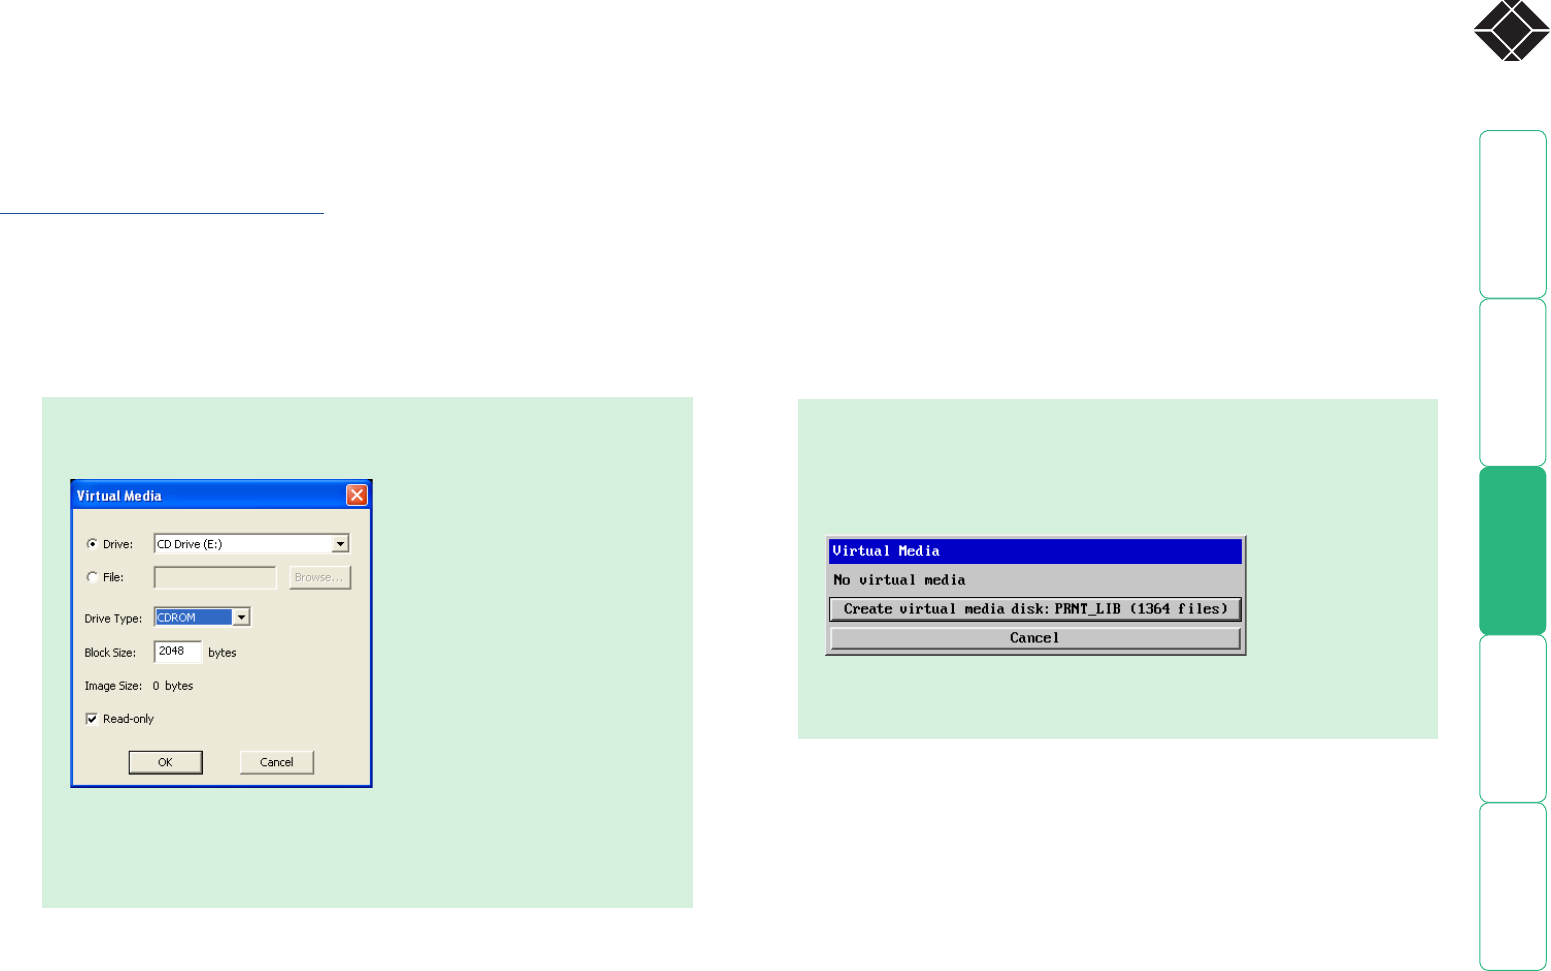
Select the required storage device or file/folder, choose an appropriate
‘Drive Type’ (virtual CDROM, floppy or disk (directory)) and click OK. The
selected device will be tagged for transfer but no other action will take
place at this point.
• Using Windows Explorer (or the Apple Finder), locate and copy the
required file, folder or drive to the clipboard.
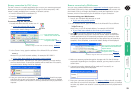
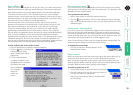
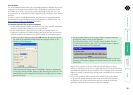
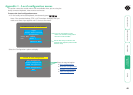
On the remote system, within the VNC viewer window, click the
Controls button and then select the Virtual Media button. A popup
similar to the following will be displayed:
Click the ‘Make VFAT’ button to announce file availability to the host
computer, whereupon a popup will confirm that the new virtual media
disk is built.
Note that using either of the two methods outlined above, no files or
folders are transferred at this point, instead the Wizard IP Plus will simulate a
removable storage device at host computer. This will appear within Windows
Explorer or Apple Finder exactly as a floppy disk, removable drive or memory
stick would.
3 On the host computer (either directly from Wizard IP Plus local console
or via the VNC viewer) locate the new virtual drive and access the files
as necessary. Files will be transferred to the host computer as they are
specifically requested by the actions of the host computer.
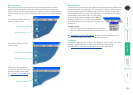
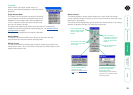
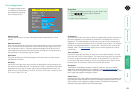
• Within the VNC viewer window, press
F8 and then V. A quick scan will
be made of the available storage devices and a popup similar to the
following will be displayed: