


43
COMPUTER MODE
1
630
1056
47
4
300
0
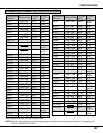
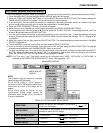
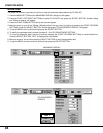
ITEM
CLAMP
DISPLAY AREA
HORIZ. SCALE
FUNCTION
Adjustment of the clamp level. When the image has a dark bar, try this adjustment.
Expanding or compressing level for the vertical direction.
Expanding or compressing level for the horizontal direction.
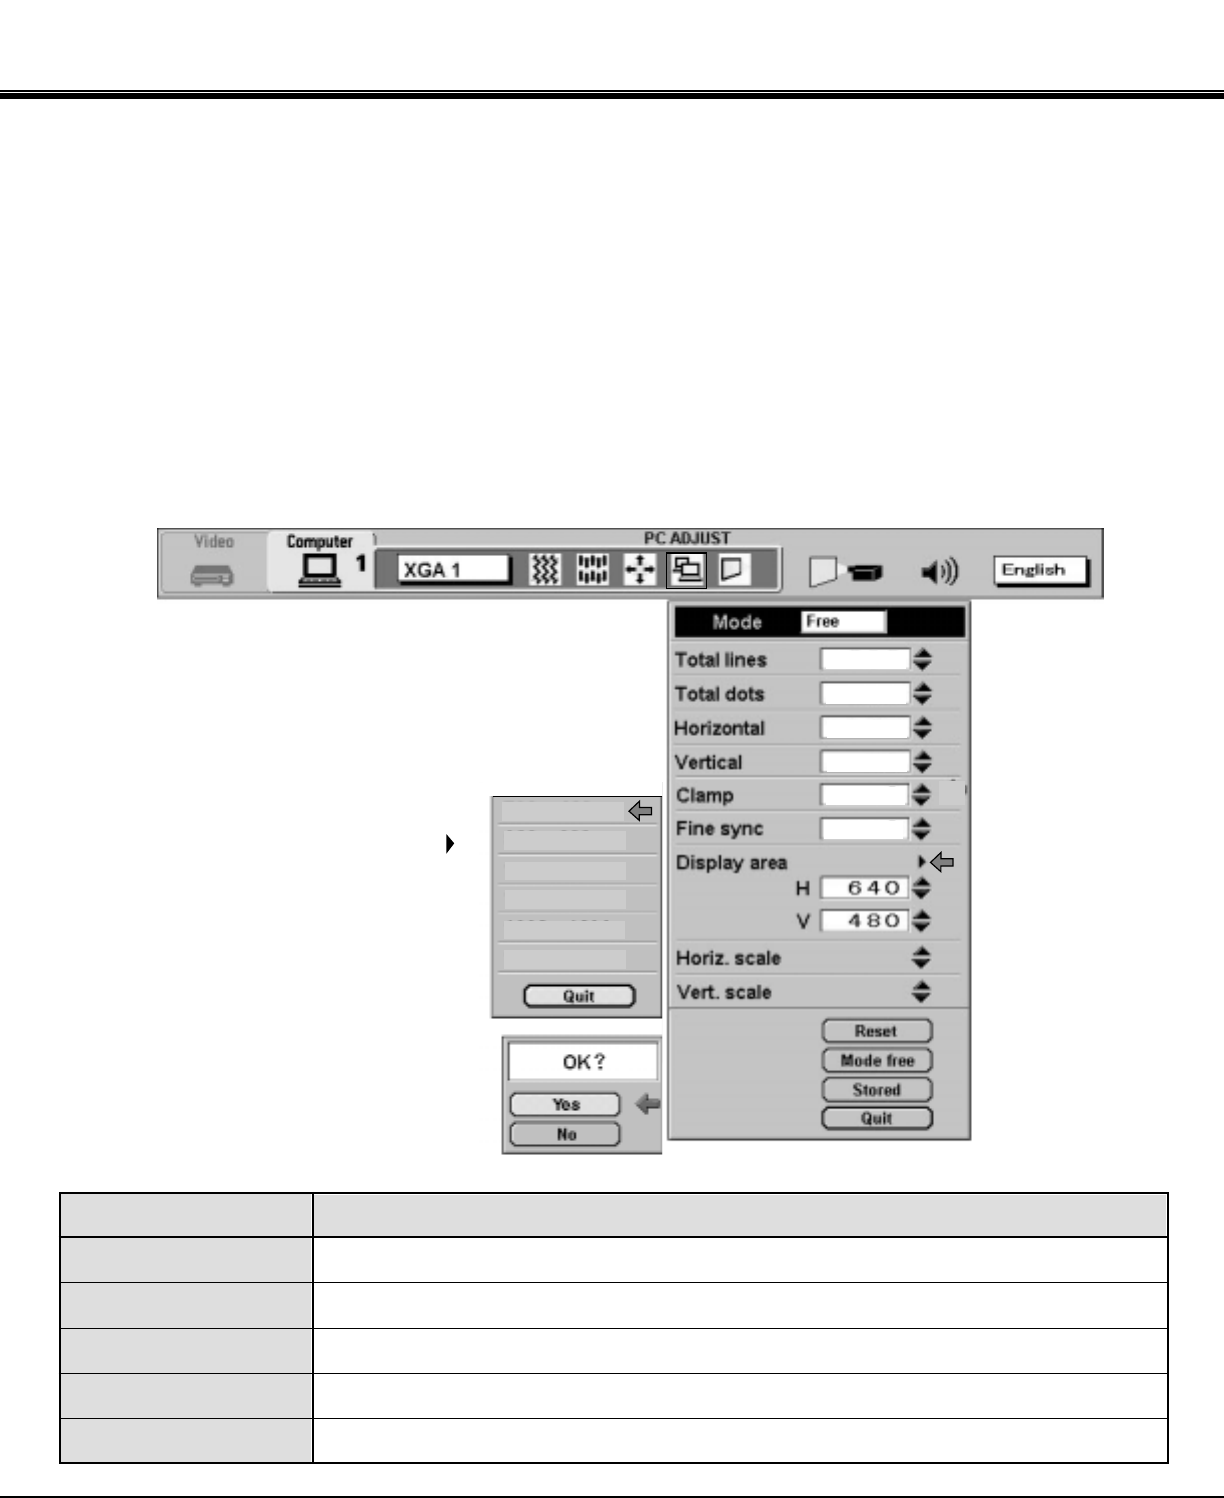
PC ADJUSTMENT
DISPLAY 2
MAIN MENU DISPLAY
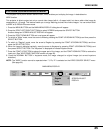
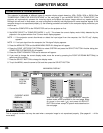
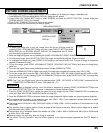
17. Another dialog box "PC ADJUSTMENT DISPLAY 2" will appear and the parameter data for the Mode you have selected
is shown in this dialog box.
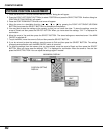
18. Move the arrow to an item that you want to adjust by pressing the POINT UP/DOWN BUTTON(s).
19. To increase the level, point the arrow to ▲ and then press the SELECT BUTTON. To decrease the level, point the
arrow to ▼ and then press the SELECT BUTTON.
20. If you want to store the settings in the memory, move the arrow to Stored and press the SELECT BUTTON. When you
have stored the settings, "OK ?" is displayed for confirmation. Move the arrow to Yes and then press the SELECT
BUTTON.
21. To recall the parameter data before setting, move the arrow to Reset and then press the SELECT BUTTON. When you
have reset the settings, "OK ?" is displayed for confirmation. Move the arrow to Yes and then press the SELECT
BUTTON. You can adjust the settings again if needed.
22. To quit the MENU, move the arrow to Quit and then press the SELECT BUTTON.
23. If you quit the MENU without storing the settings in the memory, the parameter data you changed will not be kept.
24. The stored settings are memorized even if the MAIN ON/OFF is switched off.
VERT. SCALE
Adjustment the display area to match your PC.
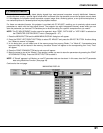
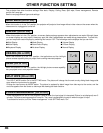
FINE SYNC
Adjust the picture as necessary to eliminate flicker from the display.
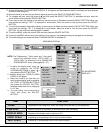
640 X 480
720 X 400
800 X 600
1024 X 768
1152 X 864
1280 X 1024
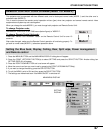
NOTE: The "Display area", "Horiz. scale" and " Vert. scale"
cannot be adjusted when "HDTV1035i" or
"HDTV1080i" is selected on the COMPUTER
SYSTEM SELECT menu. (See pages 36 ~ 37).
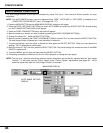
1. To adjust the display area, move the
arrow by pressing the POINT
UP/DOWN BUTTON(s) to select ( )
and press the SELECT BUTTON.
2. Another dialog box "DISPLAY AREA
DISPLAY" will appear.
3. Move the arrow to an item that you
want to select display area by pressing
the POINT UP/DOWN BUTTON(s)
and press the SELECT BUTTON.
Selected mode data will be displayed
in H, V box.
4. To close dialog, move the arrow to
"Quit" and press the SELECT
BUTTON.