


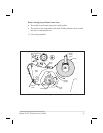
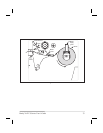

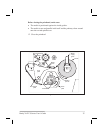
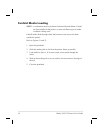
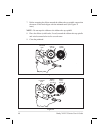

Ribbon Loading
To load ribbon, refer to Figure 23 (for the 300X-PLUS, 600X-PLUS, and
203X-PLUS) and Figure 24 (for the 360X-PLUS) and follow the procedure
below.
NOTE: Use ribbon that is at least as wide as the media. The smooth
backing of the ribbon protects the printhead from wear and
premature failure due to excessive abrasion. (For direct thermal
print mode, ribbon is not used and should
not be loaded in the printer.)
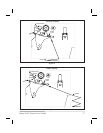
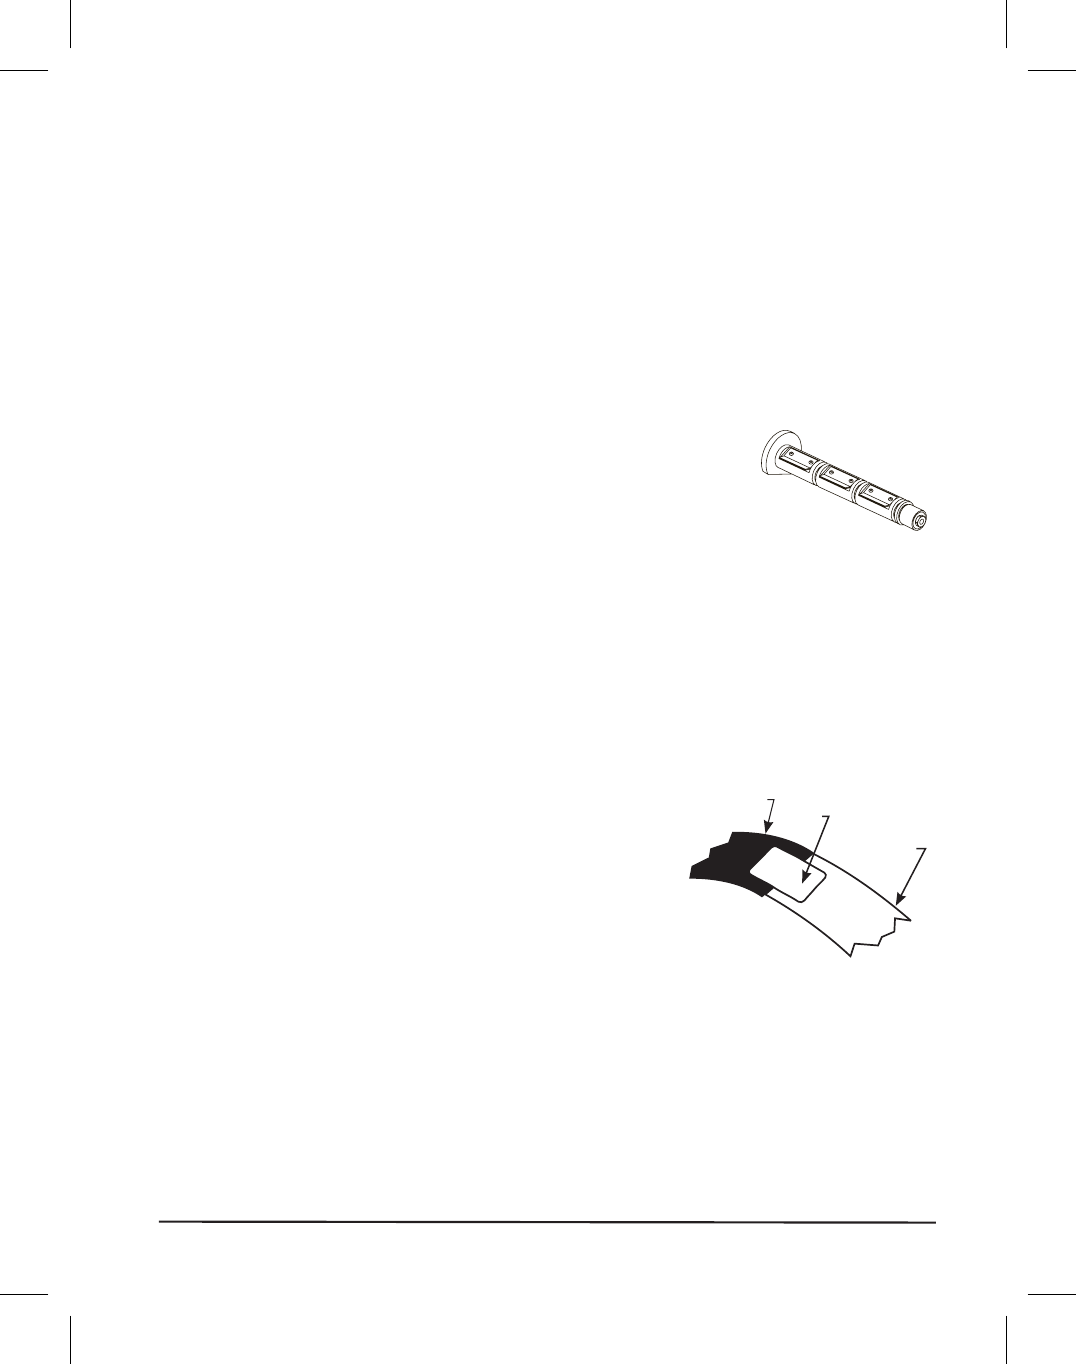
1. Align the segments of the ribbon supply spindle.
2. Place the ribbon roll on the ribbon supply spindle.
NOTE: Make sure that the core is pushed up against the stop on the ribbon
supply spindle and that the ribbon is aligned squarely with its core.
If this is not done, the ribbon may not cover the printhead entirely
on the inside, exposing print elements to potentially damaging
contact with the media.
3. Open the printhead.
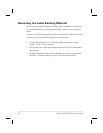
4. (Optional) To make ribbon loading and
unloading easier, make a leader for your
ribbon roll if it doesn’t already have one.
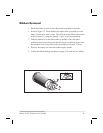
5. Tear off a strip of media (labels and
backing) about 6-12” (152-305 mm) long
from the roll. Peel off a label from this
strip. Apply half of this label to the end
of the strip and the other half to the end
of the ribbon. This acts as a ribbon
leader.
6. Thread the ribbon (with leader, if used) as shown without creasing or
wrinkling it.
Brady X-PLUS Series User’s Guide 39
Ribbon
Label
Strip of media
6-12” long