12
Printing a Test Sample Page
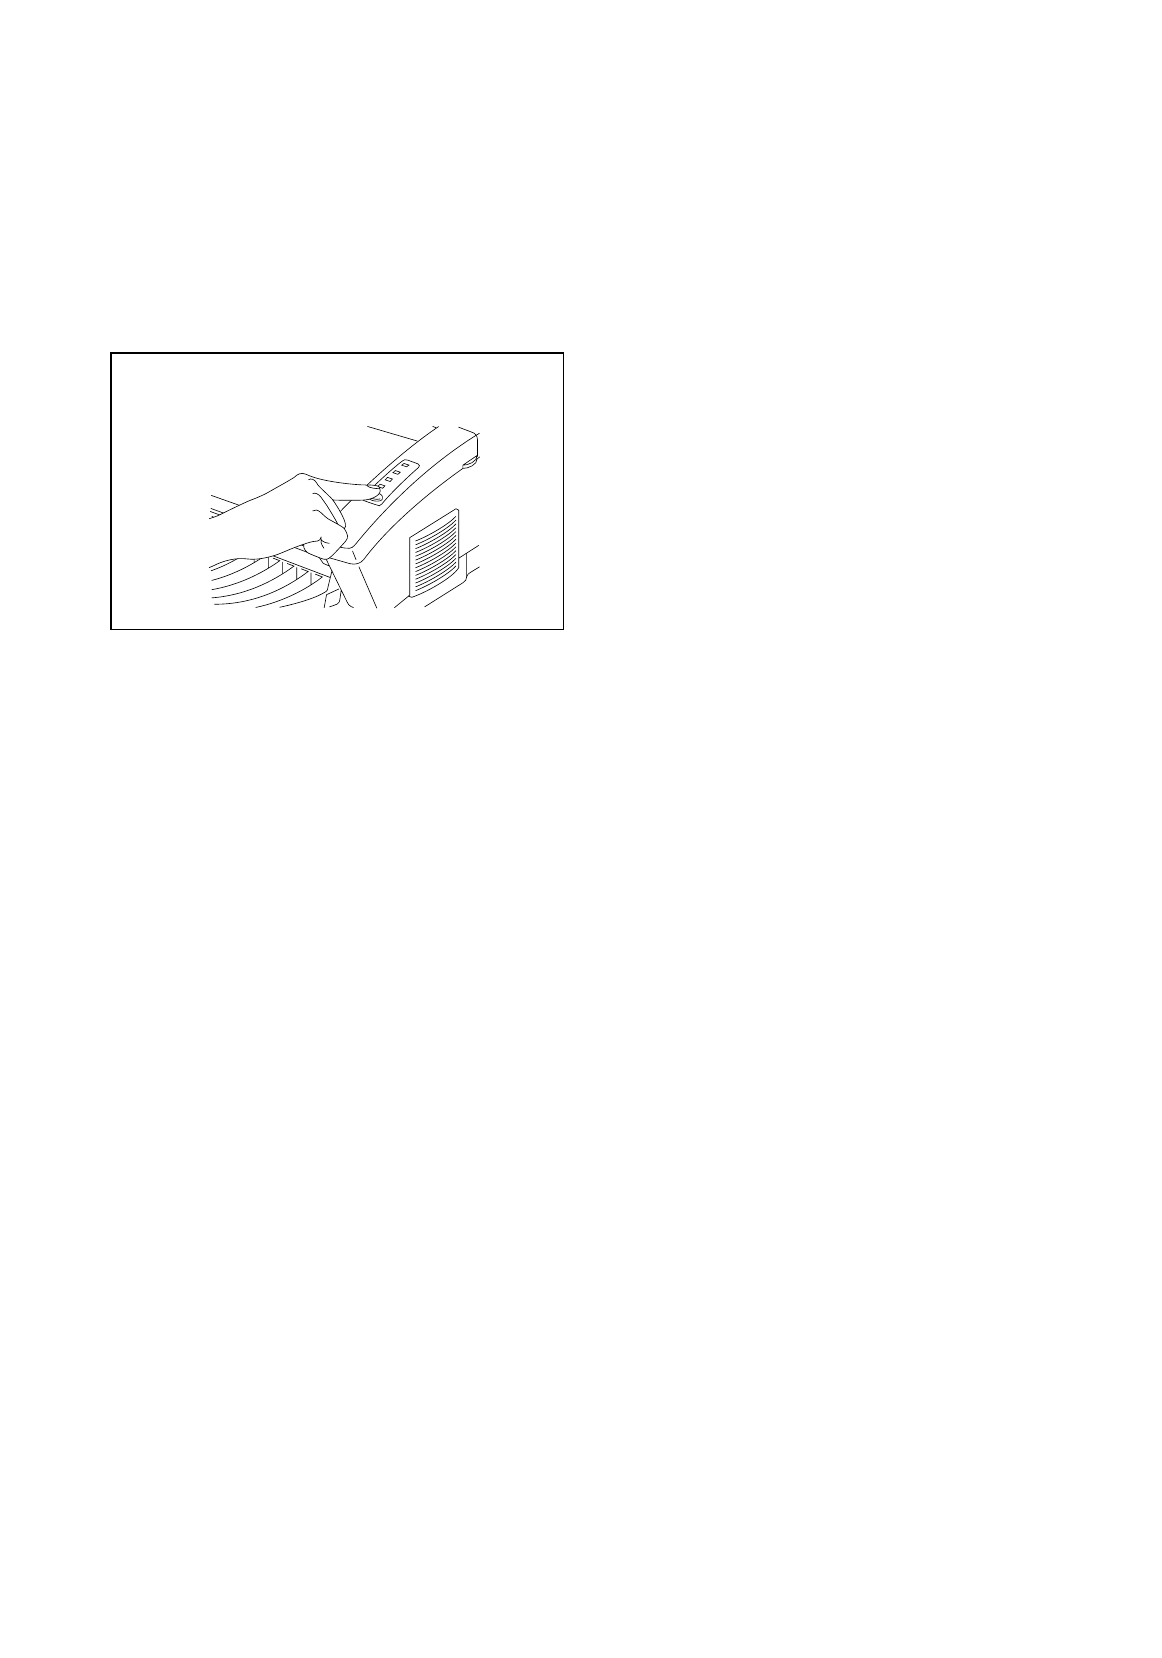
We recommend that you print a test page. Refer to the instructions below.
✒
NOTE
The following test page operation will be invalid after the printer has received any data
from your computer.
Press the control panel
switch
.
The printer will start printing a test sample
page.
✒
NOTE
If you have already sent data from your computer to the printer, you can print a self test
using the following steps.
1. Make sure the top cover is closed.
2. Hold down the
switch
and turn on the power switch. Keep the
switch
depressed until
the
Drum
lamp comes on.
3. Press the switch again to execute the test print.
The HL-1040/1050 printer can also print settings, fonts, and hexadecimal values of
received data. For more information, see “Test Print Mode” in Chapter 3 of the On-line
User’s Guide.
If the printer does not print a test sample page, see “CHAPTER 6 TROUBLESHOOTING,
Q & A” of the On-line User’s Guide. If you are still unable to print a test sample page after
reviewing the information in the User’s Guide, consult your dealer or Brother
representative for support.
This Setup guide, the User’s Guide and an instructional video are available on the
CD-ROM. You can view the On-Line guides with the Adobe Acrobat reader software
included on the CD-ROM.
After printing the test sample page, you are ready to prepare your computer to work with the
printer. The software setup varies depending upon your computer and operating system. Refer
to the relevant following section:
Action 7-1: Installation from CD-ROM
Action 7-2: Prepare Windows 95/98 for the Printer from floppy disk
Action 7-3: Prepare Windows 3.1 for the Printer from floppy disk
Action 7-4: Prepare DOS for the Printer (Only for HL-1040/1050 Users) from floppy disk
Action 7-5: Prepare Macintosh for the Printer (Only for HL-1040/1050 Users)


