


Installing the Driver & Software
17
Macintosh
®
Macintosh
®
Wired
Network
4
For Wired Network Interface Users (MFC-7440N only)
For Mac OS
®
X 10.2.4 or greater
Important
Make sure that you have finished the
instructions from step 1 Setting Up the
Machine on pages 4 through 10.
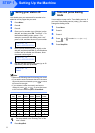
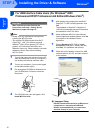
1 Plug the AC power cord into an AC outlet. Turn
the power switch on.
2 Connect the network interface cable to the
machine, and then connect it to your network.
3 Turn on your Macintosh
®
.
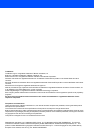
4 Put the supplied CD-ROM for Macintosh
®
into
your CD-ROM drive.
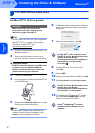
5 Double-click the Start Here OSX icon to install.
Follow the on-screen instructions.
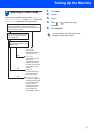
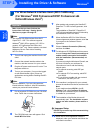
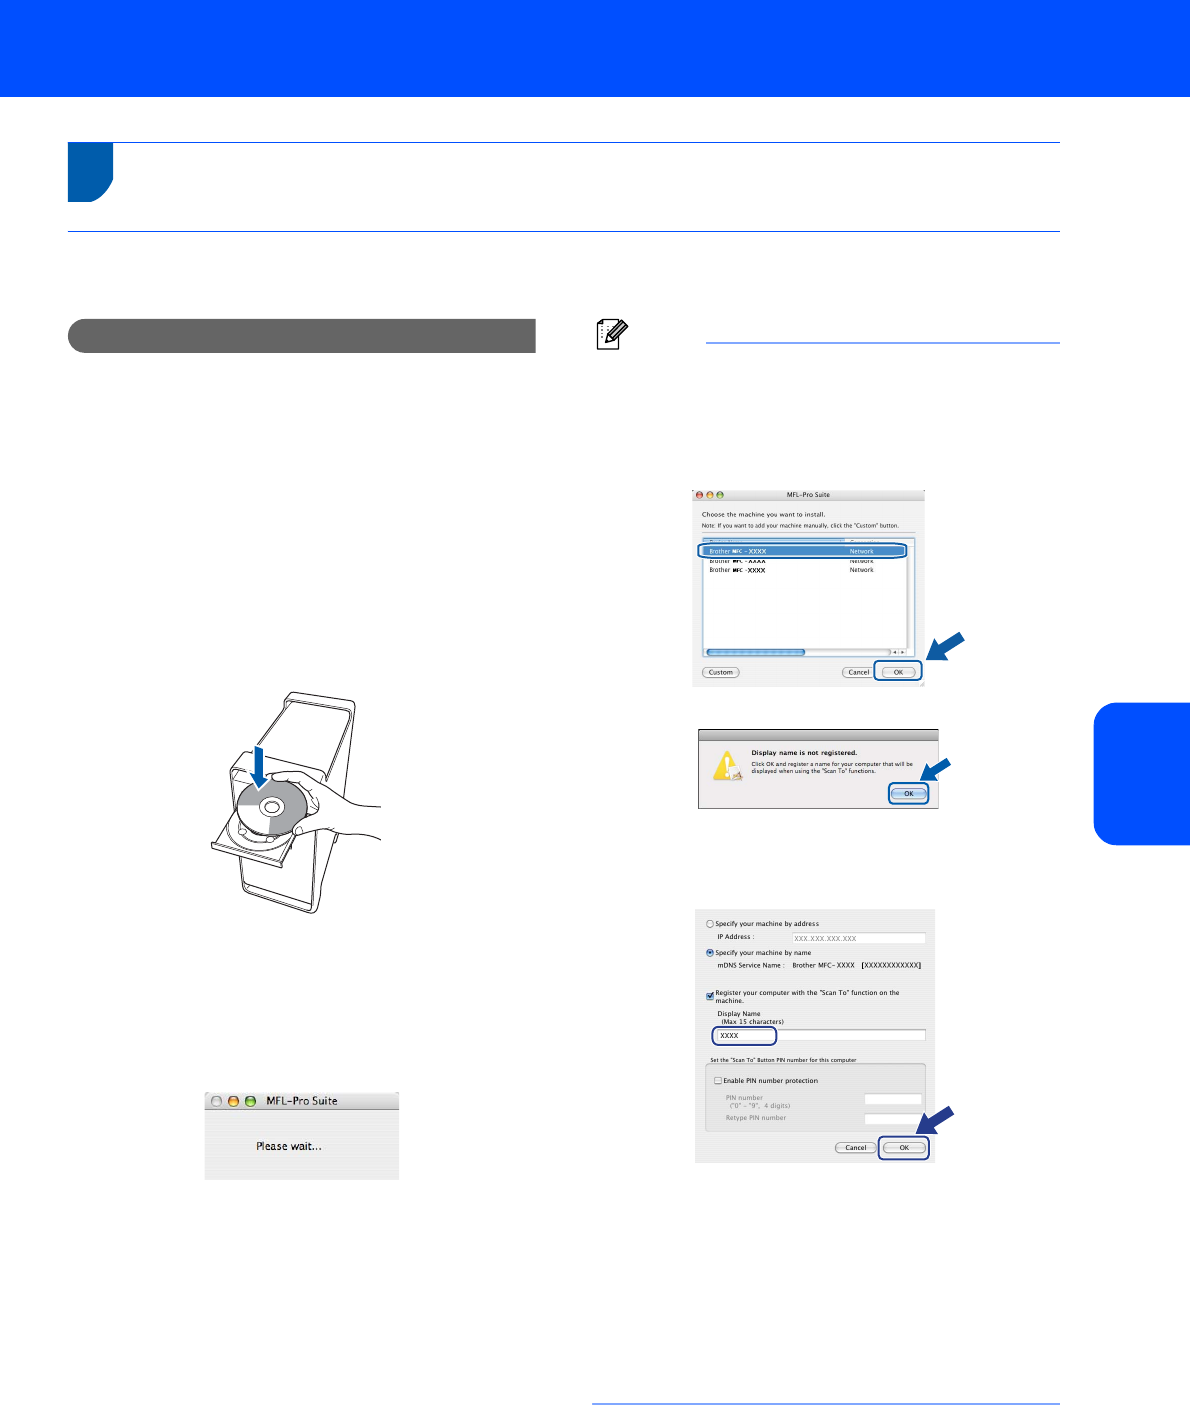
6 The Brother software will search for the Brother
device. During this time the following screen
will appear.
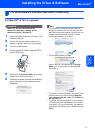
Note
• If the machine is configured for your network,
choose the machine from the list, and then click
OK. This window will not appear if there is only one
machine connected on the network, it will be
chosen automatically. Go to step 7.
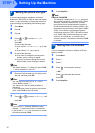
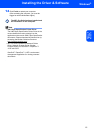
• If this screen appears click OK.
Enter a name for your Macintosh
®
in Display
Name up to 15 characters long and click OK.
Go to step 7.
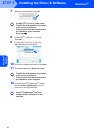
• If you want to use the machine’s Scan key to scan
over the network you must check the Register
your computer with the "Scan To" function on
the machine box.
• The name you enter will appear on the machine’s
LCD when you press the Scan key and choose a
scan option. (For more information, see Network
Scanning in the Software User’s Guide on the CD-
ROM.)